Export form submissions
Tabs
With PlatoForms, you can export form submissions in CSV format, enabling seamless data analysis, offline access, and backup for recovery. The exported submission info includes:
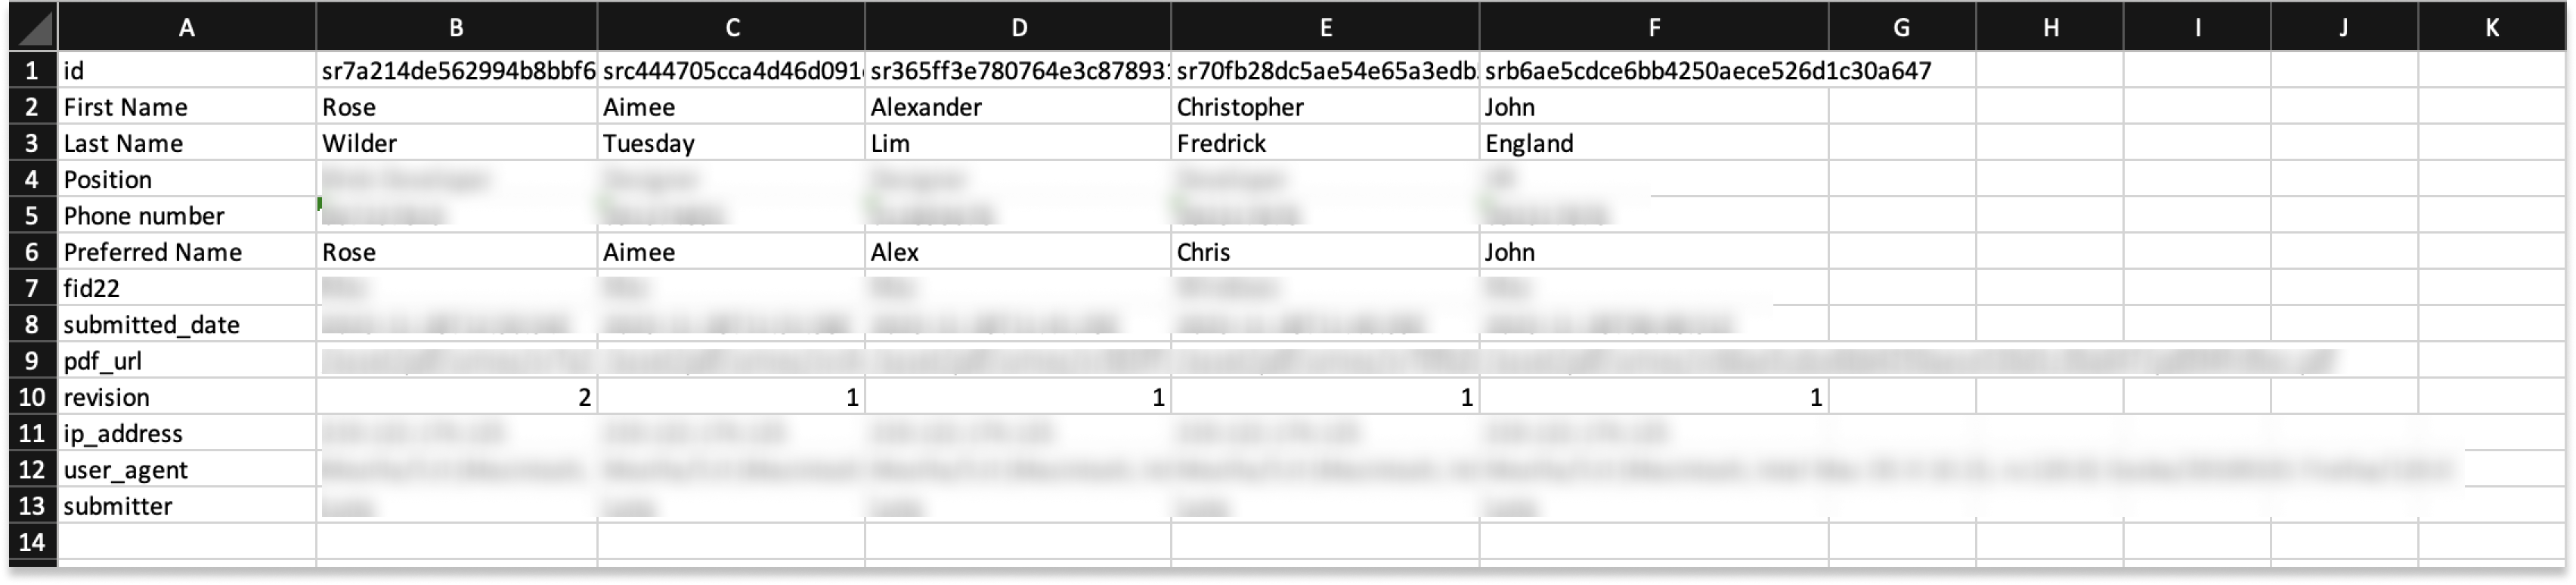
- All the form data.
- Submission details, including ID, submission date, PDF URL, revision times, IP address, user agent, and submitter.
Export submissions
To export form submissions:
-
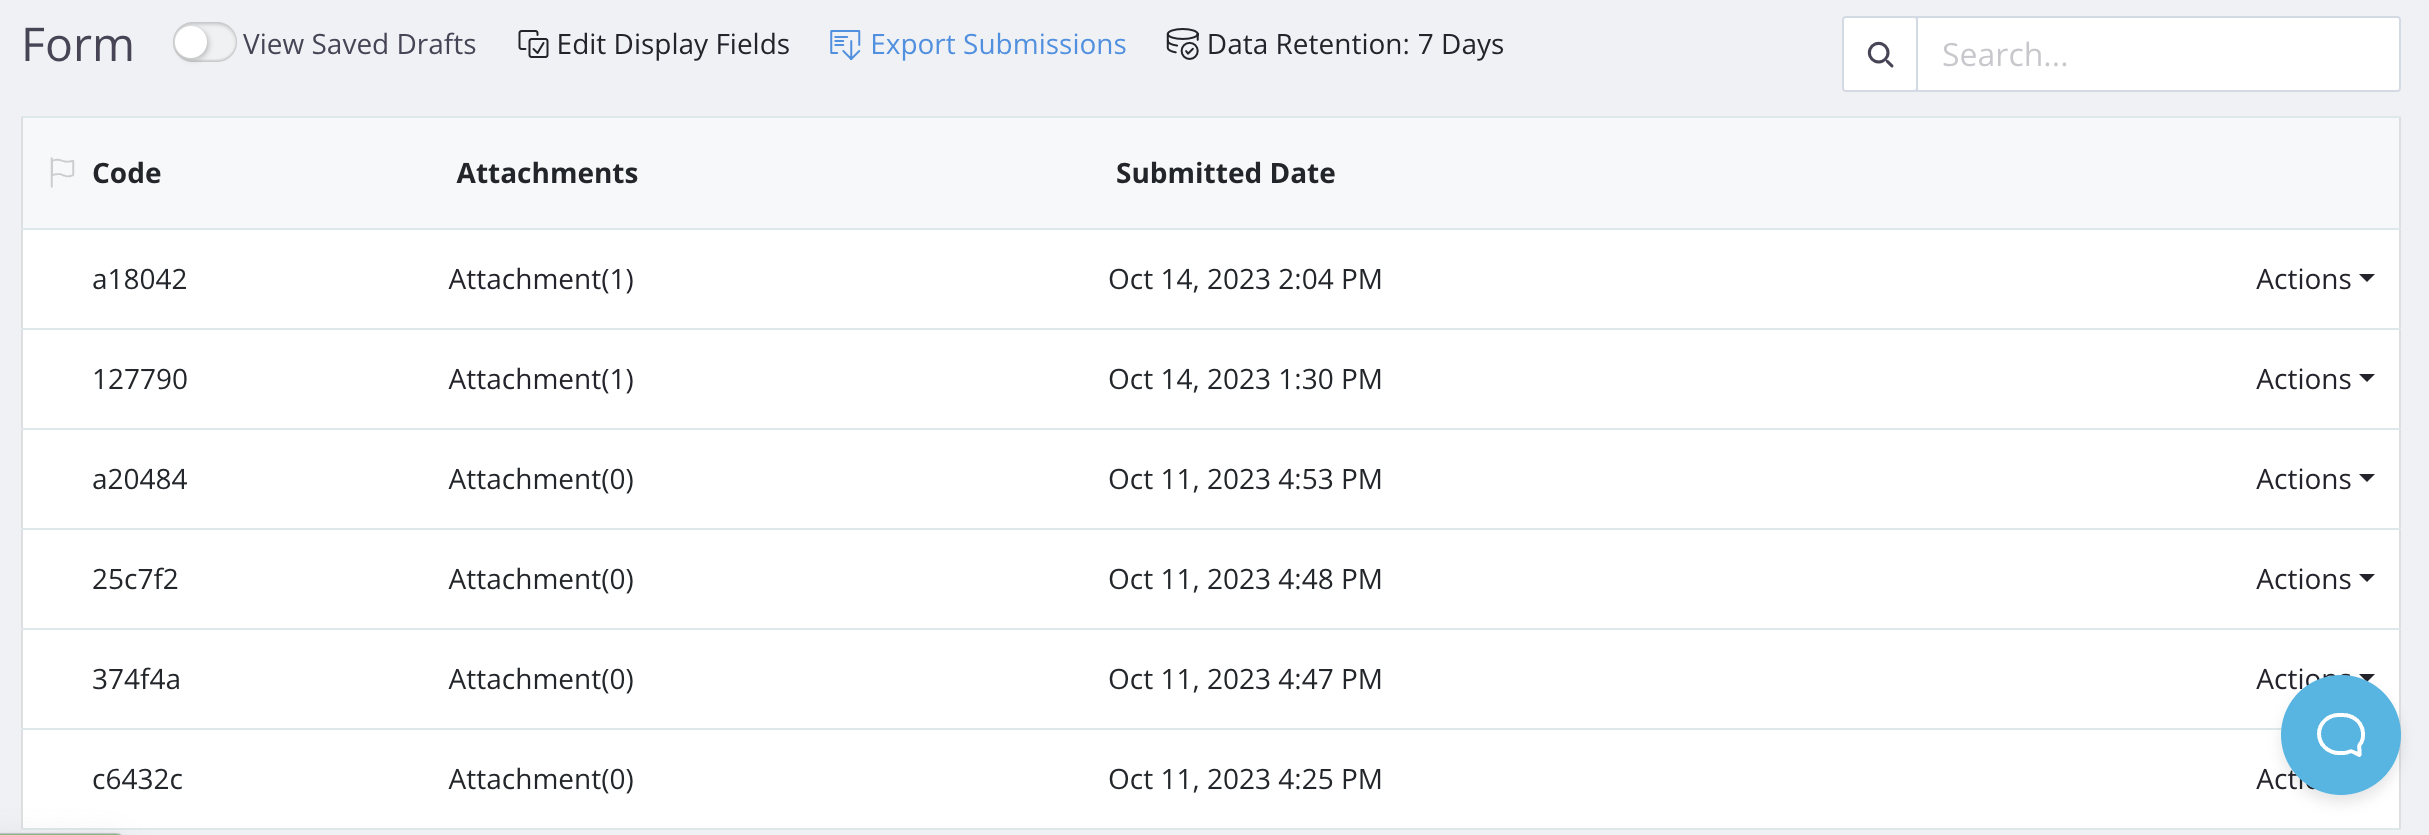
From the Dashboard, click Submissions in the left navigation to access the Submissions page.
-
Choose your form in the top thumbnail viewer to export submission data.
-
Click Export Submission.
-
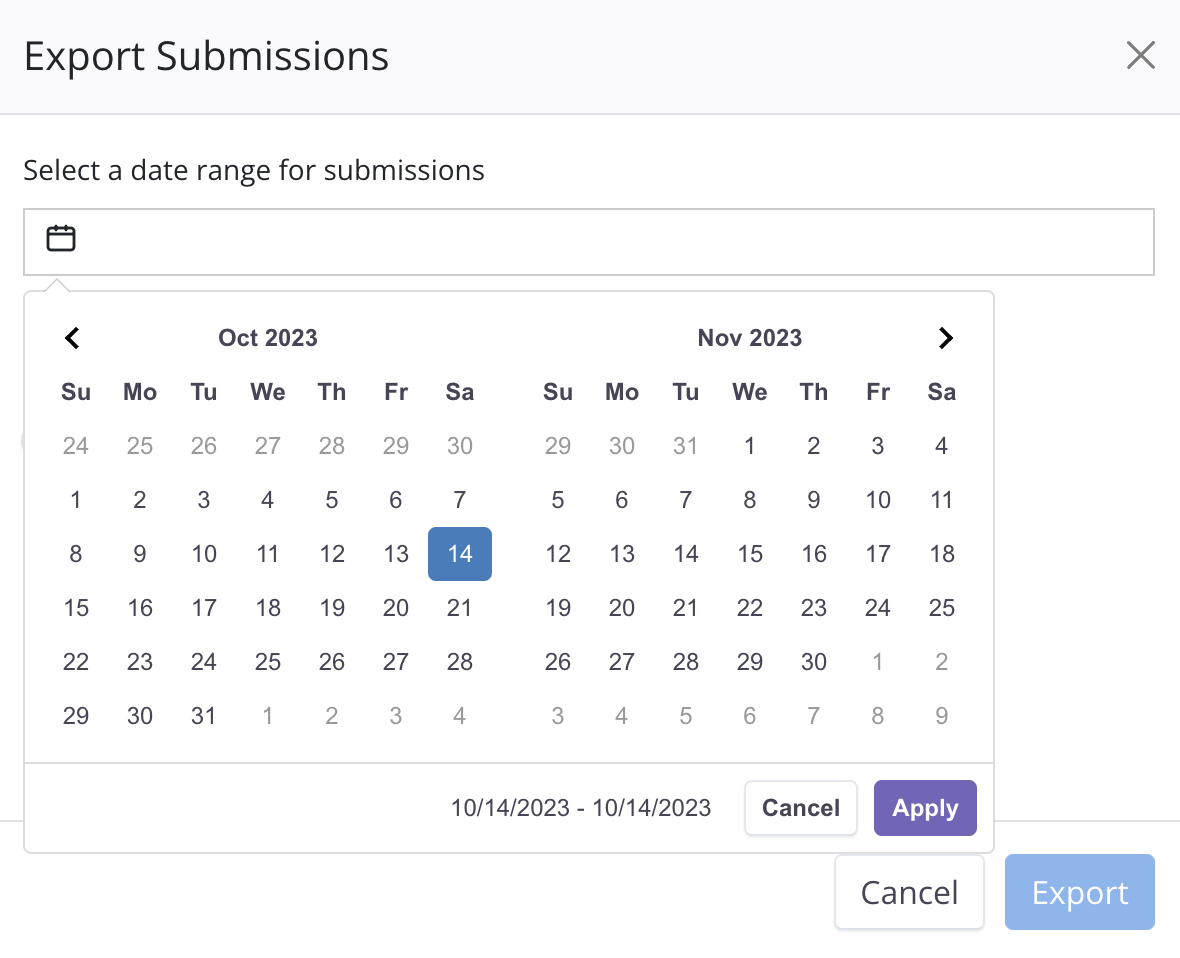
In the pop-up window, choose a date range, and click Apply.
 Note
NoteYou’ll see a prompt showing the count of submissions within your specified time range.
-
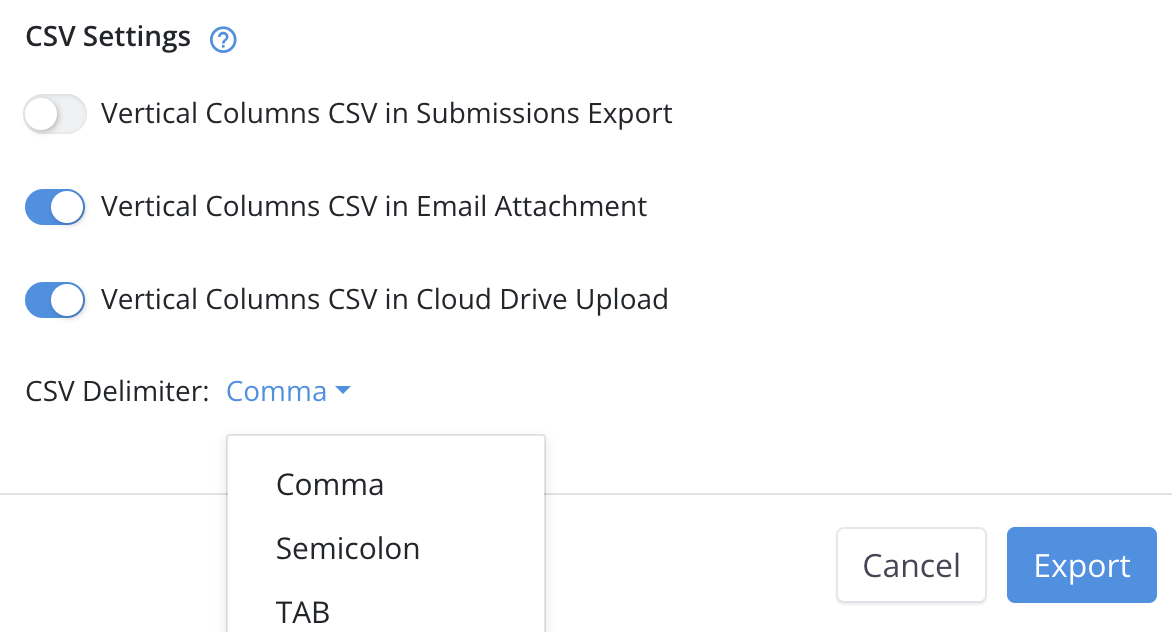
Enable the following options in CSV Settings to arrange submissions in vertical columns; disable them off for horizontal rows.
-
When Vertical Columns CSV in Submissions Export is enabled: Arrange submissions in vertical columns in the exported CSV file.
-
When Vertical Columns CSV in Email Attachment is enabled: Arrange submissions in vertical columns within the CSV attachment in the notification email.
NoteThis option applies when you include the variable
{{attach_csv_data}}in the Email Body during notification configuration. The notification email will then include the CSV file. Check here for more details.- When Vertical Columns CSV in Cloud Drive Upload is enabled: Arrange submissions in vertical columns in the CSV file uploaded to the cloud drive.
NoteThis option applies when your form is integrated with your cloud drive and you enabled “Export Raw Data CSV”. For further details, refer to this link.
-
-
Choose a CSV Delimiter based on your preference:
- Comma: Separates submission data by commas, suitable for spreadsheets.
- Semicolon: Separates submission data by semicolons.
- Tab: Separates submission data by tabs, commonly used for data exchange between different systems.
-
After confirming your settings, click Export.
You’ll receive a CSV file saved locally on your computer. Note that the “pdf_url” within this .csv file does not contain the domain name. To preview the PDF using the URL, add the prefix “https://design.platoforms.com” before the “pdf_url” info.
Exported field types
If your form includes the following fields, here’s how the submitted data will appear in your exported CSV file:
| Field Type | Description |
|---|---|
| Choice | The label for the selected choice. For multiple selections, they are separated by commas. If the Other option is chosen, its input value appears after the last comma. |
| Dropdown | If your Dropdown field has separate label and value settings, the exported submission will display the value. If there are multiple selections, they will be separated by commas. |
| Signature | To download the signature in PNG format, add https://design.platoforms.com before the URL path of the Signature field. |
| File Upload | To download the upload attachment, use the URL path of the File Upload field. |
Video tutorial
You can refer to the video tutorial How to export form submissions below: