Preview web PDF form
Tabs
You can check your web PDF form’s appearance and functionality before publishing. This helps you make any necessary adjustments to ensure your form is ready when it goes live.
Video tutorial
Not a fan of reading? Check out this video guide instead!
Preview your form
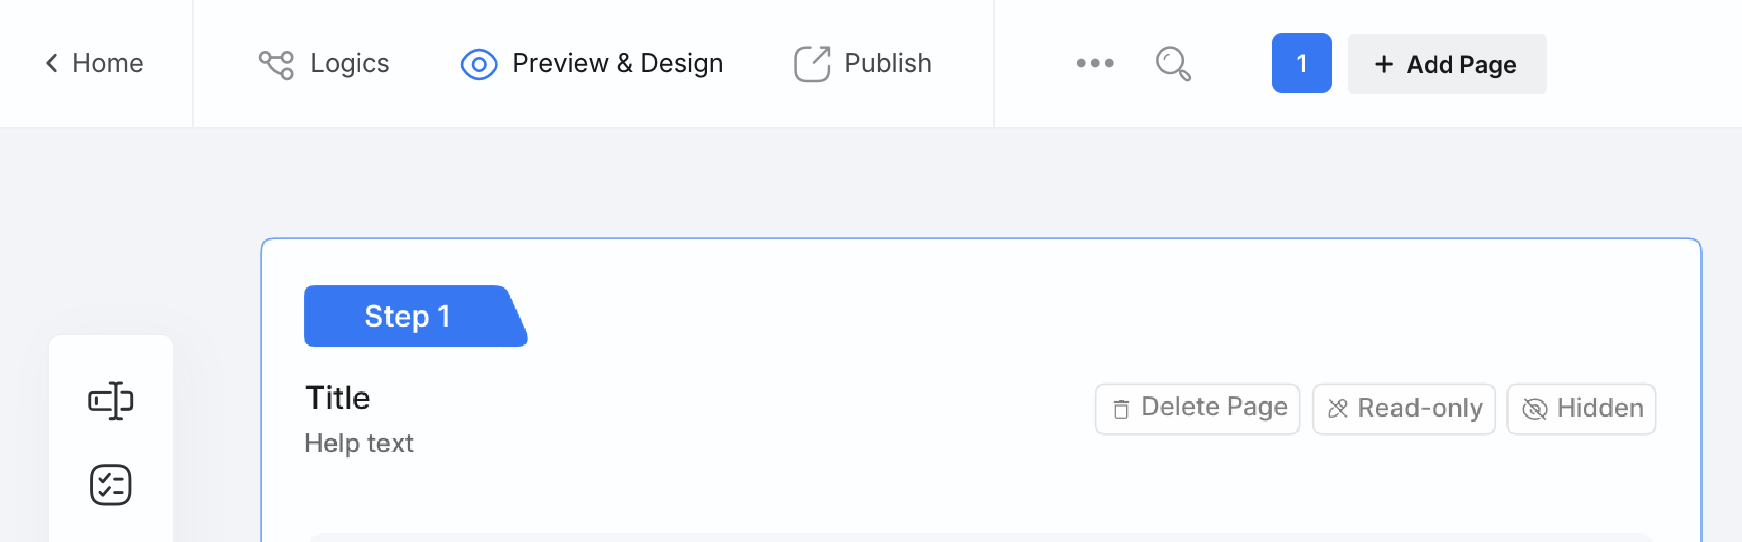
To preview your form, click Preview & Design in the top left of the form builder.
If Open Preview in Editor Window is enabled, the preview will open immediately in a pop-up. Otherwise, it will open in a new window, as shown below:
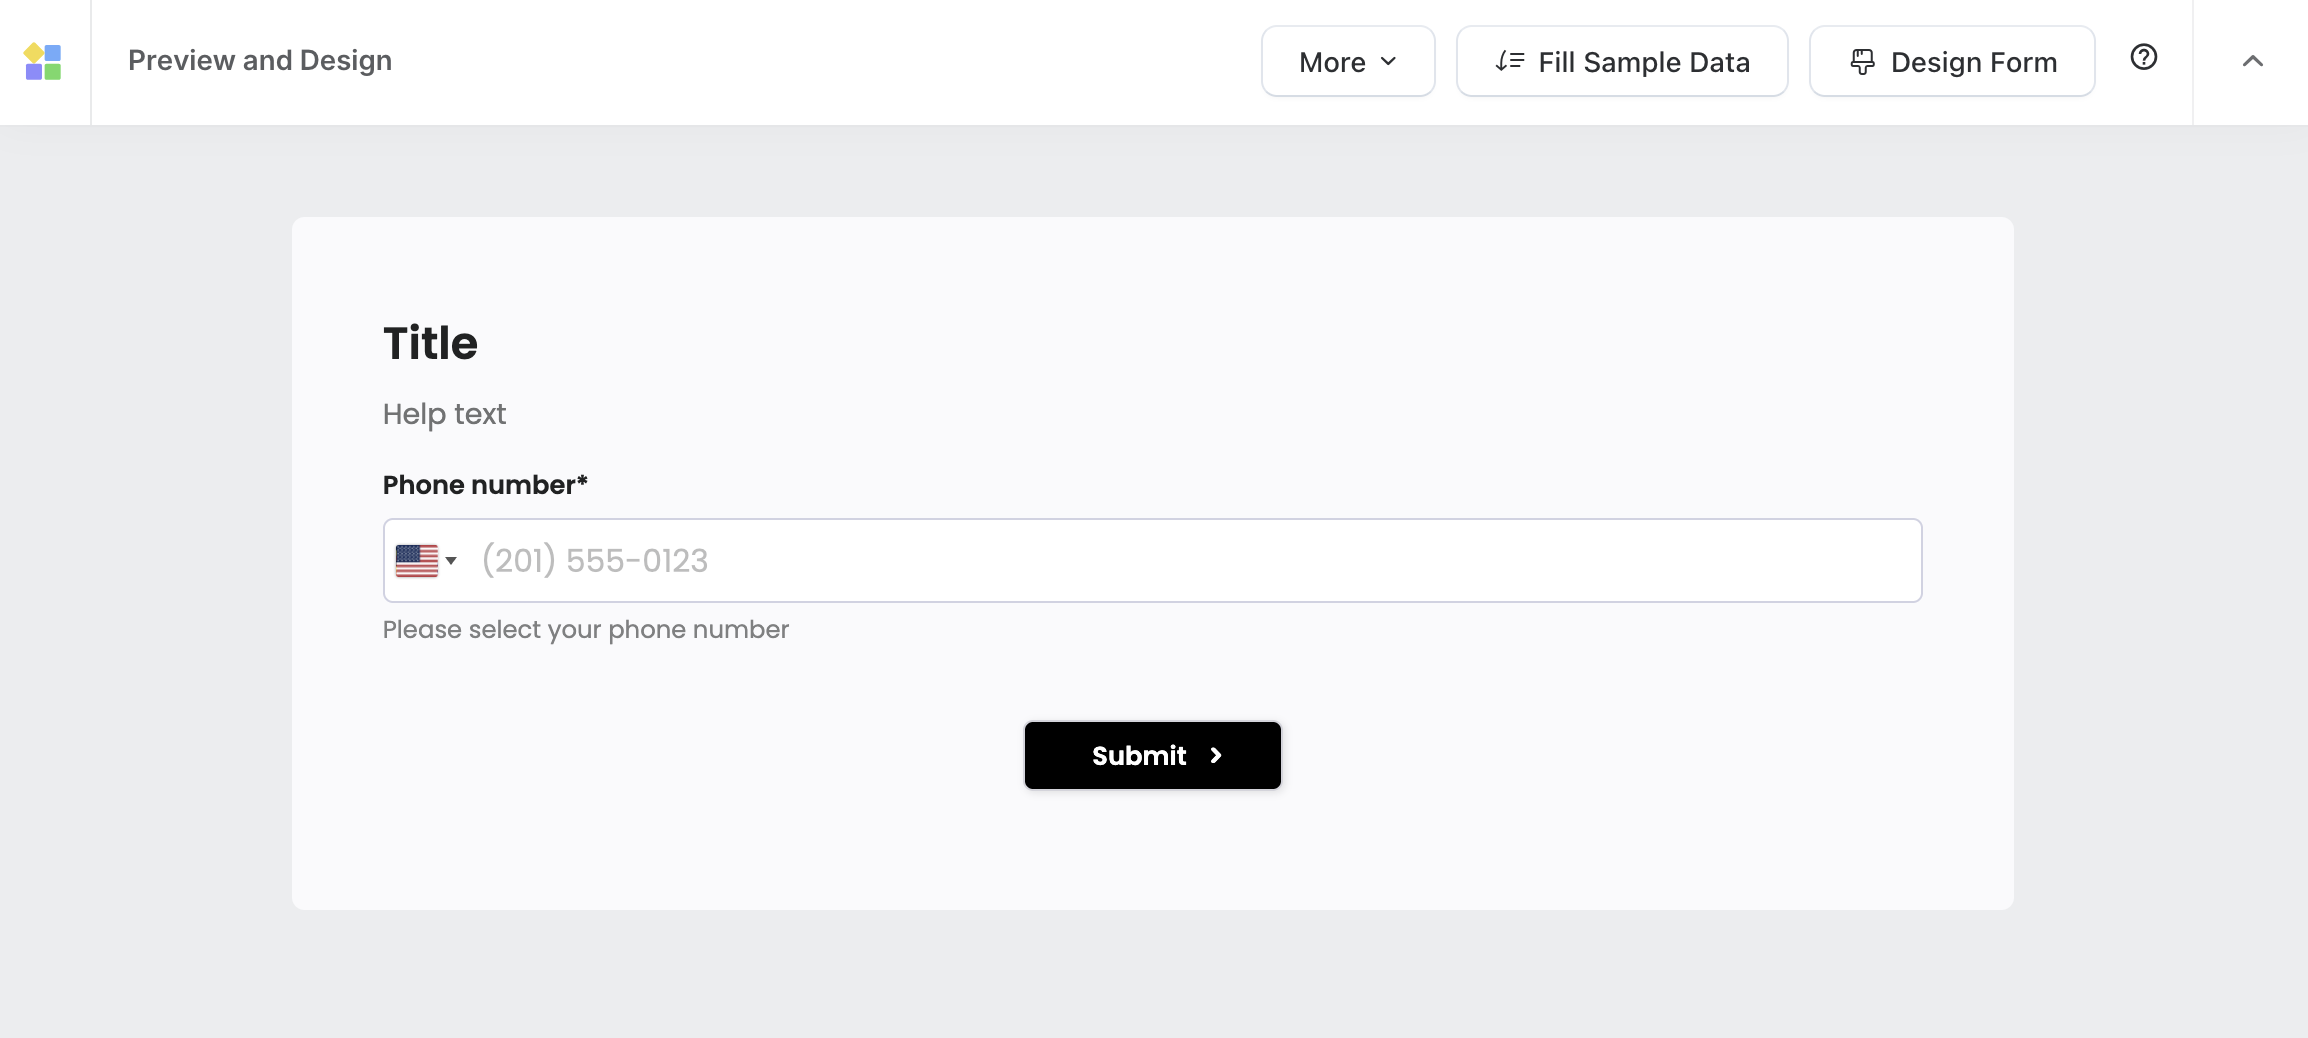
The preview window allows you to interact with the form as if it were live, letting you test fields, submit responses, and check functionality.
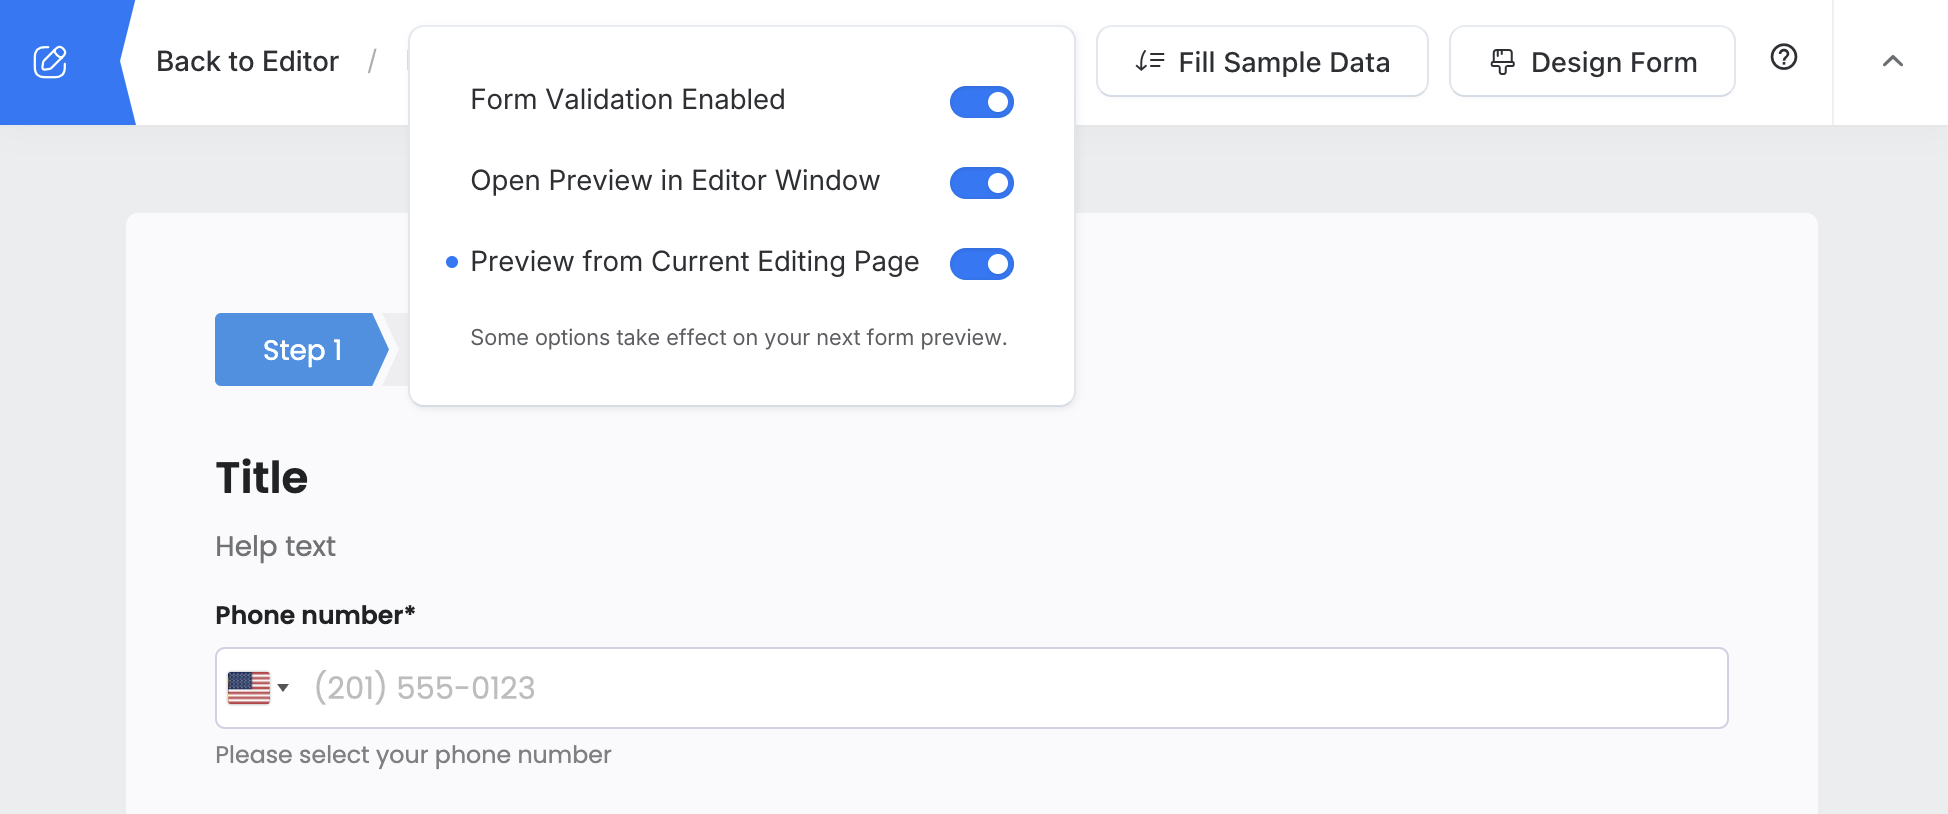
Preview settings
After you open the preview window, you can configure preview settings using the More dropdown menu on the preview page:
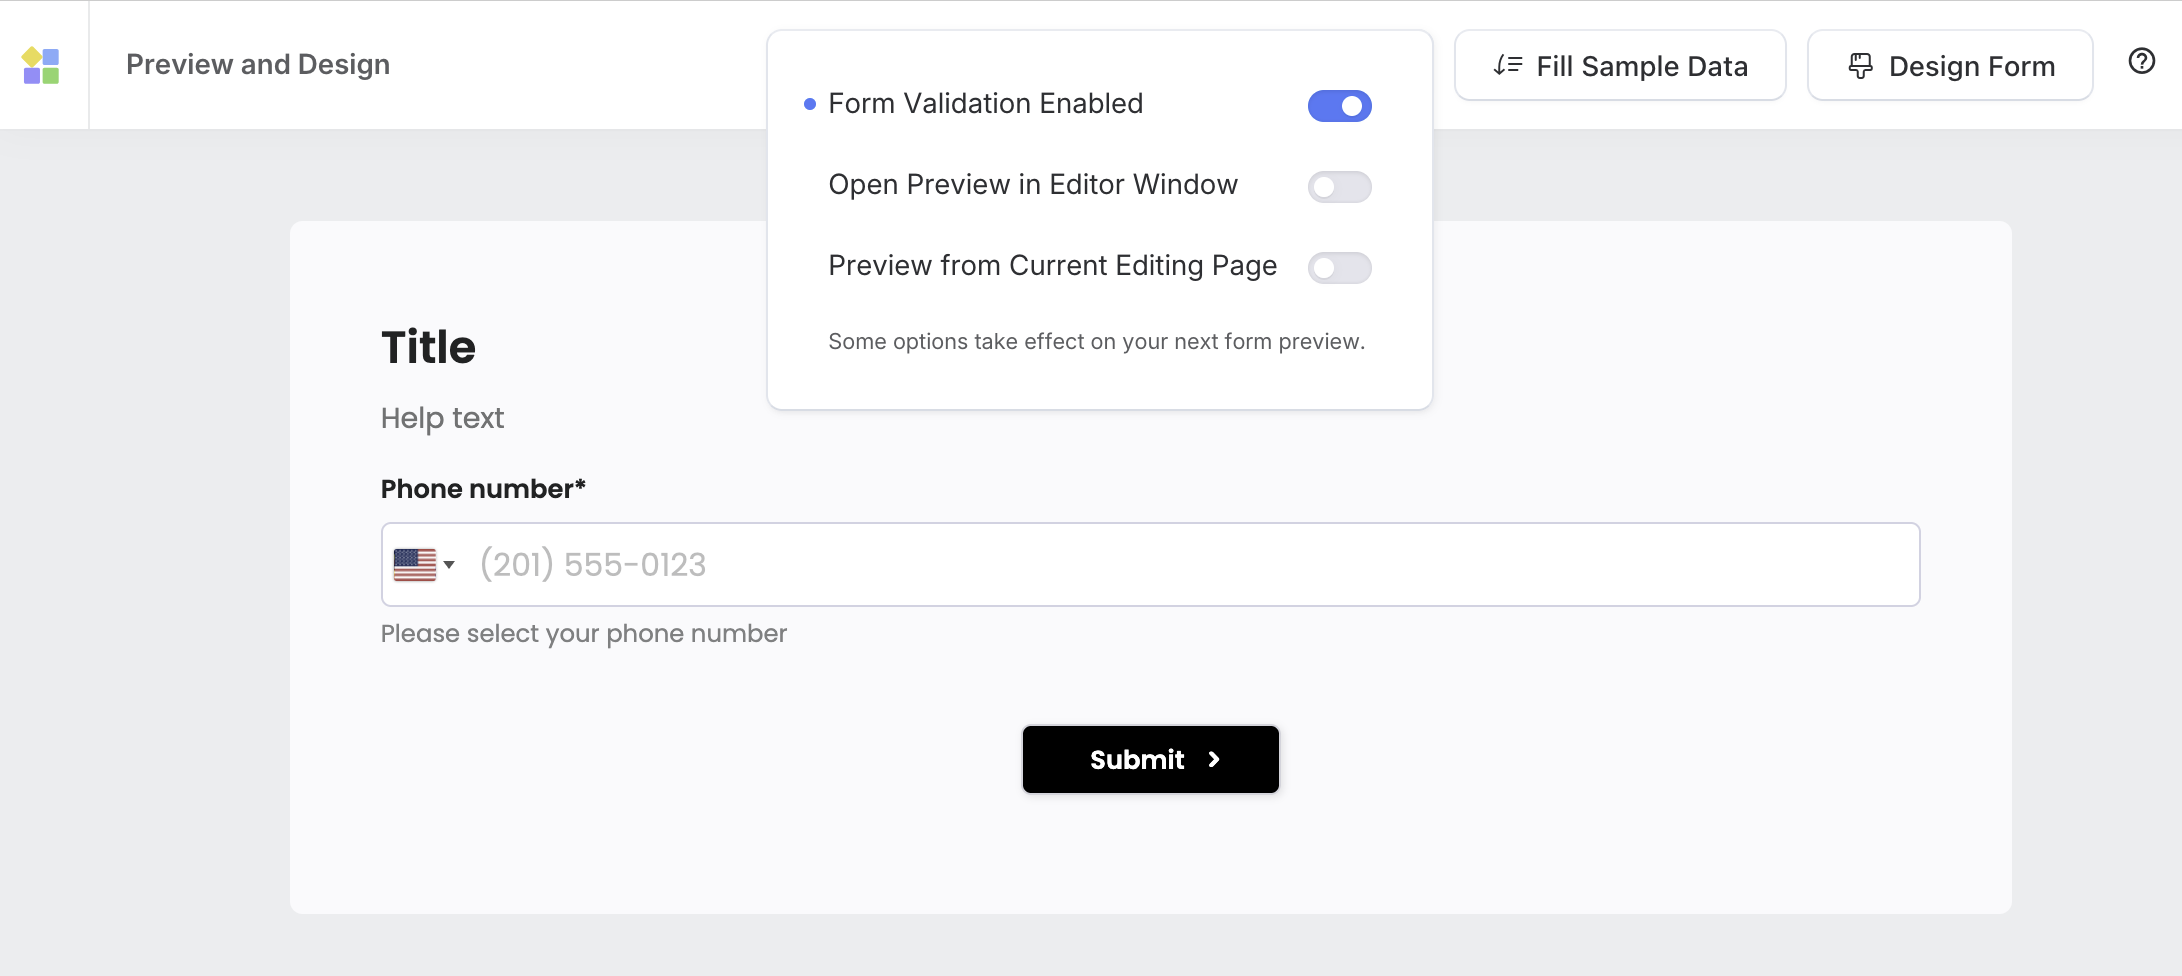
- Enable/disable form validation.
- Toggle on/off instant preview.
- Preview from a specific page instead of loading the entire form—helpful for multi-page forms.
Form validation
Form validation checks if users fill out the form correctly. By default, it’s turned on in preview mode. To change this, click More and select Form Validation Enabled.
- When enabled: The preview follows the same validation rules as the live form. Be aware that this may sometimes prevent certain actions due to validation restrictions.
- When disabled: The preview ignores validation, so you can check the layout and features more easily.
Instant preview
To have an immediate preview from a pop-up instead of opening a new window, click More and select Open Preview in Editor Window.
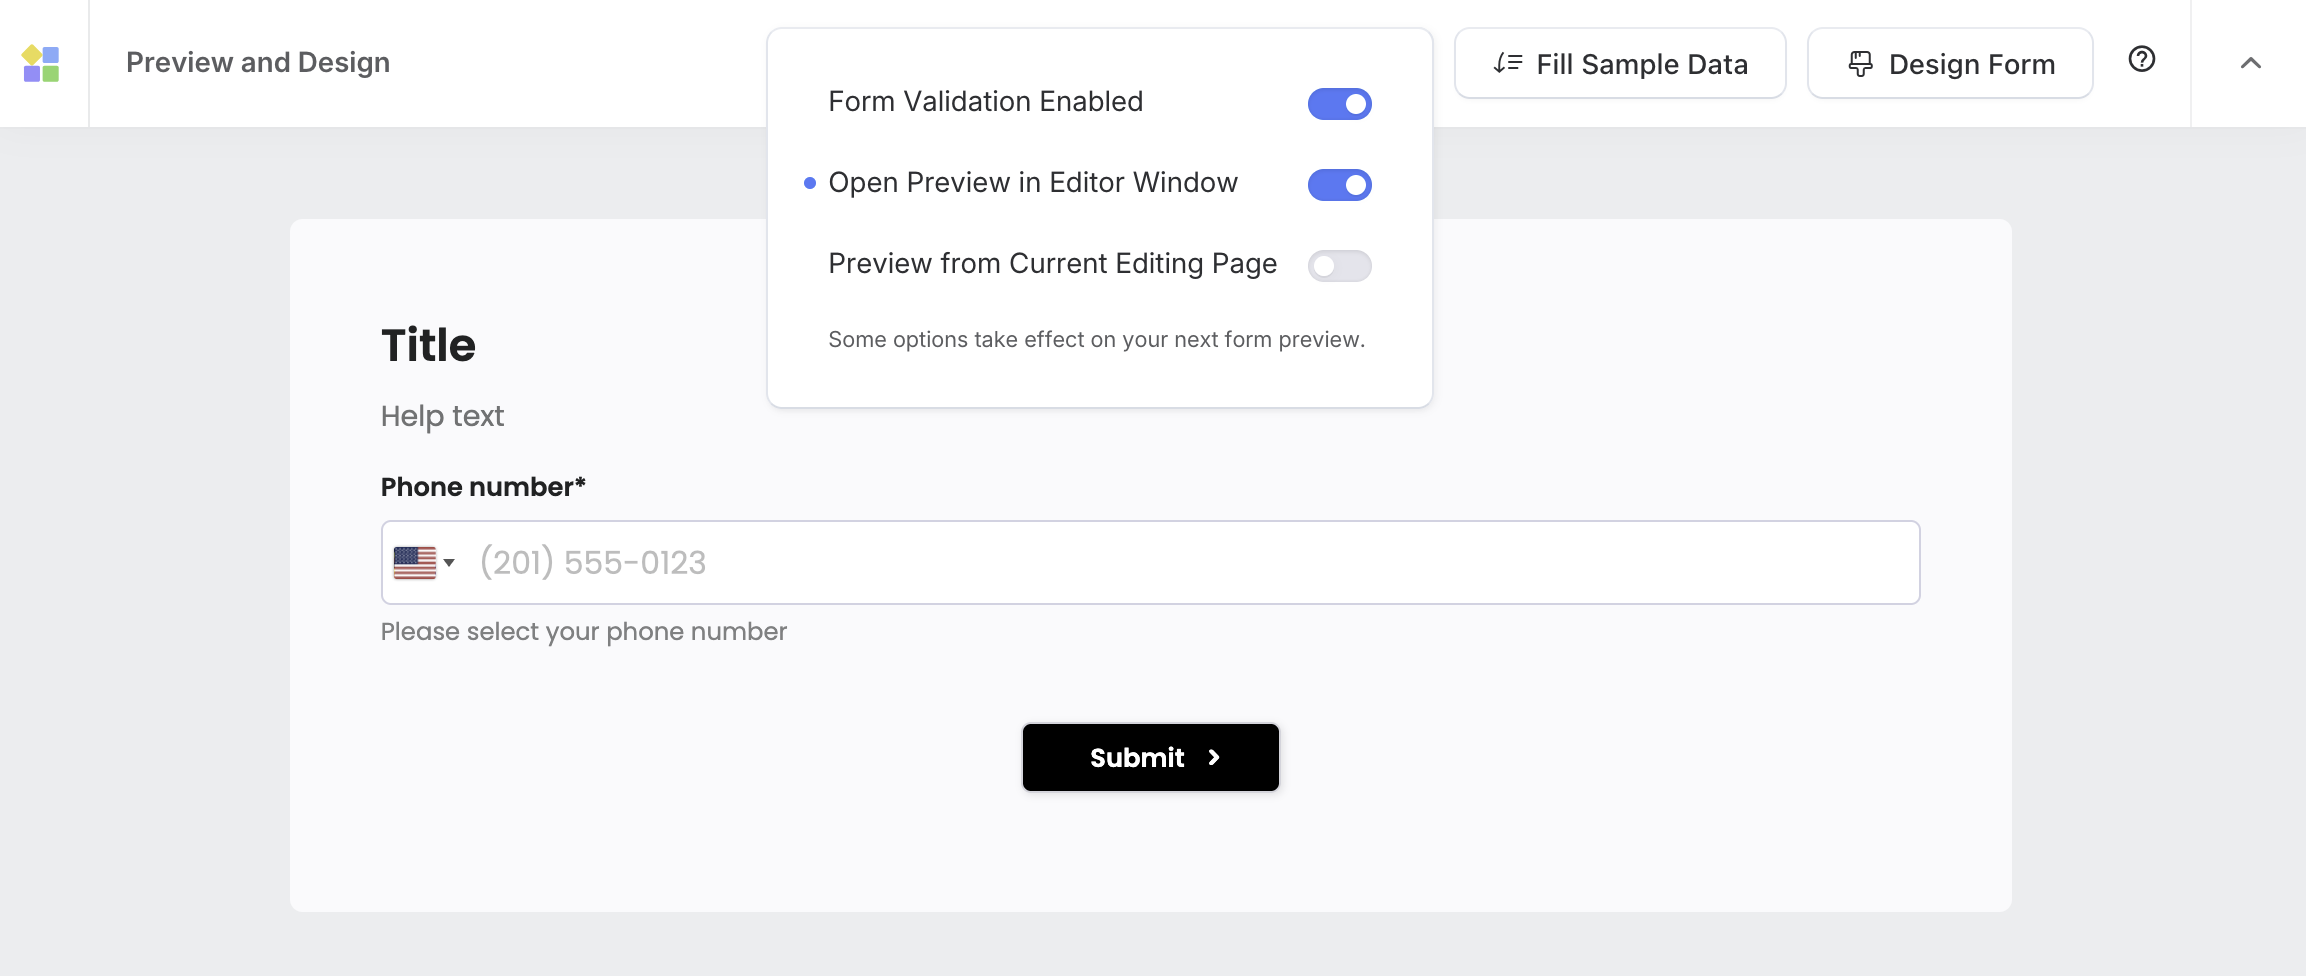
The form preview appears immediately in a pop-up within the same window. This makes it quicker to check your form without switching screens.
Preview a specific page
For multi-page forms, you can choose to preview a specific page instead of loading the entire form. This reduces loading time and allows targeted testing. To enable this feature:
-
In the form builder, select the desired page, and click Preview & Design.
-
Click More and select Preview from Current Editing Page.
Now, the next time you click Preview & Design, the selected page will pop up in a preview mode.
Add and preview sample data
Using sample data helps refine the layout and test field behavior before publishing. To add and preview sample data:
In the new form builder
-
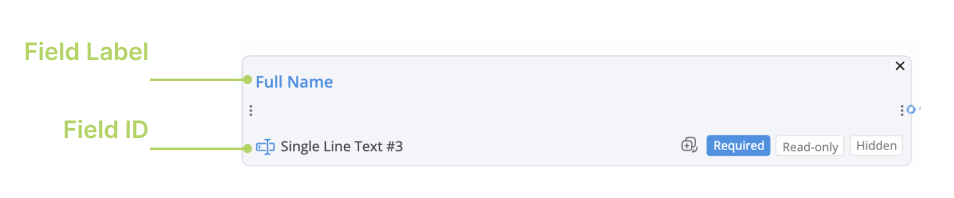
Hover over the field where you want to add sample data.
-
Click the Field Label or Field ID to open the attributes panel.
-
Scroll down to enter sample data in the Preview section.
-
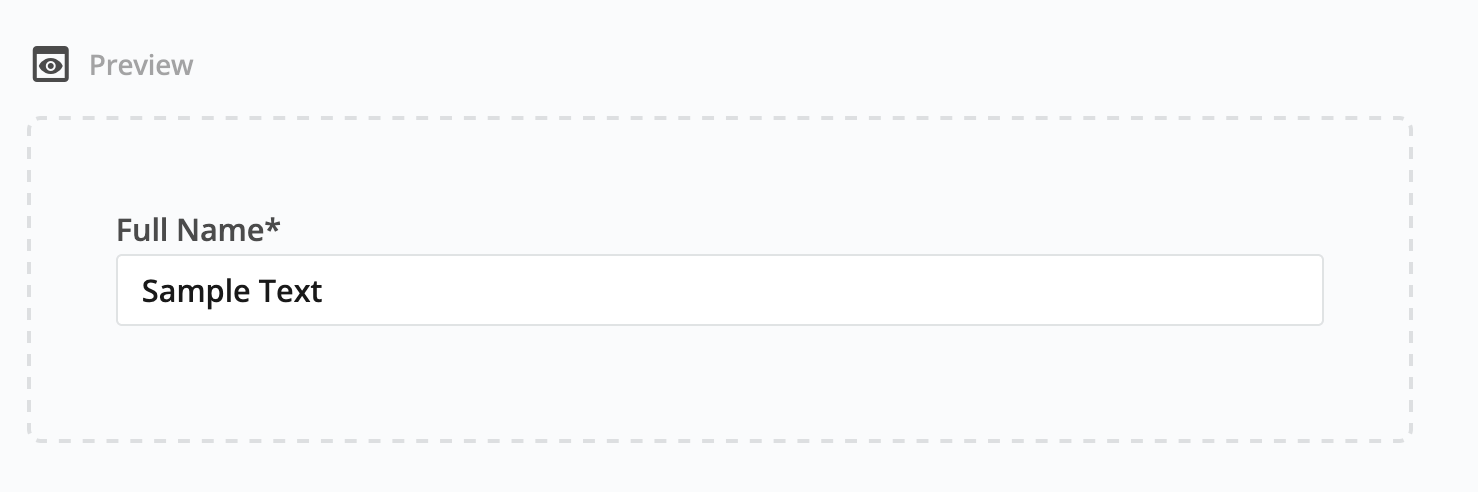
Click Preview & Design to open the preview page.
-
On the preview page, click Fill Sample Data to populate fields automatically.
In the old form builder
-
Hover over the field where you want to add sample data.
-
Click the Edit button to open the attributes panel.

-
Scroll down to enter the sample data in the field label section.
-
Click Preview Form to open the preview page.
-
On the preview page, click Fill Sample Data to populate fields automatically.
Sample data cannot be included for File Upload, Photo, Video, Embed, Decorative Image, and Stripe Payment fields. To preview these, manually upload files or photos in preview mode.
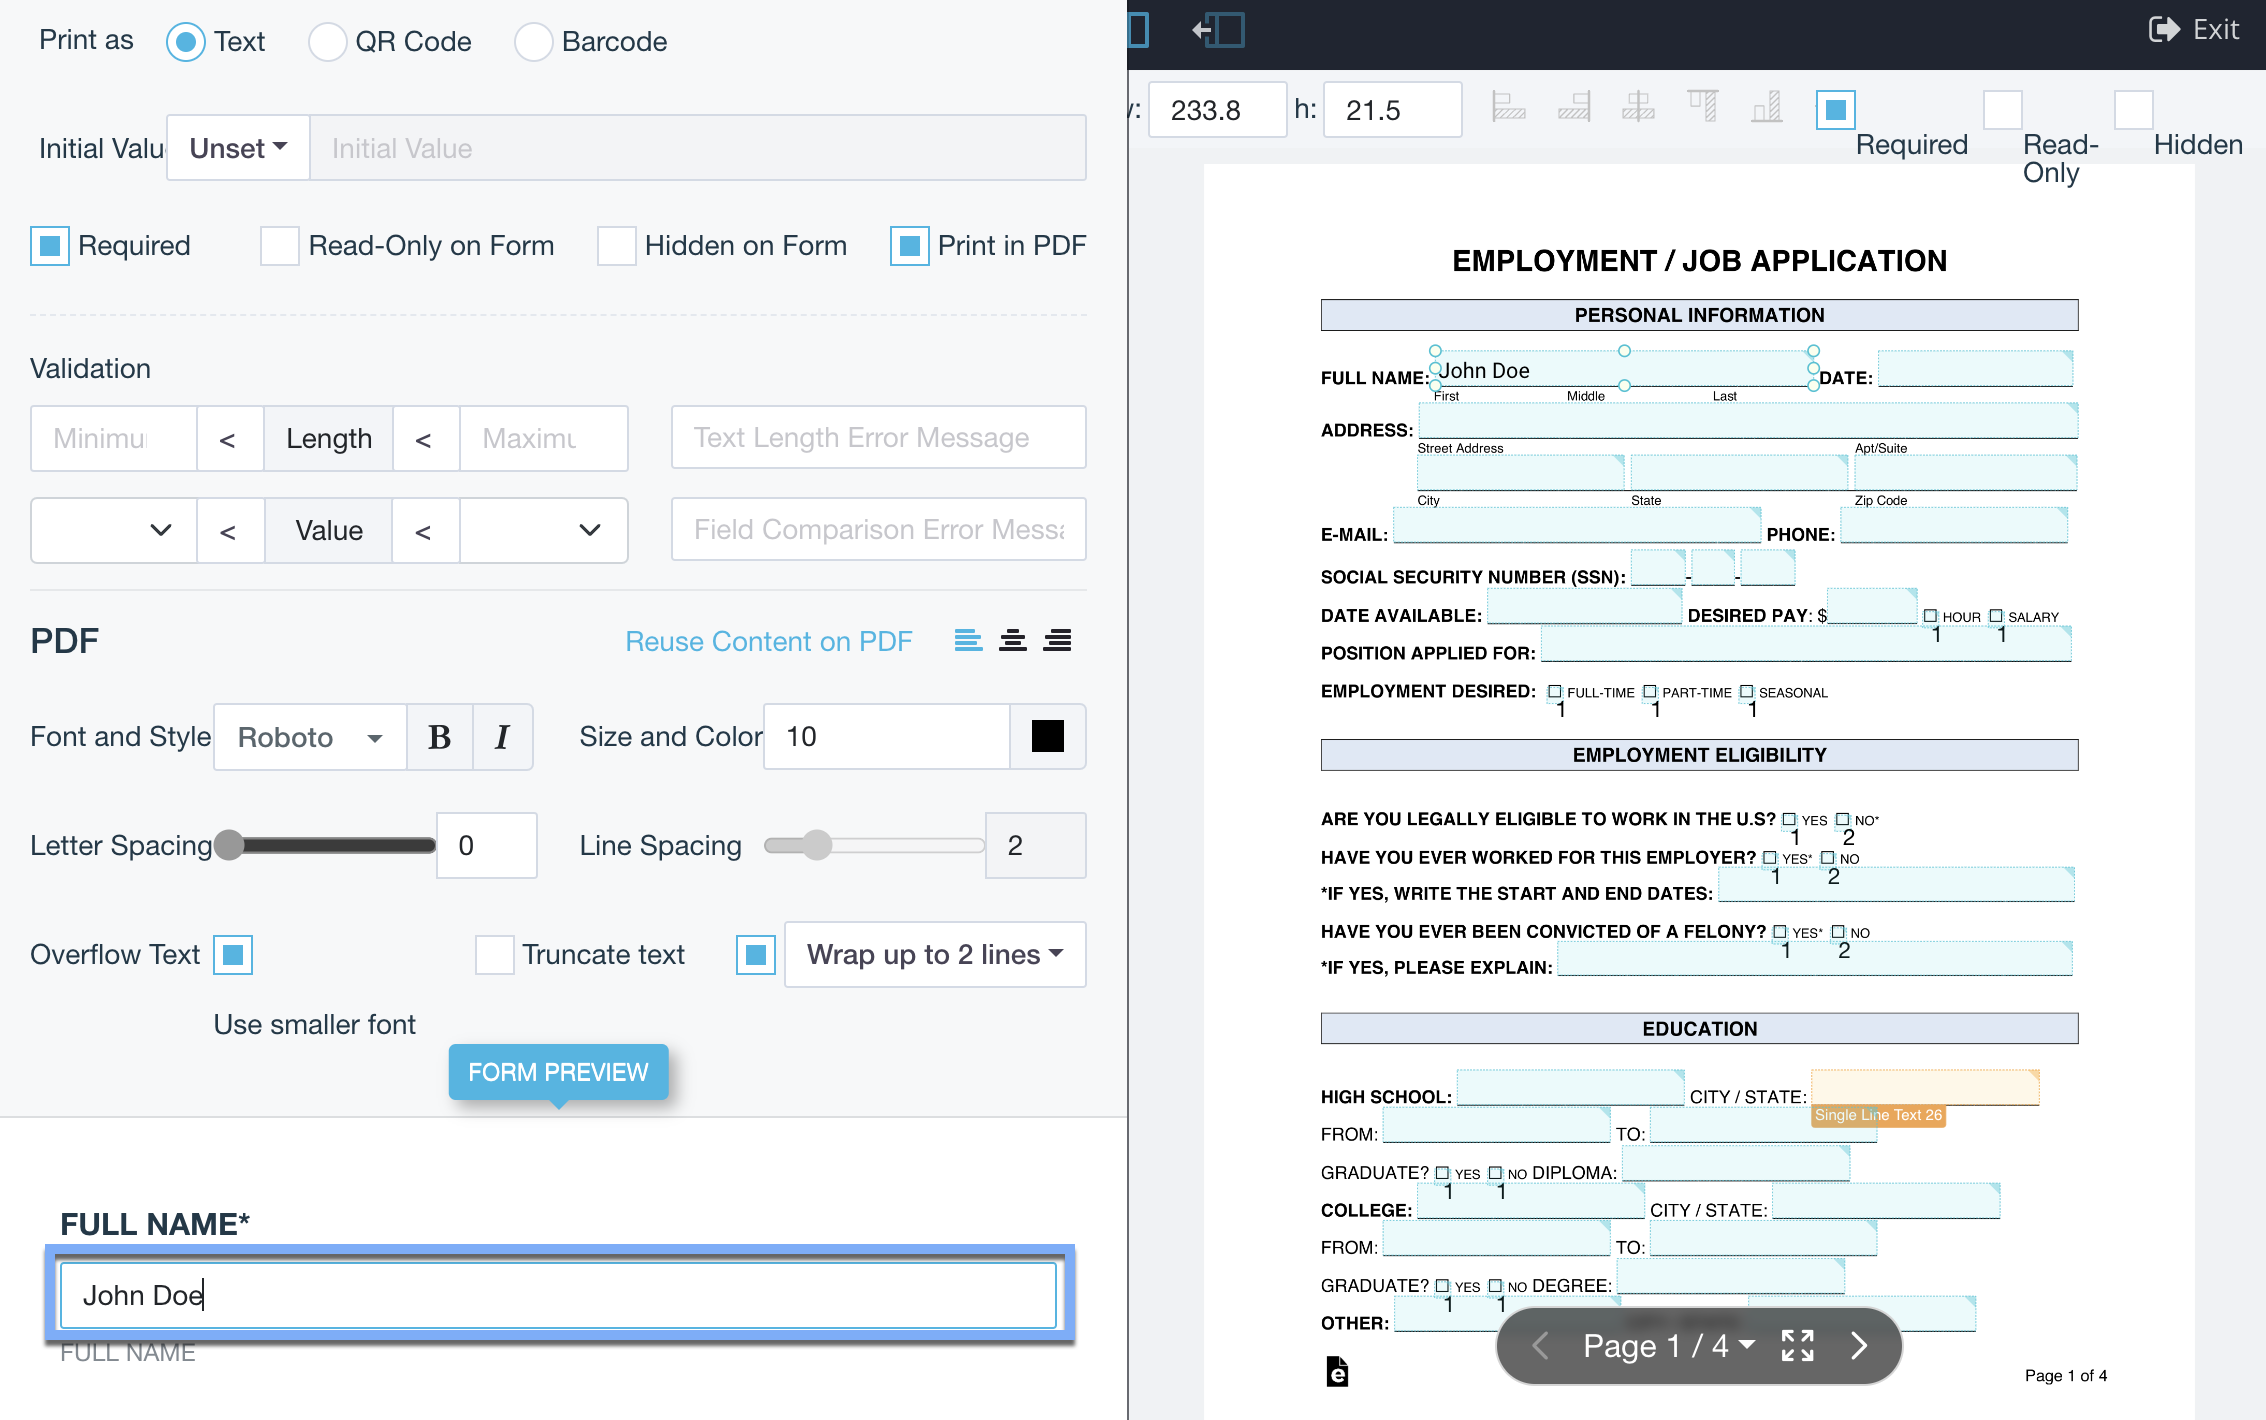
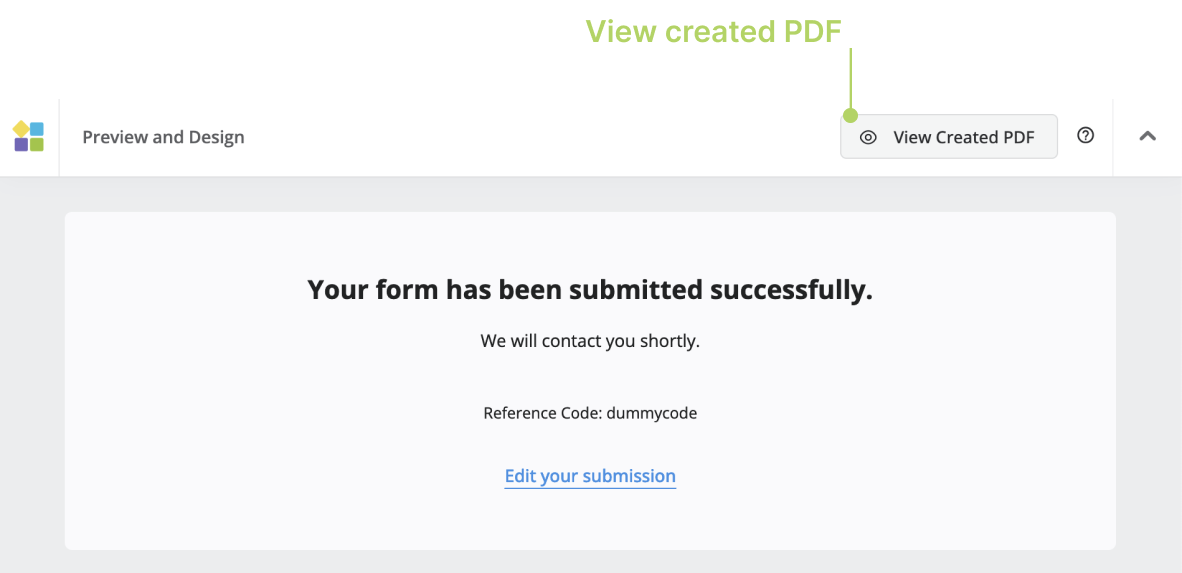
View created PDF
On the preview page, you can complete and submit the form. After submission, a confirmation message appears: “Your form has been submitted successfully.” You will also see the View Created PDF button in the top right corner. Clicking this button allows you to preview the PDF version of the form you’ve just submitted.
Sample and default selections
For Choice and Dropdown fields, there are two key settings:
-
Sample options: When you preview the form and use the “Fill Sample Data” feature, the selected option(s) on the preview page represent the sample selection. For example, if you have options like “Weekly” and “Monthly” set as sample selection, clicking “Fill Sample Data” will pre-select both “Weekly” and “Monthly” options.
-
Default options: The default selection is the option that is automatically chosen when the form is initially loaded or opened. It is independent of the sample data and represents the pre-selected option without any user interaction.
