Integrate with Stripe
Tabs
Two ways to collect Stripe payments
PlatoForms offers two ways to collect payments with Stripe:
| Stripe Checkout | Stripe Payment Widget | |
|---|---|---|
| Where payment happens | Stripe-hosted page (redirect) | Inline, inside your form |
| User experience | Leaves your form to complete payment | Stays on the form throughout |
| Apple Pay / Google Pay | Supported automatically | Supported (requires domain setup) |
| Best for | Quick setup, or when a hosted page is preferred | Seamless, single-page flows |
This page covers Stripe Checkout. To embed payment directly inside your form instead, see Stripe Payment Widget. Not sure which to use? See Stripe Checkout vs. Stripe Payment Widget.
Stripe integration requires a premium plan. PlatoForms does not charge any additional transaction fees.
Set up Stripe Checkout
-
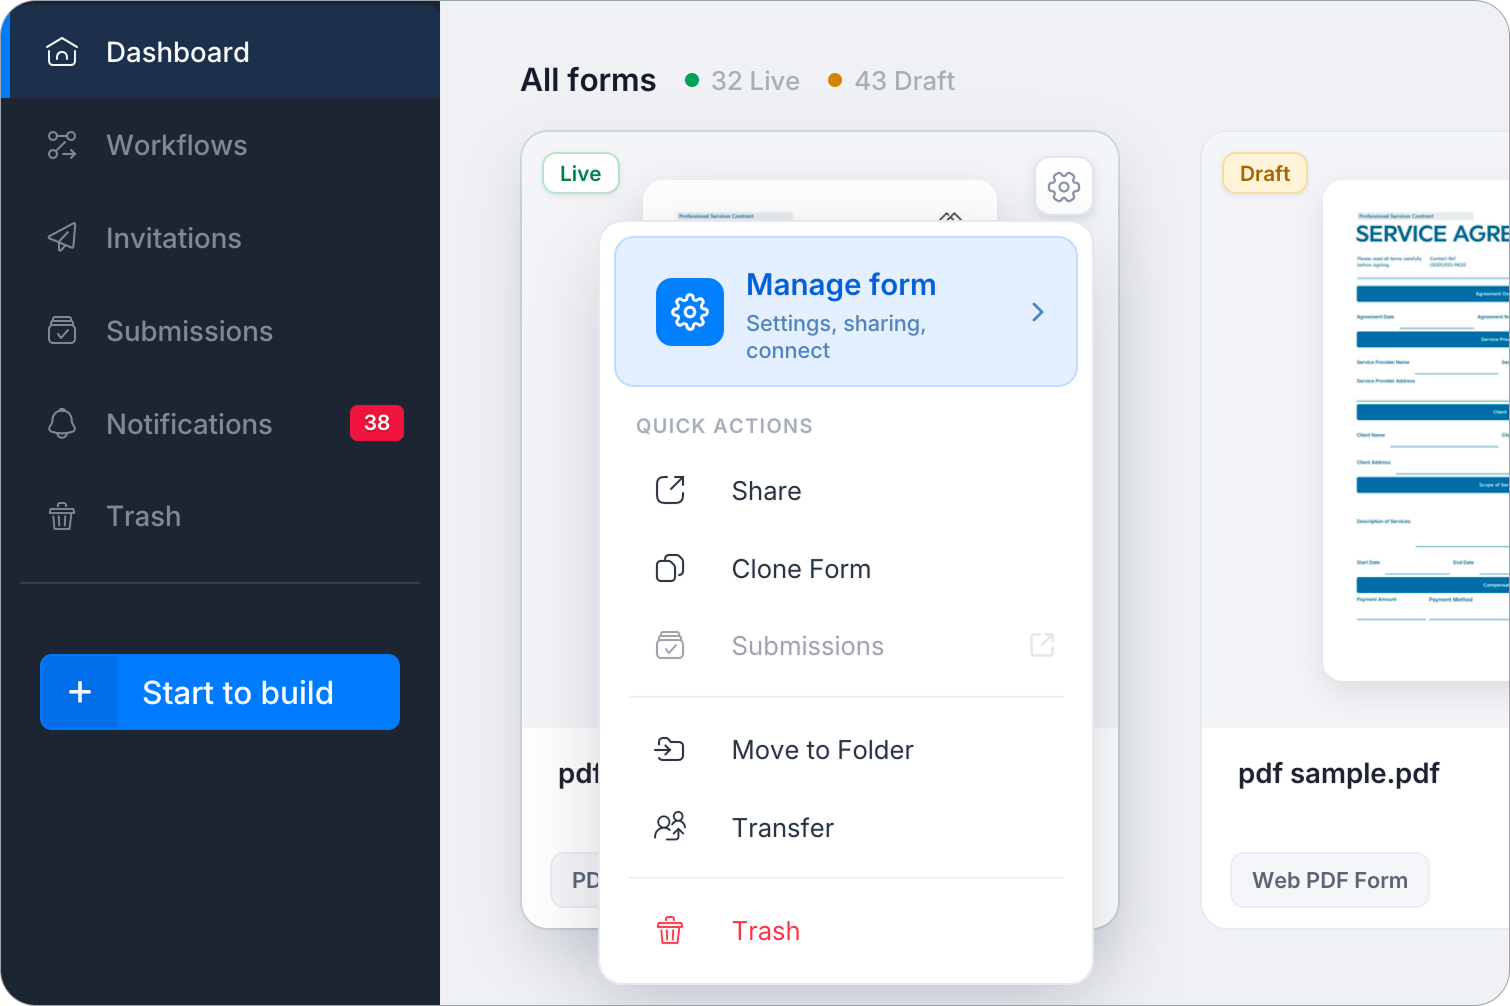
On the Dashboard, hover over the form, click the Settings (gear icon) at the top right, then click Manage Form.
-
In the left sidebar, click Integrations.
-
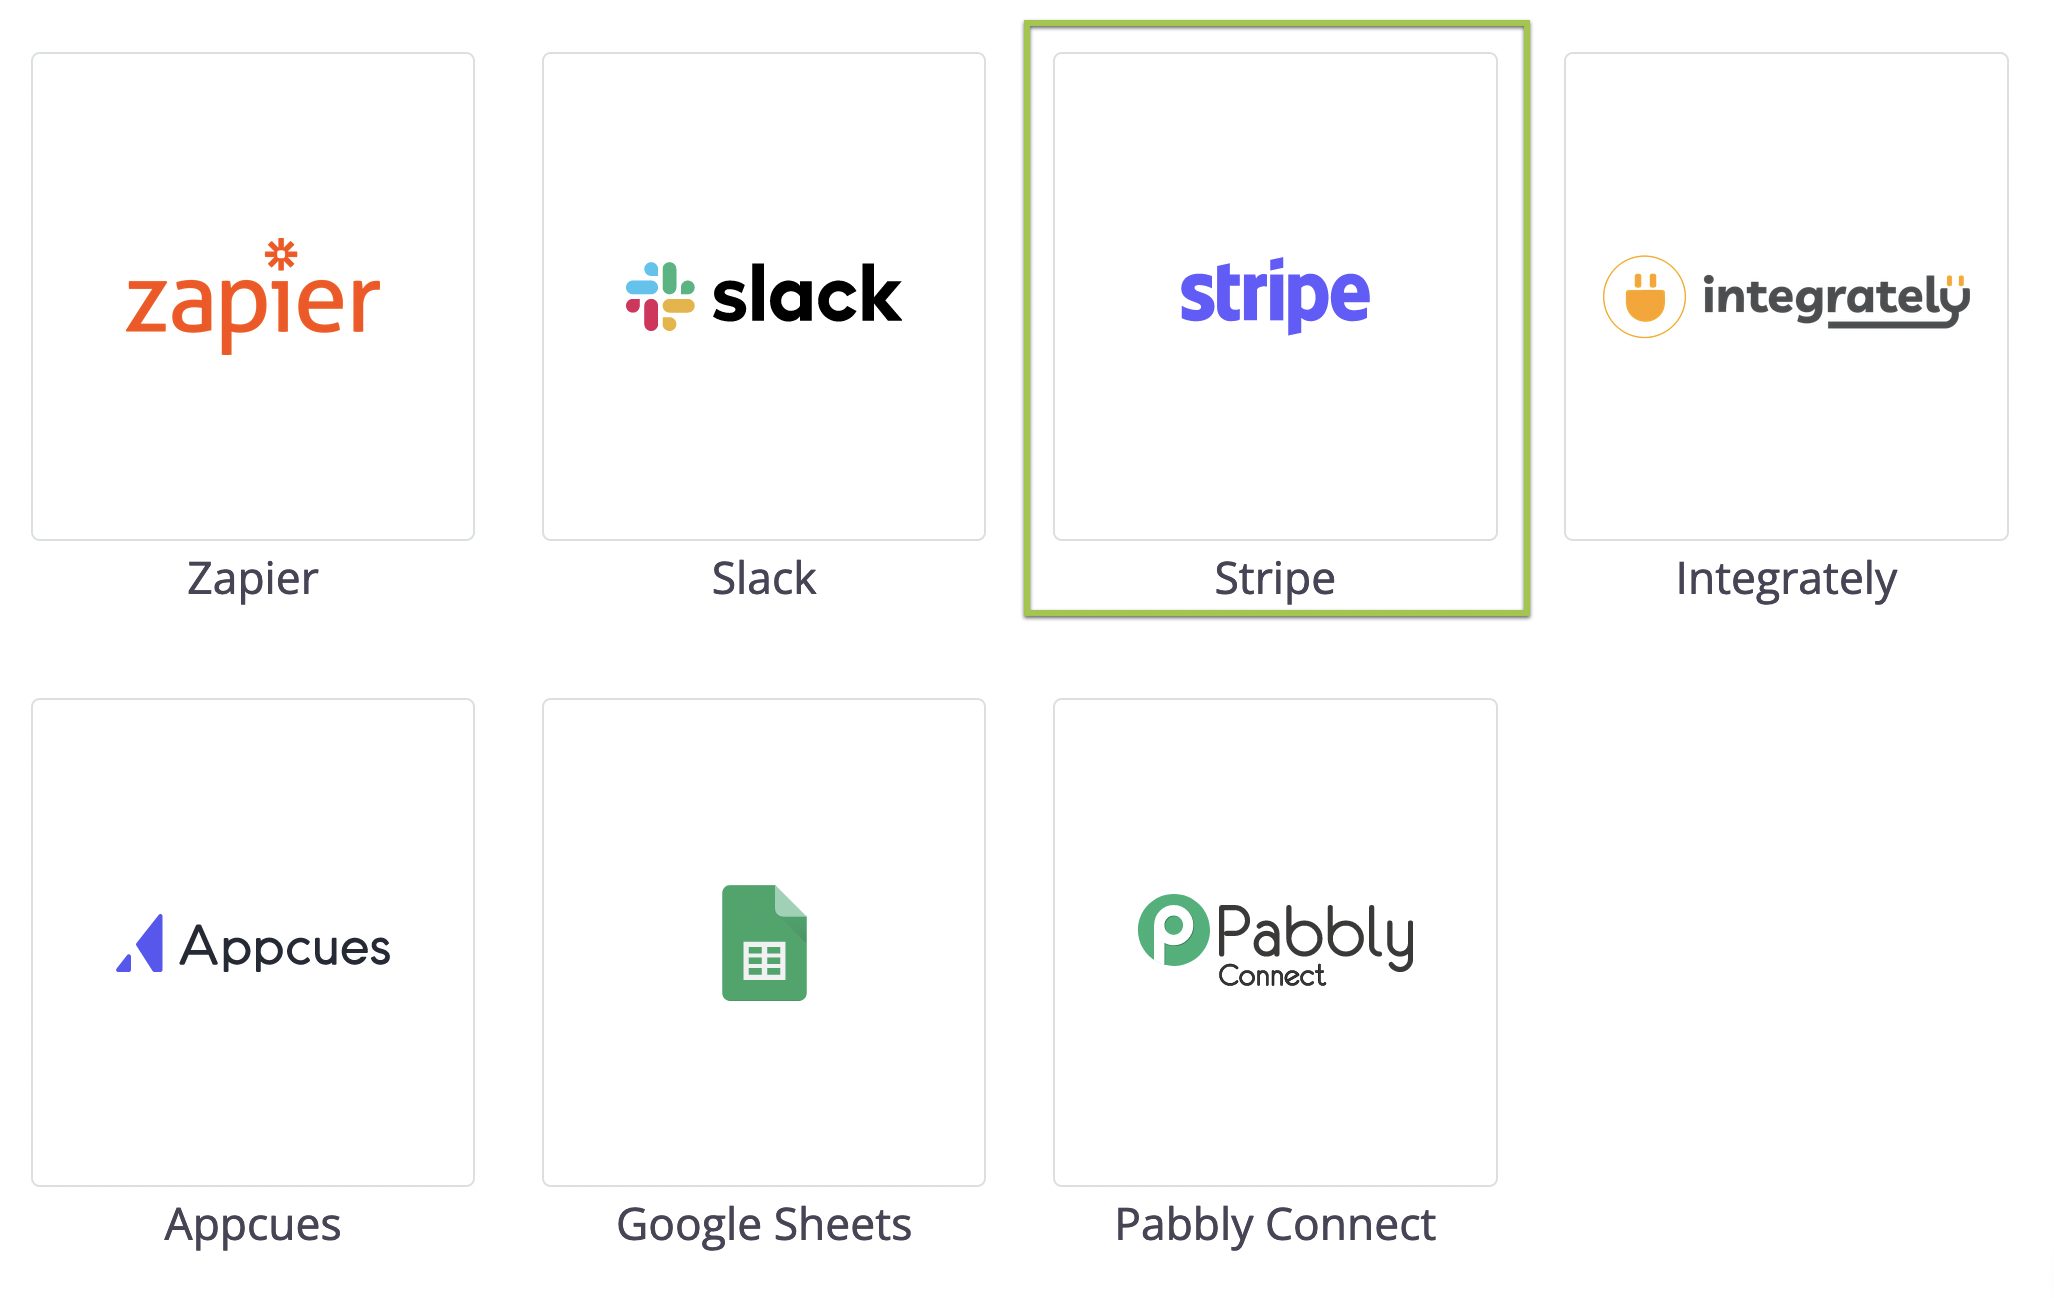
Find the Stripe Checkout card and click Connect.
-
Select which mode to connect:

- To preview your form, select Connect with Stripe (Test Mode). You can input a test credit card number to complete the payment. This mode will help you to verify whether the payment function is working as expected without an actual credit charge.
- For published form, select Connect with Stripe. This mode accepts the valid credit and processes the payment.
-
In the pop-up window that opens, follow the prompts to create your free Stripe account.
Use Stripe Payment widget
-
Open your form in the builder.
-
In the Widget Panel on the left, click More Widgets (three dots) > Stripe Payment (Under Enhanced Features) to add it to your form.
-
Click the widget to set:
-
Connect: Link your Stripe account for both Live and Test modes.
-
Amount: Set a Fixed Amount or select Amount from a form field to use a dynamic price (the
{{pricing}}tag in the label will show the actual amount).
-
Enable Apple Pay
To use Apple Pay, you must manually add your form domain to your Stripe account.
-
Log in to your Stripe Dashboard.
-
Go to Settings > Payment methods > Payment method domains.
-
Click Add a new domain and add your form links:
-
Live:
form.platoforms.com -
Preview:
design.platoforms.com -
HIPAA:
secure.platoforms.com -
Custom Domain: e.g.,
myform.company.com
-
Payment process
Here’s a screenshot of the payment dialogue when you’re previewing the form:

- When you’re in the preview stage: Use a test credit card for form submission.
- When you published the live form: Payment process is alike, requiring a real credit card.
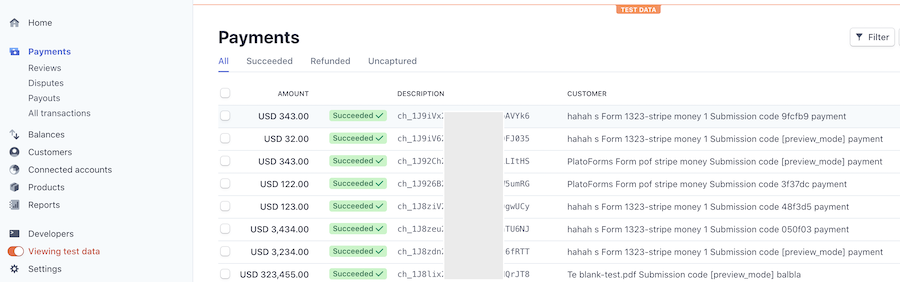
Review payments: test and live modes
- Check Stripe account: Log in to review payments.
- Distinguish test/actual payment: Toggle on/off View test data for clarity.
Customize customer info
Integration Settings: Tailor CUSTOMERS info (excluding currency code).