Manage Master Form
Tabs
Discover how the Master Form feature in PlatoForms simplifies the process of reusing fields across multiple PDFs.
What’s Master Form?
Master Form allows you to achieve efficient reuse of fields, such as File Upload, in multiple PDFs.
Want a video instead of text? Check out the tutorial below:
The steps are straightforward:
- Create the Master Form, add fields, and customize their properties.
- Link the desired PDF to the Master Form, and easily incorporate the fields onto the PDF.
Once the integration is complete, you can publish the PDF with the added fields, creating a cohesive and customized PDF form that captures user inputs effortlessly.
Master Forms simplify form creation, save time, and maintain consistency in your PDF forms.
- Start with a Master Form that isn’t linked to a PDF. After editing it, upload PDFs to create linked PDF forms. Use the link form editor to connect a widget from the Master Form to a PDF.
- You can create as many linked forms as you need. When these forms are submitted, they generate PDFs using the selected mapping.
Create a Master Form
Follow these steps:
-
Log in to your PlatoForms account.
-
On the Dashboard, click + Start to build in the bottom left corner to begin building.

-
In the pop-up window, select Master Form.

After selecting this option, you’ll be taken to the Master Form’s form builder. For more information about the form builder, refer to Explore the form builder.
Edit the master form
To edit your master form for later reuse, follow these steps:
Add fields
-
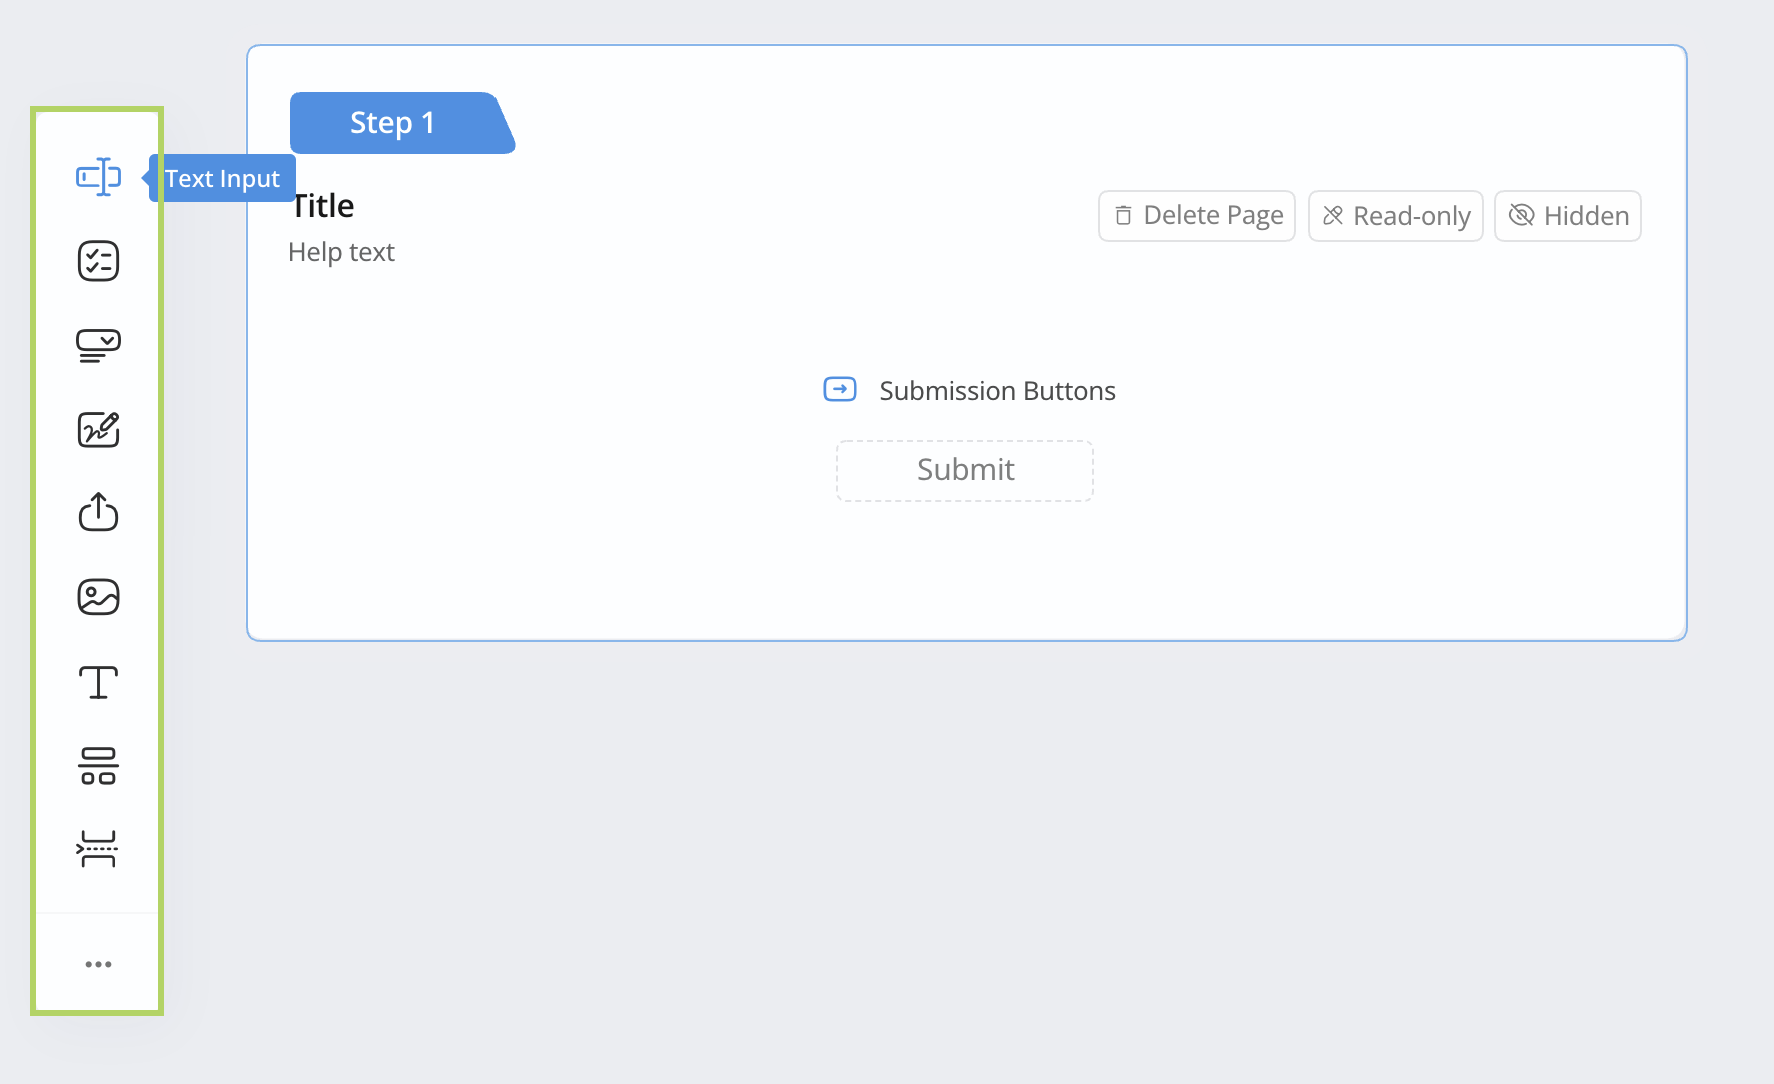
On the form buidler of the Master Form, locate the Toolbar on the left.
-
Click the field icons to add desired fields to your Master Form.
Edit field properties
After adding a field to your Master Form, you’ll see its widget appear in left Field Panel with a blue border. The right panel will display the field’s properties.
-
To view the properties for each field, simply click on its corresponding widget in the left panel.
-
To edit a field’s properties, click on the field widget in the left panel, and make changes in the panel on the right.
-
To rearrange the field order, drag and drop the widget in the left panel to adjust their position.
Learn more about the Field Panel here.
Preview Master Form
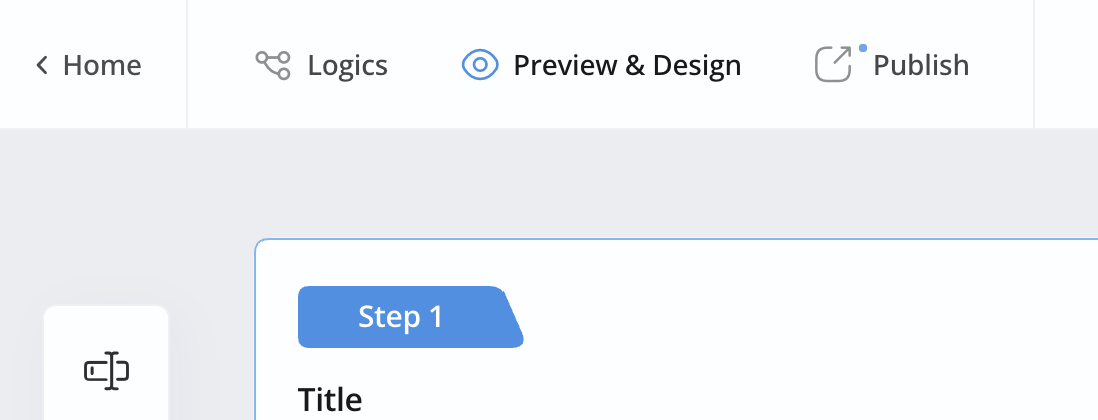
Before linking the Master Form to your PDF, it’s a good idea to preview your Master Form. To do that, click the Preview & Design button on the top left.
For an accurate preview, consider adding sample data before previewing. This helps render your form with realistic data, providing a more representative preview. For more details, refer to the Add and preview sample data section.
Upload and link PDFs with Master Form
-
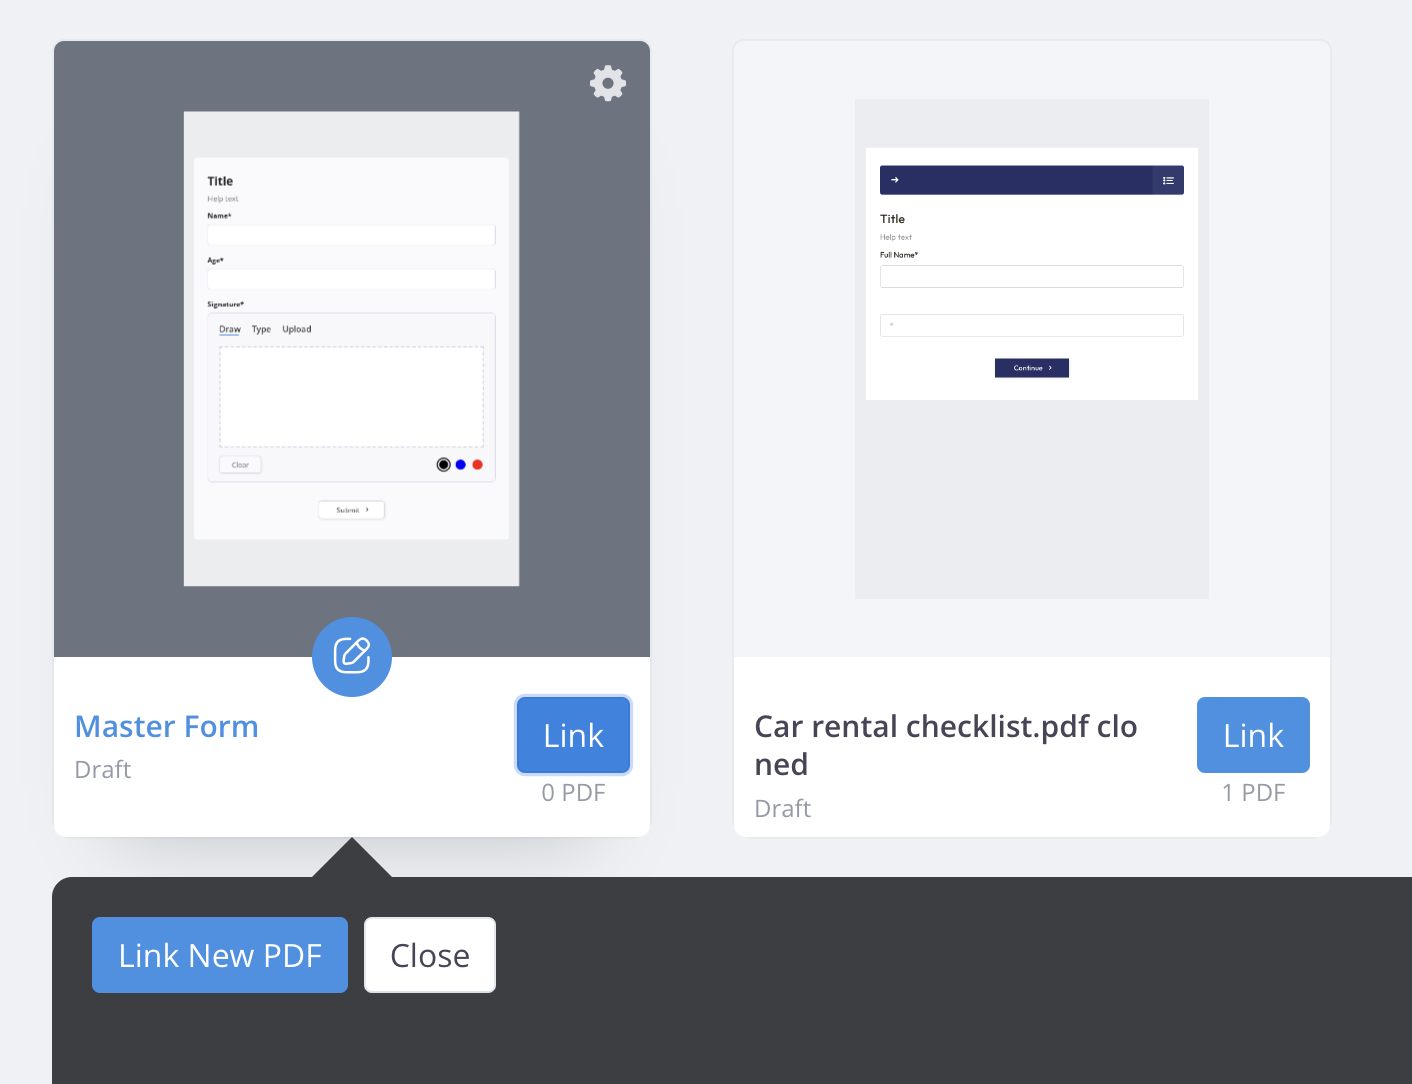
Go to the Dashboard.
-
Find the desired Master Form, and click Link > Link New PDF to upload the PDF.
-
Upload the PDF file.
After uploading the PDF, you’ll access the form builder for the PDF form. Here, you can edit fields and their properties.
Reuse fields
To reuse the fields in the Master Form:
-
In the form builder, hover over to the desired field widget.
-
Click Add to PDF.

The field will appear at the top of the right PDF Form Area.
-
In the right PDF Form Area, drag and drop the field to an ideal position.
NoteYou can add widgets multiple times to a PDF. For instance, if you need a personal signature on each page, add the same signature widget to every page. When the final PDF is created, it will have the signature on each page.
Publish Master Form
Once you’ve finalized your PDF form that reusing the elements from the Master Form, click the Publish button at the top left. After publishing, you’ll get a Public URL, Embed Script, or QRCode for easy sharing:
-
Public URL
A direct link to your published form. Share this link with others, and they can access and fill out the form using their web browser.
-
Embed Script
A piece of code you can add to your website. This code will display your PDF form directly on your page, letting users fill it out without leaving your site.
-
QRCode
A simple way to share PDF forms. Like Embed Script, QR Codes let users access and complete forms with ease. Display the QR Code on your site or materials, and users can scan it with their mobile devices to quickly access and fill out the form. Just like Embed Script, QR Codes improve interaction while keeping things seamless.
No matter how many PDFs you link to the Master Form, the sharing URL remains singular.
Manage submission
Managing Master Form submissions in PlatoForms follows the same process as with other forms. You will receive email and system notifications, and you can view the submissions on the Submissions page. The only difference is that the submitted file is not a single PDF; instead, it is a zip package containing all the linked PDFs.