Enable multi-languages
Tabs
PlatoForms simplifies global connections by providing forms in multiple languages. Our multi-language support lets you create forms in your language while allowing respondents to answer in theirs.
Add languages and translation
-
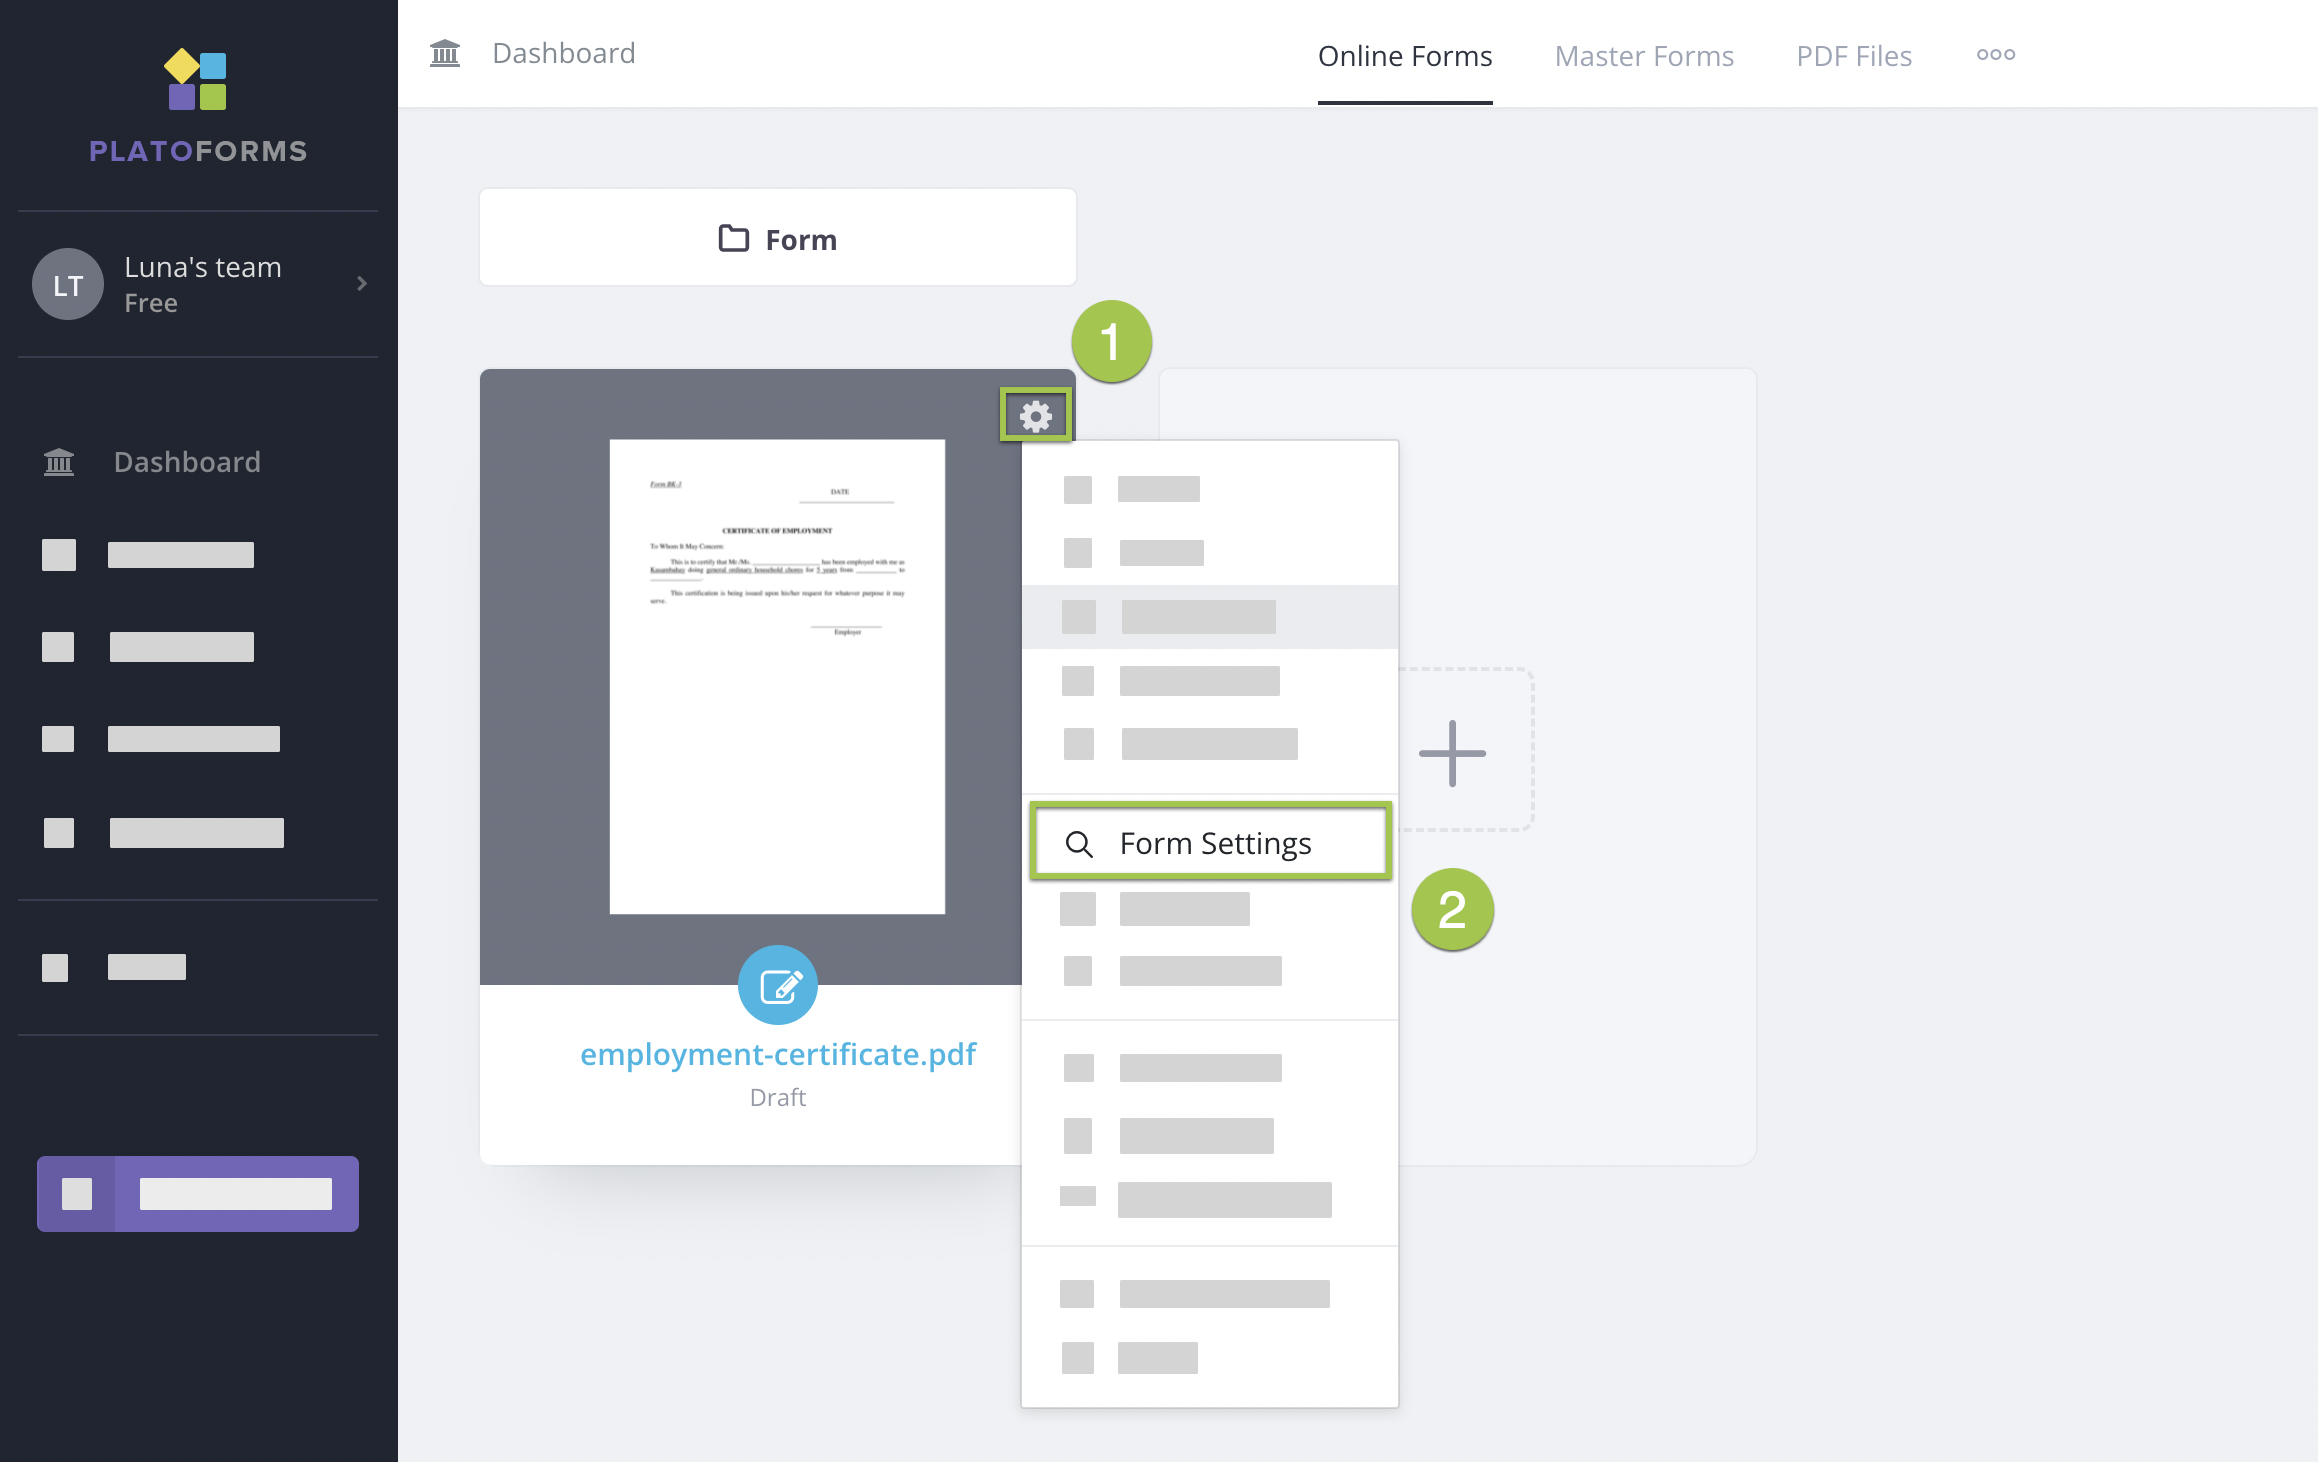
Hover over the desired form on the Dashboard.
-
Click the Settings (gear) icon in the top right corner and select Form Settings.
-
In Form Settings window, switch to the Multi Languages tab, and click Manage Languages.
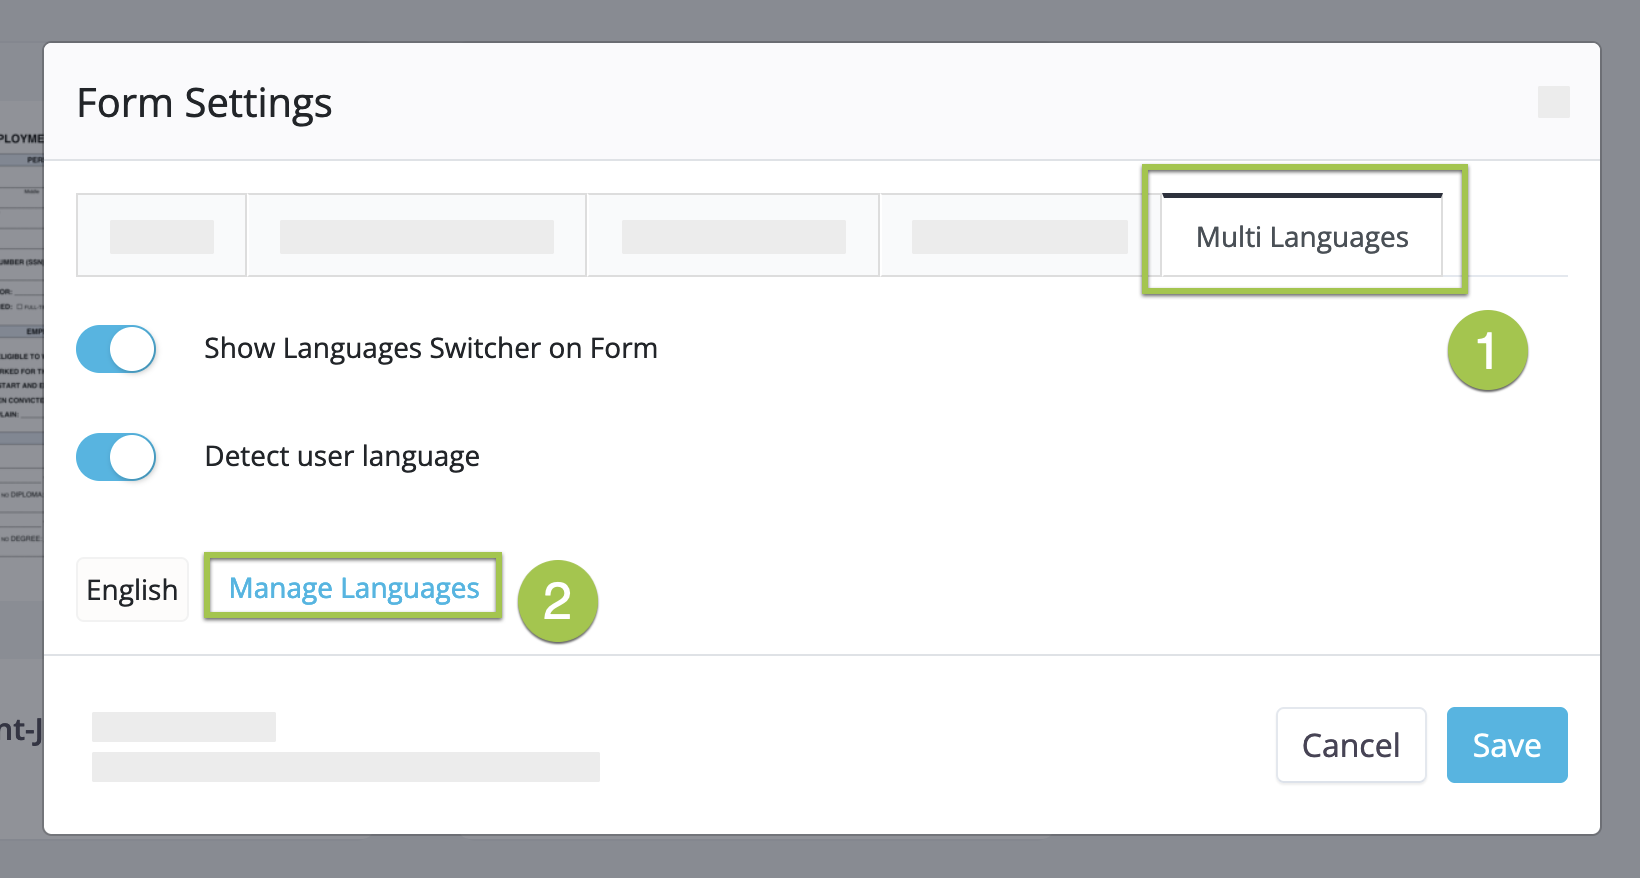
Note- Enable the Show Language Switcher on Form option to add a language selection dropdown.
- Enable the Detect user language option for automatic language detection and display.
-
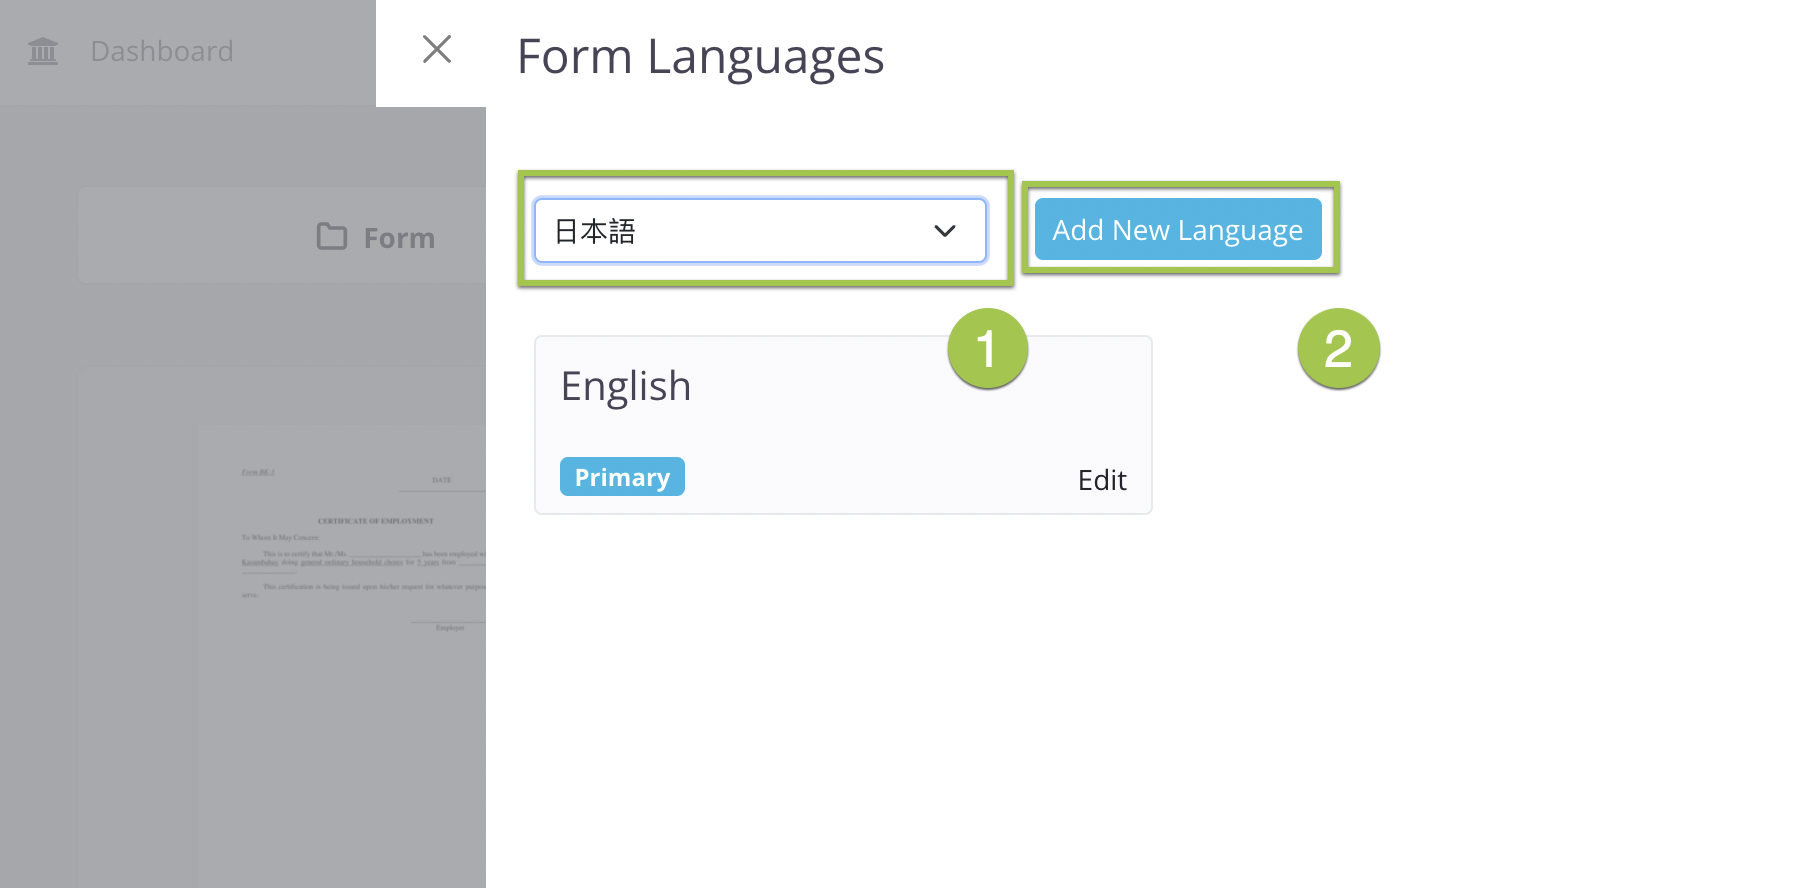
In the Form Languages window, select a language from the dropdown, and click Add New Language.
-
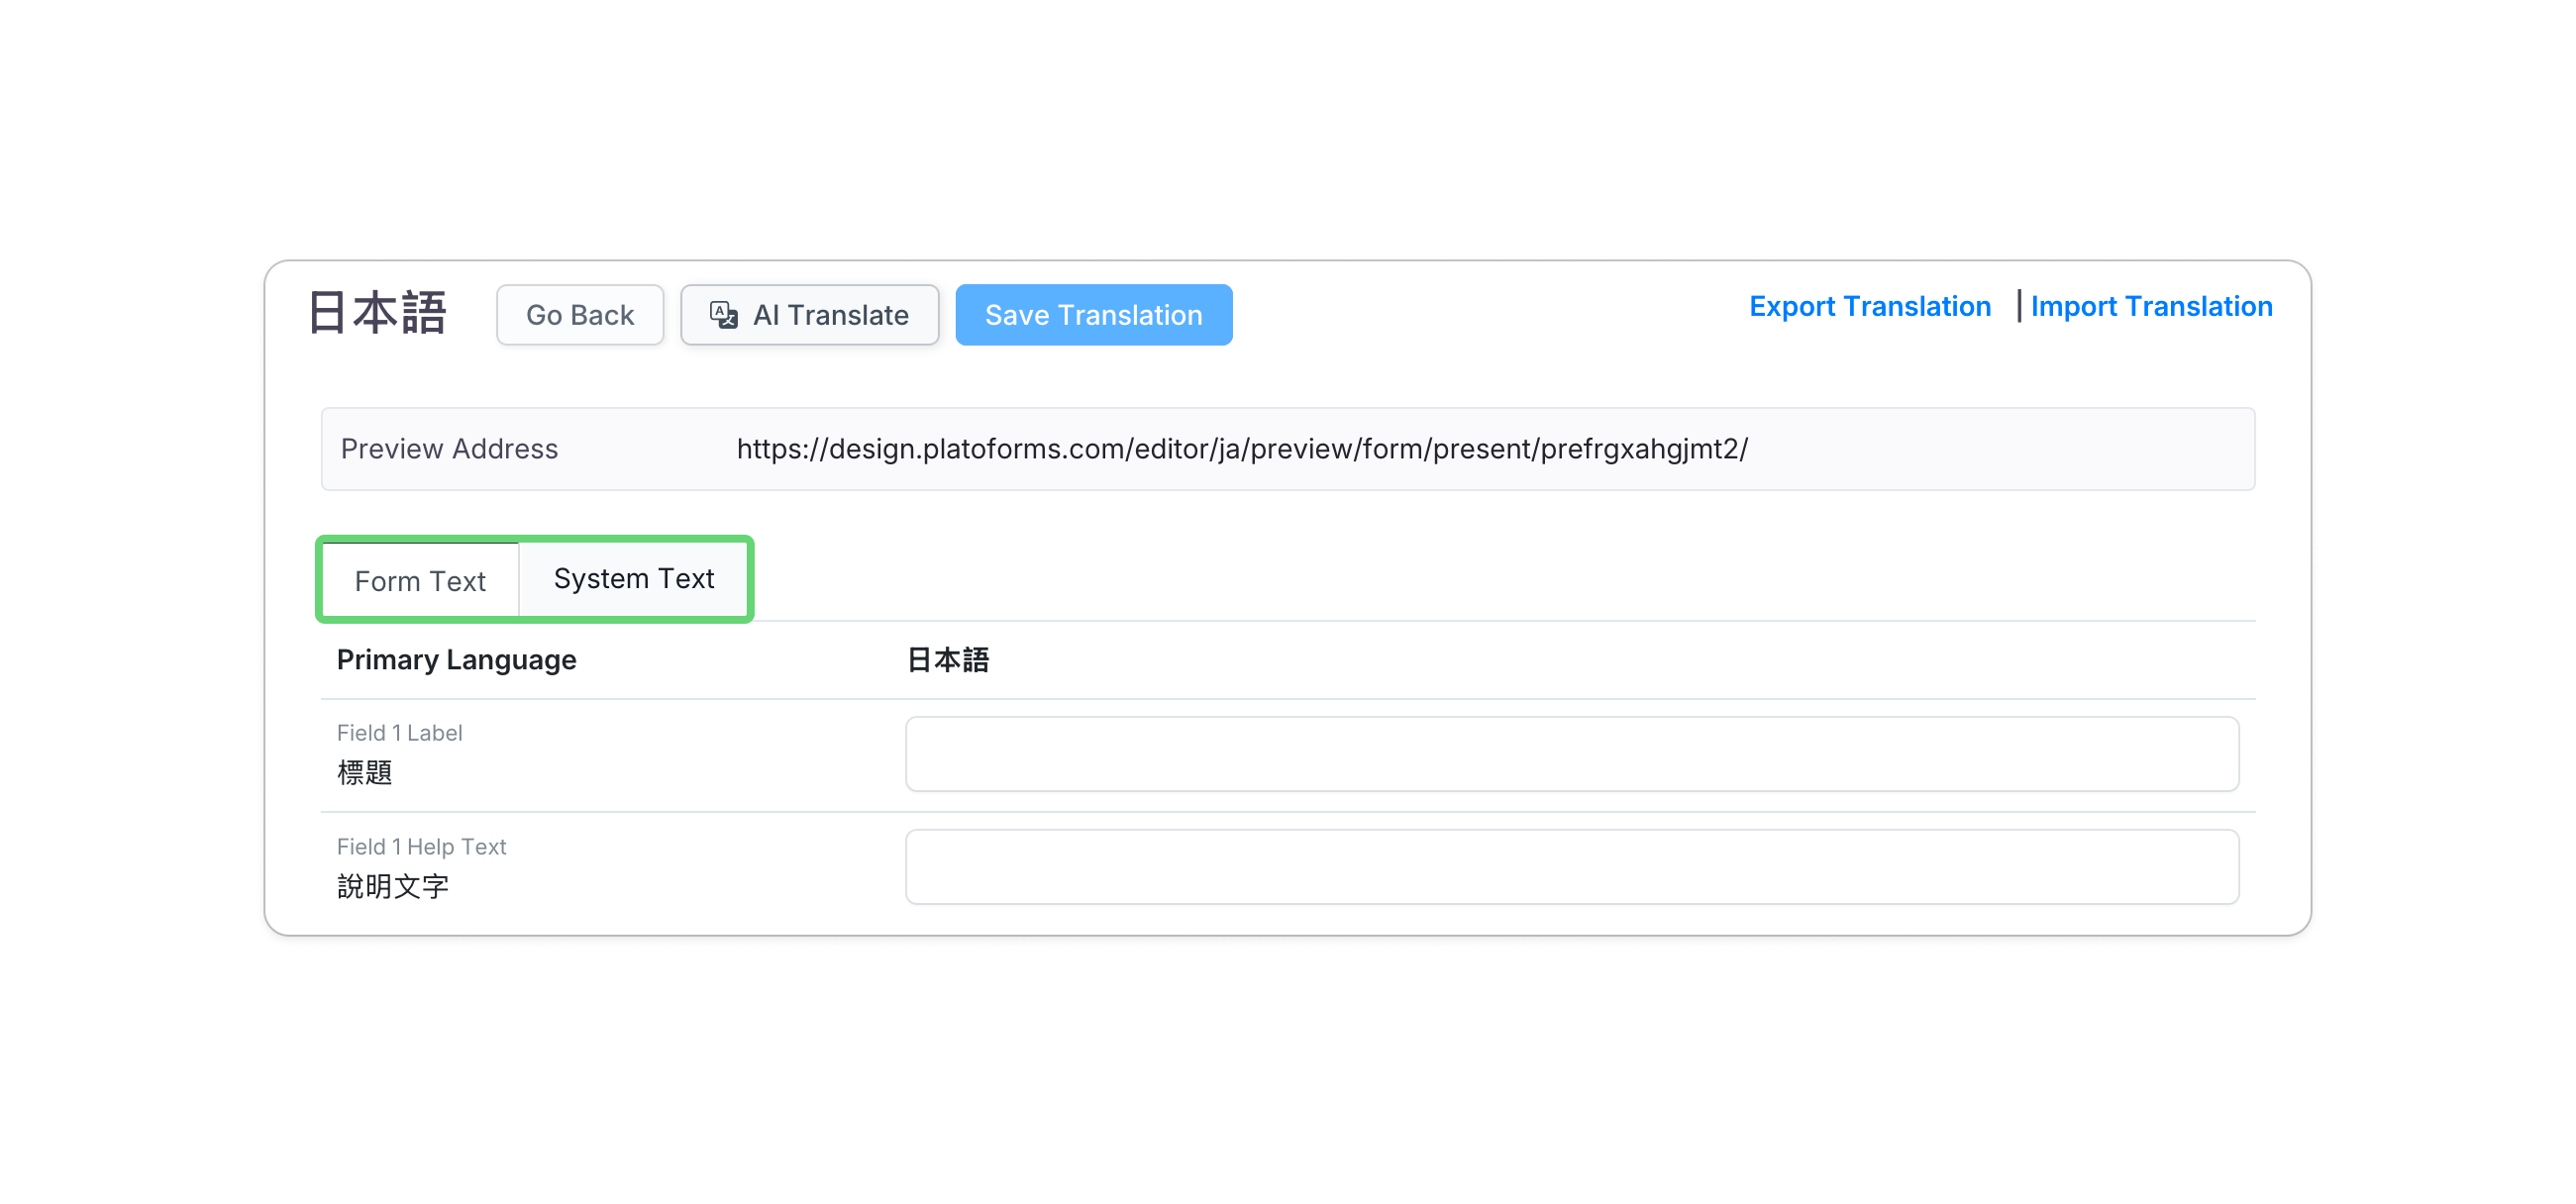
In the translation window, you can translate both Form Text (labels and descriptions) and System Text (buttons like “Submit”) using one of these three methods:
- AI Translation: Click the AI Translate button to generate translations instantly for the current tab.
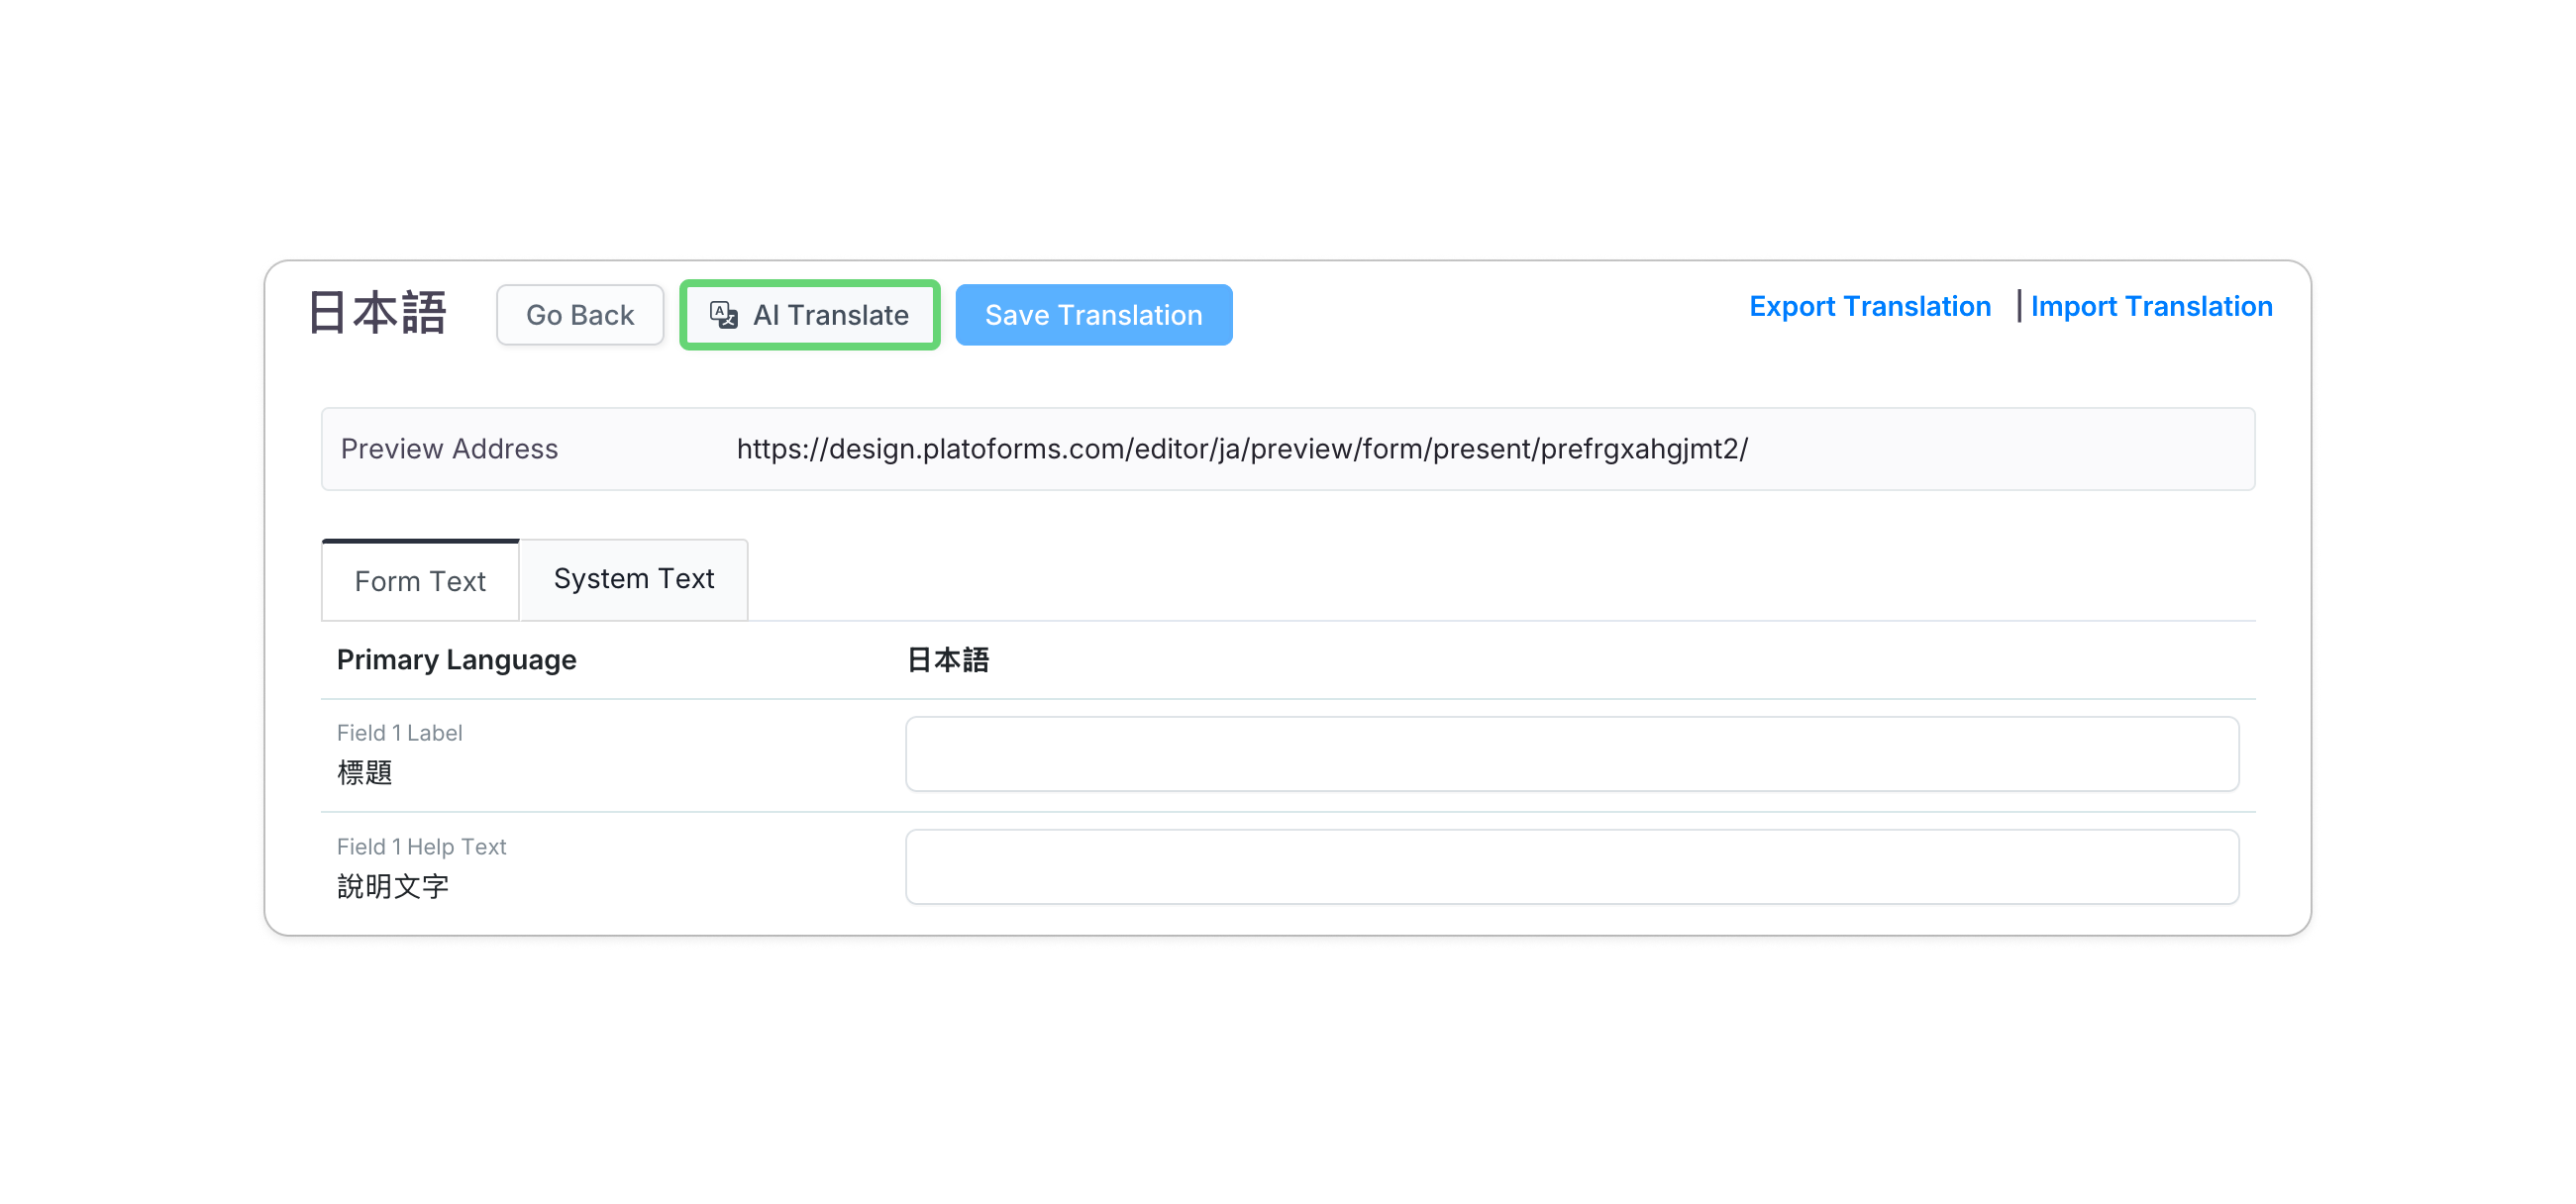
NoteAI Translation provides a quick starting point. We recommend reviewing the generated text for accuracy before saving.
- Manual Translation: Manually type your translations into the corresponding fields in each tab.
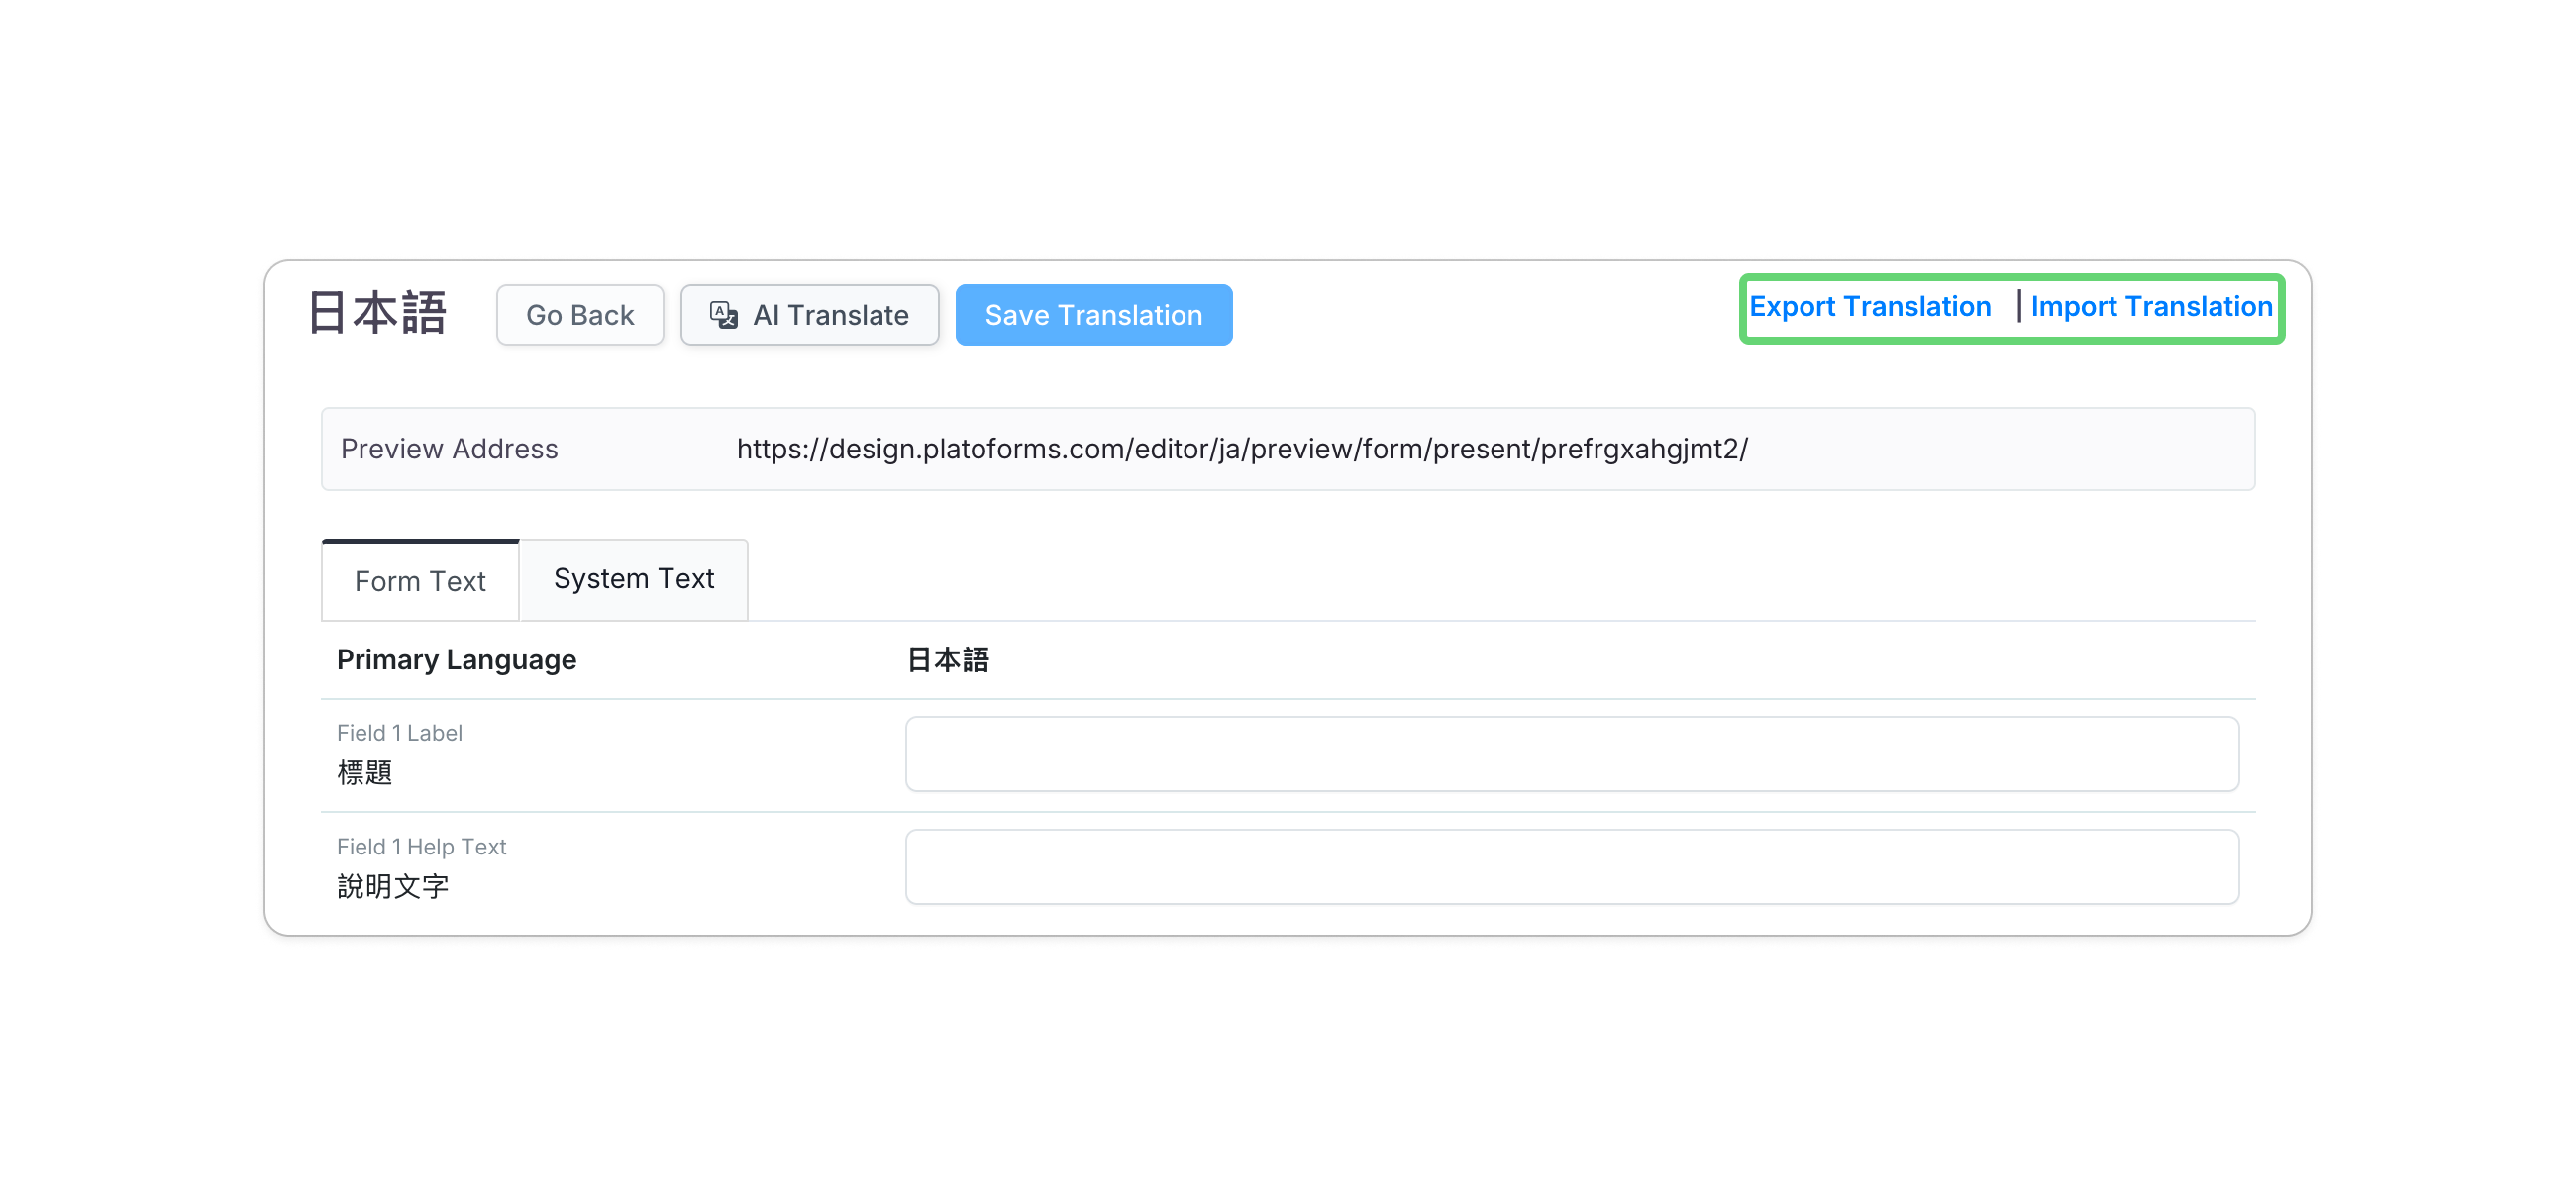
- Auto-fill Translation (Excel): Click Export Translation to download an Excel file, fill in your translations, and then Import Translation to upload the changes.
NoteFor detailed guidelines on Excel formatting, refer to the Auto-fill translation section.
- AI Translation: Click the AI Translate button to generate translations instantly for the current tab.
-
After adding translations, click Save Translation at the top left.
-
(Optional) To export your final translations in Excel format, click Export Translation.
Auto-fill translation
When importing data from Excel for auto-fill translation, follow these guidelines to ensure a smooth and accurate process:

-
Prepare proper file: The name of your Excel file doesn’t matter; only data from the first worksheet will be used.
-
Ignore the title: The system ignores the 1st row, typically containing titles.
-
Three-column format: Organize your translation in three columns; only content in the 3rd column is imported. Ensure the format matches the Excel file you exported.
-
Empty cells: If a cell in your file is empty, the corresponding translation will reset to blank.
-
Font styles: Any font styles in your file will be ignored during import.
-
Rich text: Import does not support rich text messages. Translate messages with text formatting manually in the Form Text and System Text tabs.
Placeholder guide
In PlatoForms, placeholders are used to dynamically replace specific values in a form during rendering.
The format for placeholders is %(TheName)s, where TheName is a placeholder variable representing a specific value or piece of information that will be inserted into the form.
For example, if you have a placeholder like %(TheName)s in your form, during rendering, the system will replace %(TheName)s with the actual username of the user filling out the form. This dynamic replacement allows you to personalize form content and make it more relevant to individual users.
So, the format %(TheName)s serves as a template for placeholders, indicating where and how the replacement should occur within the form.
These placeholders follow a specific format to ensure that the system can identify and replace them correctly:
-
Use ASCII characters: Placeholders should only consist of ASCII characters. Non-ASCII characters won’t work.
-
Start and end with
%ands: Each placeholder should start with%and end withs. This format is necessary for the system to recognize them correctly. -
No spaces: Placeholder names should not have any spaces. Spaces in placeholder names won’t be recognized.
Set primary language
The “Primary Language” is your form’s default language, visible to users first, including labels, instructions, and system messages.
To change the primary language:
-
Hover over the desired form on the Dashboard.
-
Click the Settings (gear) icon in the top right corner and select Form Settings.
-
In Form Settings window, switch to the Multi Languages tab, and click Manage Languages.
-
Hover over your desired language tab and click Set as Primary.

Preview multi-languages
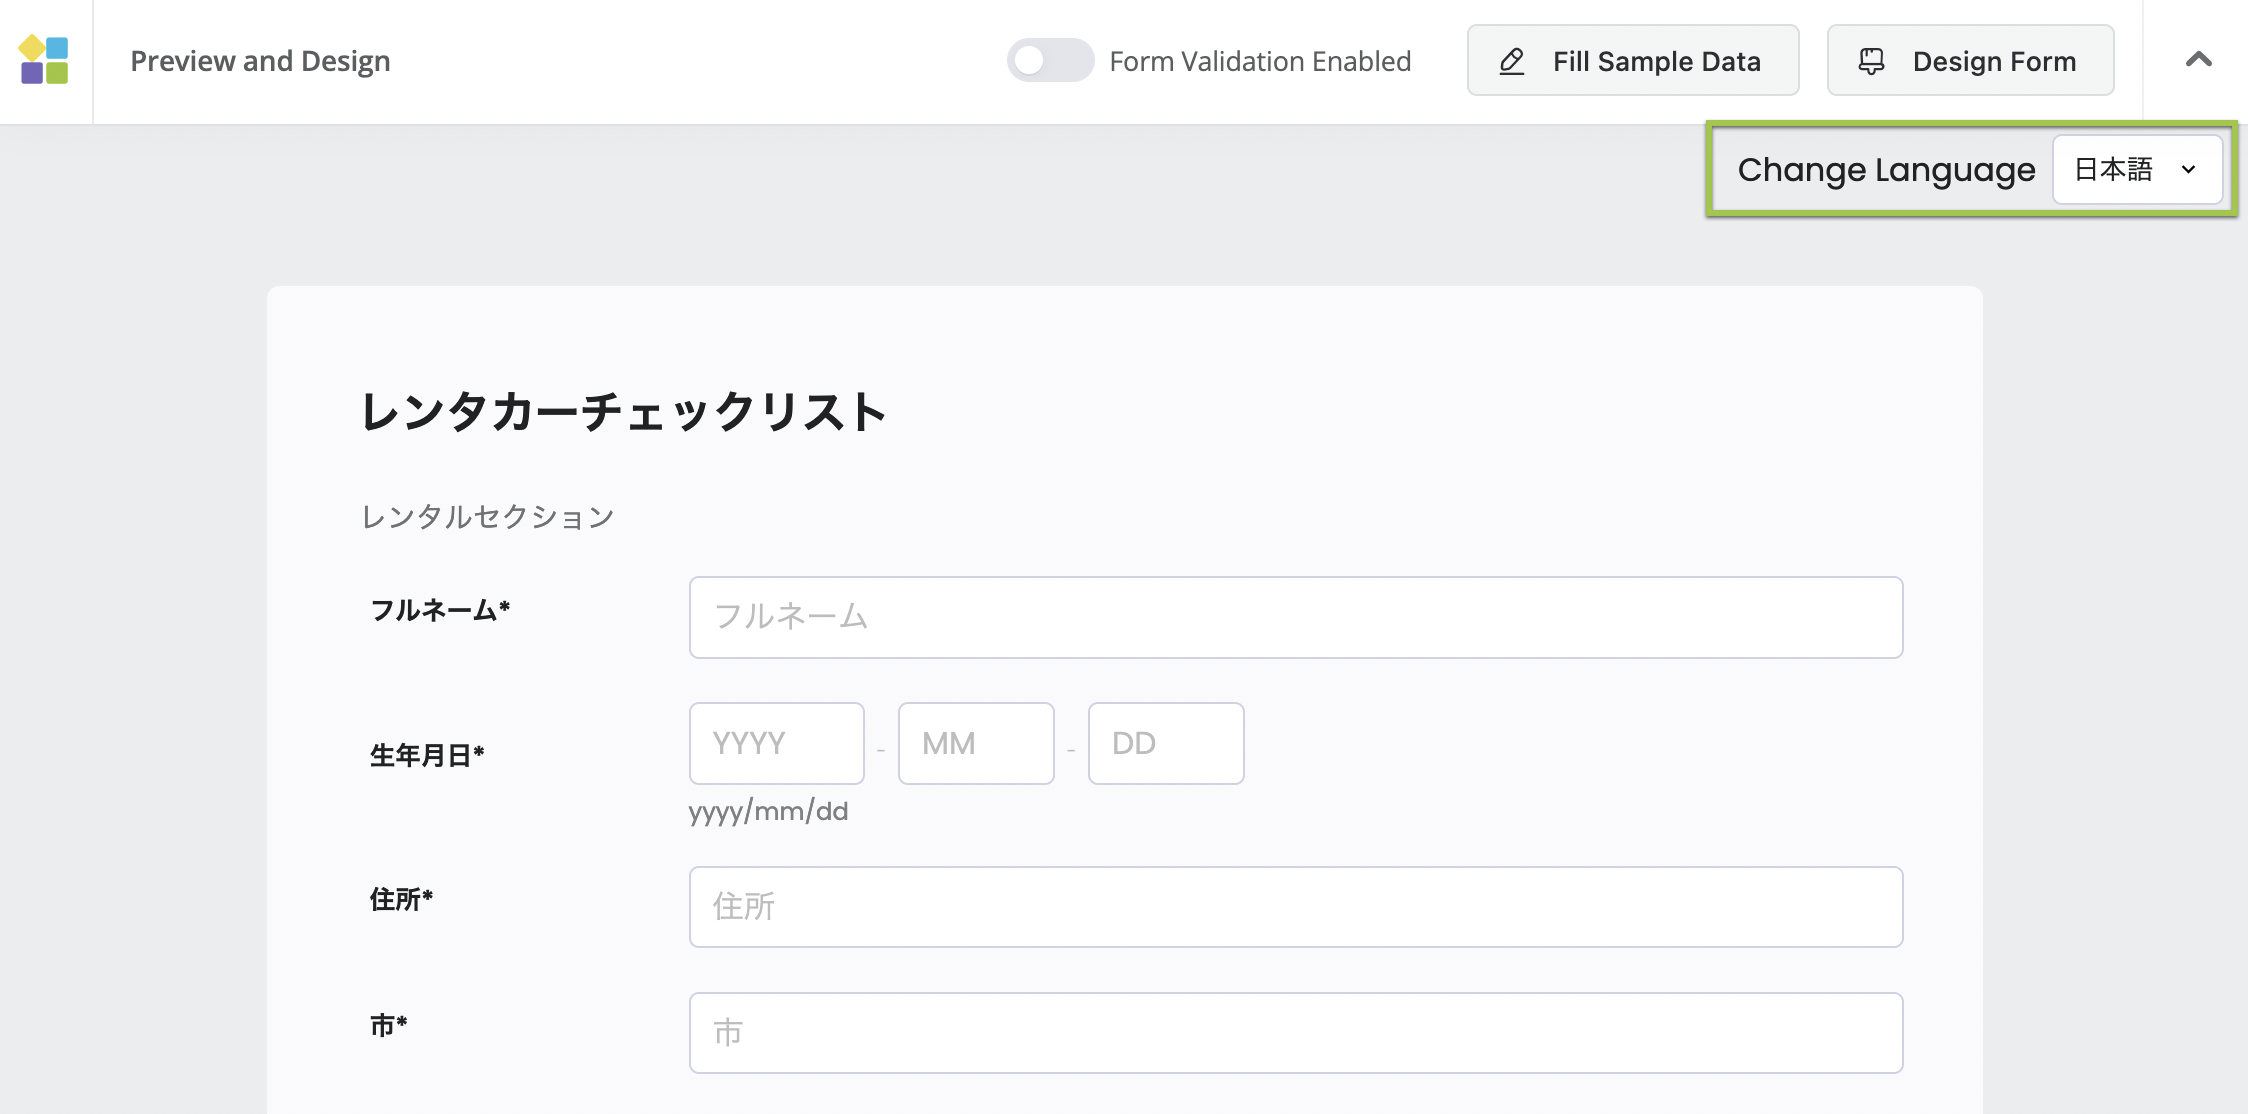
“Preview multi-languages” lets you see how your form looks in different languages:
-
In the translation window, click the Preview Address URL.

The preview page will open.
-
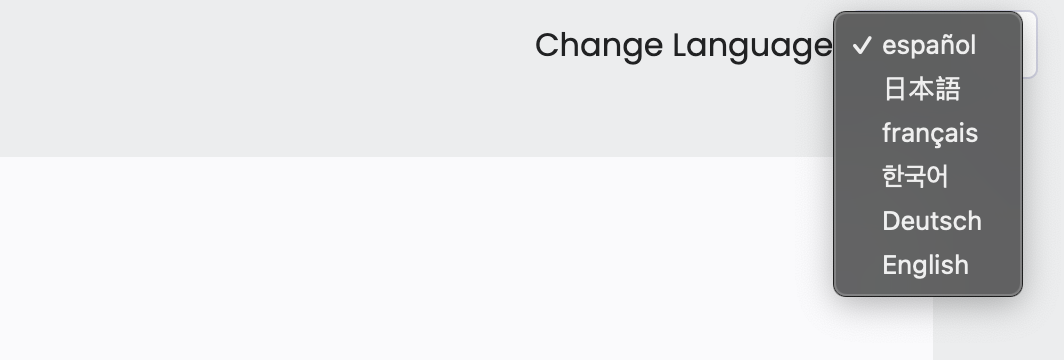
To view the form in different languages, use dropdown to the right of Change Language.
Switch between languages
After submitting your form, you’ll get unique URLs, Embed Scripts, or QR Codes for each language version.
Use the language buttons to switch between languages. Each button takes you to a specific URL or Embed Script for that language, so you can share different versions with your responders.
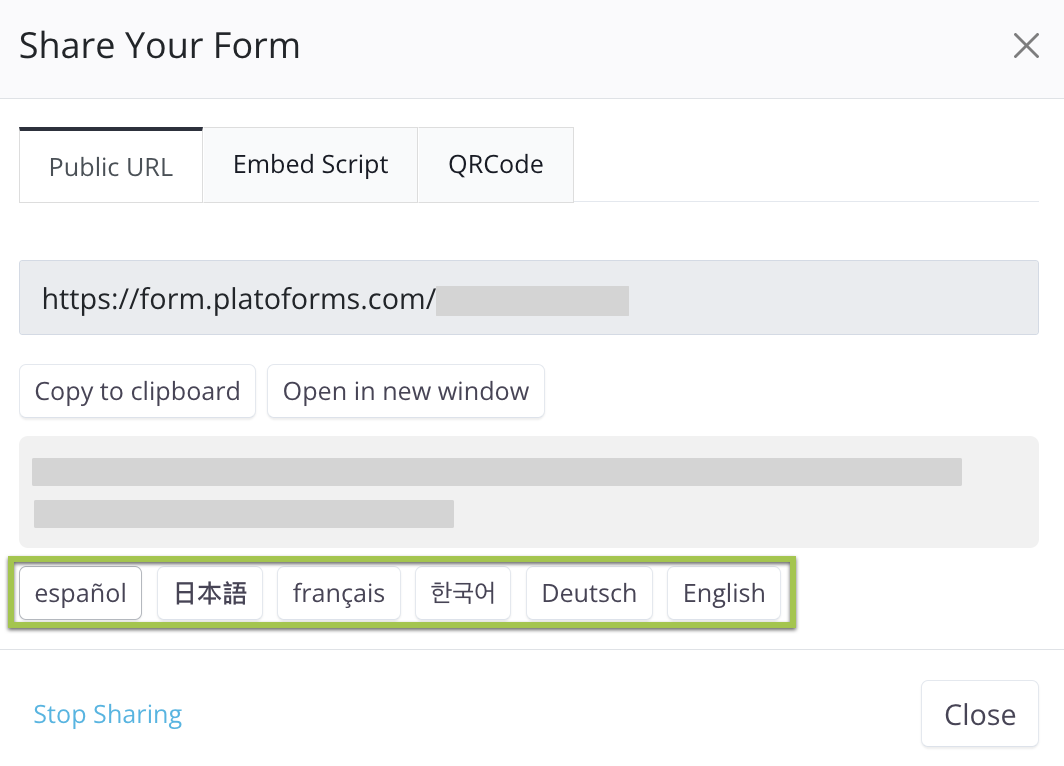
This makes it easy for them to access and interact with the form in their preferred language. They can also switch between languages using the language switcher.