
Set Text Input properties
Tabs
Text Input fields collect short or long text, numbers, dates, times, emails, phone numbers, and more. Use this page to choose the right type, format the field to match your expected input, and control how data is structured and validated.
Choose field type
PlatoForms offers eleven types of Text Input fields to gather information from respondents.
-
Add a Text Input field and open its properties panel.
-
Choose the Text Input type from the dropdown menu.
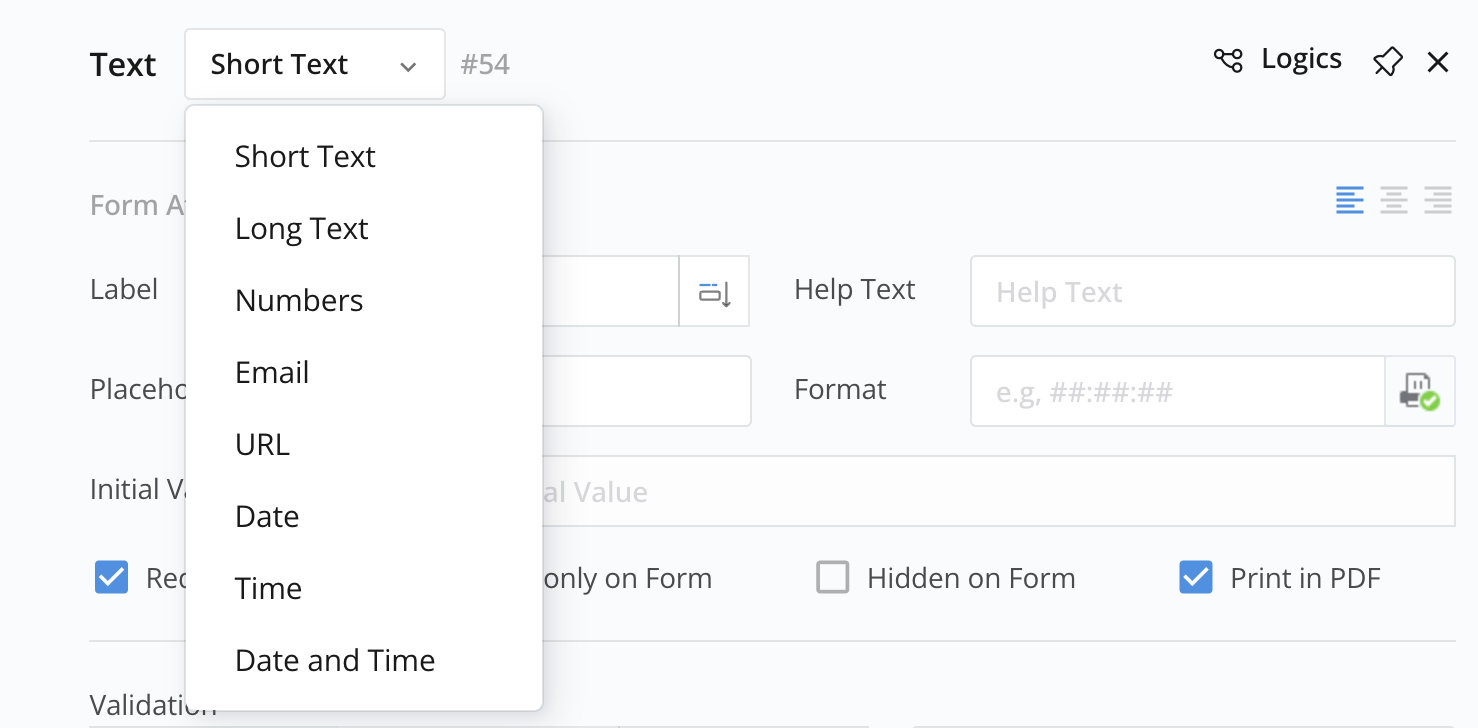
Format fields
You can use the format property in Text Input fields like Short Text, Date, Time, and Date and Time to split the field into multiple parts. This is helpful for collecting dates in specific formats.
For instance, to collect date of birth in the format YYYY/MM/DD:
-
Set the Text Input type to Date.
-
Set the Format field to
YYYY/MM/DDand the Placeholder to match — for exampleYYYY / MM / DD. The Placeholder controls how the sections appear visually on the form.Note- Use uppercase letters:
YYYY/MM/DDworks;yyyy/mm/ddwon’t display correctly. - PlatoForms uses moment.js for date and time formatting. See the moment.js format docs for the full list of tokens.
By default, respondents can either type the date or use the pop-up calendar. To restrict input to one method only, tick Disable pop-up calendar (typing only) or Disable typing (pop-up calendar only) in the field properties.
- Use uppercase letters:
-
(Optional) Set Print Separator in PDF to Yes.
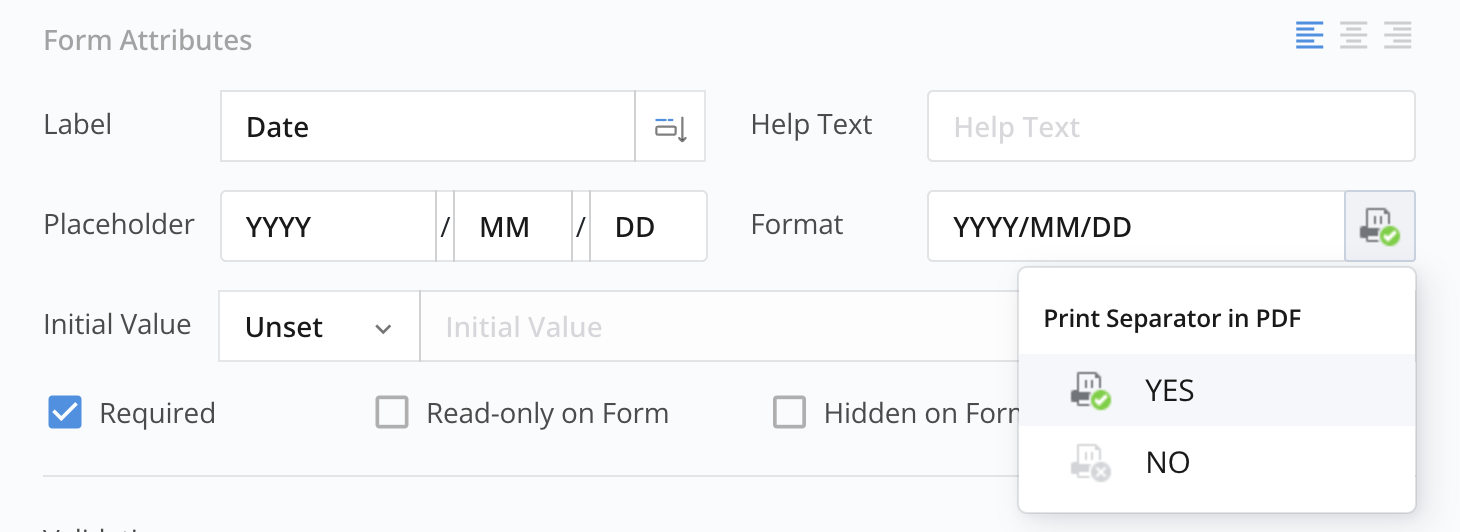
This way, the separator will be visible on the PDF.
NoteThis option is only available in PDF forms. If the PDF already includes separators, set Print Separator in PDF to No to avoid duplicate separators in the generated PDF.
For additional format customization, refer to Customize placeholder characters and separators.

Collect 12-hour time (AM/PM)
Time and Date and Time fields use the 24-hour clock by default. To collect 12-hour time instead, tick 12-hour time (AM/PM) in the field properties, or add a single uppercase A to the time format yourself — for example hh:mm A or hh:mm:ss A.
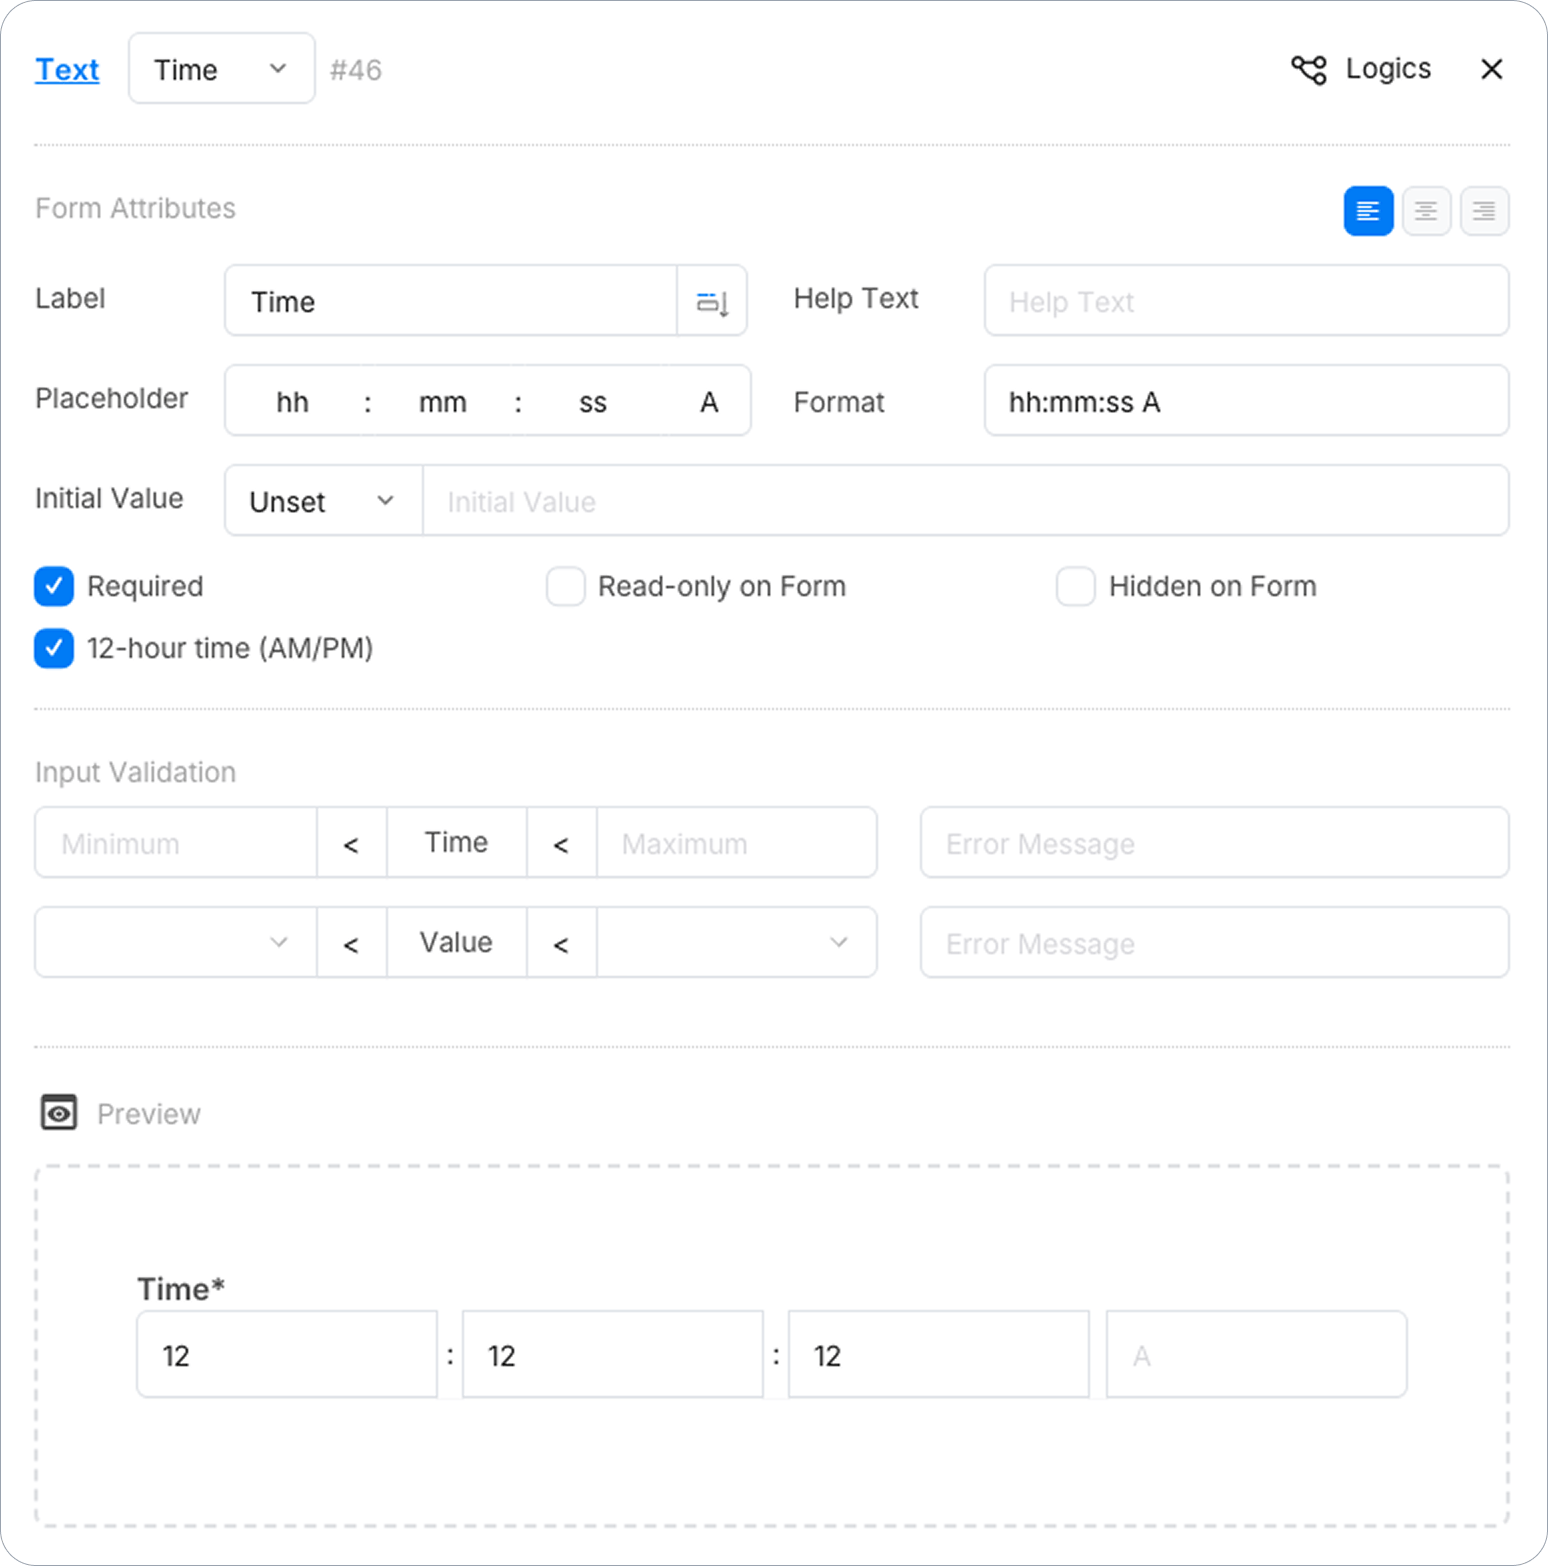
The A becomes an AM/PM dropdown at the end of the field, and the generated PDF prints the selected AM or PM in its own spot next to the time.

- With
Ain the format, the hour must be between 1 and 12. - Use exactly one uppercase
A, and always together with the hour (hh). Lowercaseais not supported.
Customize placeholder characters and separators
Now that you know how to divide the field into parts for a structured input format, this section will guide you on customizing a Text Input field using placeholder characters and separators. This allows you to achieve your desired data display format.
-
Placeholder characters: These are special symbols or letters that define the type of input needed. Use the following placeholders:
- For characters: use
# - For digits: use
d
- For characters: use
-
Separators: These visually divide distinct sections of a text field, assisting respondents in entering data accurately in the specified format. Use the following separators:
Separators Suggested Use Example Colon: ##:##:##Time 12:30:45Slash: ##/##/##Date 08/15/2023Space: #### ##Postcode SW1A 1AAParenthesis: (dd) (ddd) (ddddddddd)Phone number, Zip code (123) (456) (7890)
You can mix # (characters) and d (digits) if your field requires it. For example, ##/dd/##.
Customize the field length
-
Set fixed length: You can adjust the length of the field based on the number of characters or digits you set using
#ord. For instance, consider the format:##/###- Part 1: 2 characters
- Part 2: 3 characters
In this example, the number of
#determines the length of each part of the field. By specifying the desired number of placeholders, you can create a field with the exact length you need to collect the required information accurately. -
Set variable length: You can also set a length range by using
[m-n]format, or use*to indicate any length. For example, consider the format:#[0-3]:##:#*- Part 1: 3 characters
- Part 2: 0 ~ 3 characters
- Part 3: Any number of characters
This way, you can create fields with flexible length options, allowing respondents to provide information within a specified range or any length as needed.
Escape the reserved separator
If the separator you want to use is a special character that has a reserved meaning in the context of formatting, you can force it to be treated as a regular character by placing a backslash (\) before it. This process is called escaping the separator. By using the backslash before the reserved character, it will be interpreted as a normal character and will be displayed as intended in the formatted text field.
Here are some examples of placing the backslash (\) before the separator to force the break:
| Example | Separator | Rendered Text |
|---|---|---|
##\###\### |
The separator is # |
The rendered text will look like [xx#yy#cc]. |
##\[##\]##\*## |
The separators are [, ], and *. |
xx[yy]cc*dd |
##\\##\\## |
The separator is \. |
##\##\## |