
Validate Date fields
On this page
Say you’ve got a date of birth field, and you don’t want people typing in a date that hasn’t happened yet. Or you’re building an event registration form, and you don’t want people signing up for a date that’s already passed. Or a service booking form where people need to book at least 2 days ahead — you don’t want same-day bookings sneaking through.
These are really all the same problem: you need to control which dates people are even allowed to type in — not just how the date looks on the page once it’s entered.
Date and Date and Time are two of the Text Input field types. This guide is about Input Validation — the settings that control which dates get accepted. That’s different from formatting in Set Text Input properties, which only changes how a date displays (like YYYY-MM-DD vs MM/DD/YYYY) — it doesn’t stop anyone from entering the wrong date.
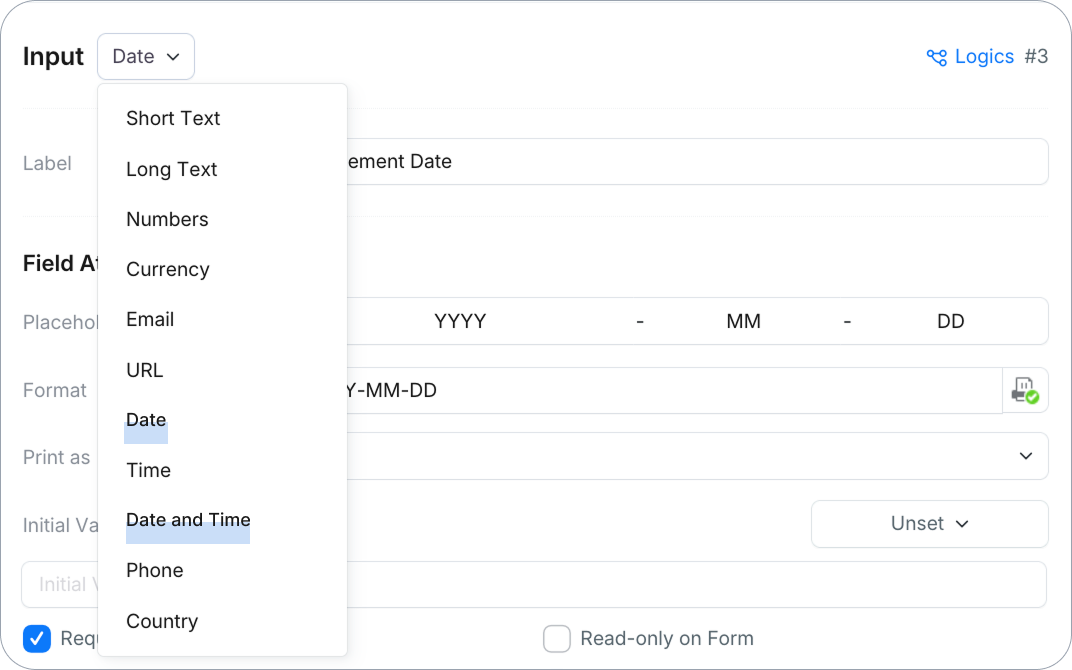
The validation options below (date range, time range, cross-field condition) apply to Date and Date and Time fields. Other field types have their own Input Validation options.
Quick setup with a preset
If your scenario is one of the common ones below, click a Preset under Input Validation and PlatoForms fills in the Accepted date range for you:
| Scenario | Preset to use | What it sets |
|---|---|---|
| No restriction — any date works | Any date | Start: No limit · End: No limit |
| A record of something that already happened (e.g., an incident date) | Past only | Start: No limit · End: Relative — 0 day(s) before open date |
| Something that hasn’t happened yet (e.g., an event or appointment date) | Future only | Start: Relative — 0 day(s) after open date · End: No limit |
| A date of birth field | Birth date | Start: Relative — 100 year(s) before open date · End: Relative — 0 day(s) before open date |
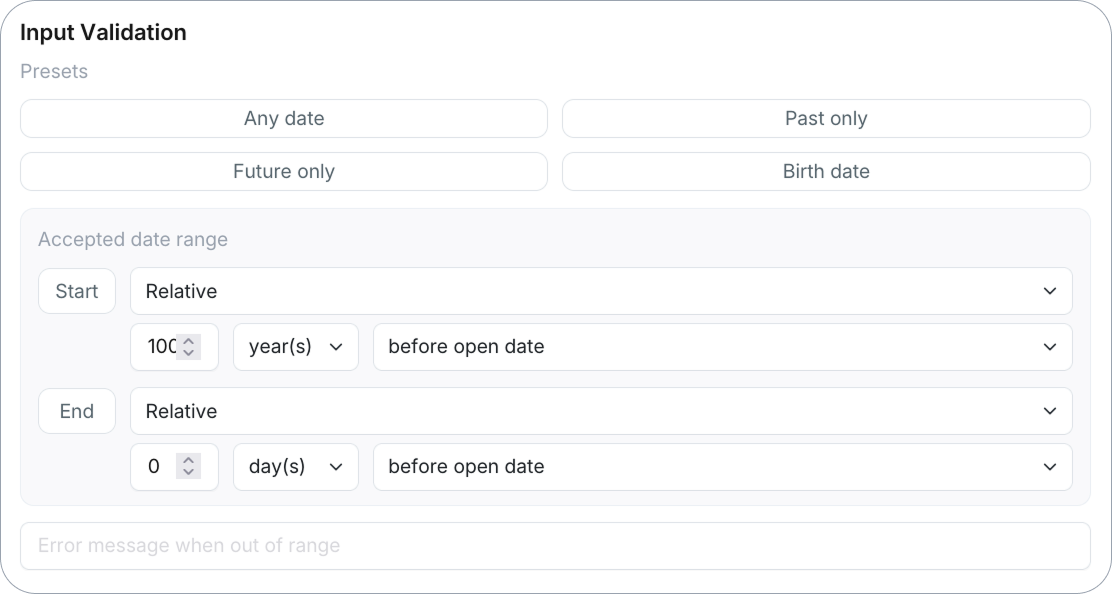
Picked a preset but need something slightly different? You can still fine-tune the Start and End fields manually — see Build a custom range.
Open date is the date when a user opens the form.
Build a custom range
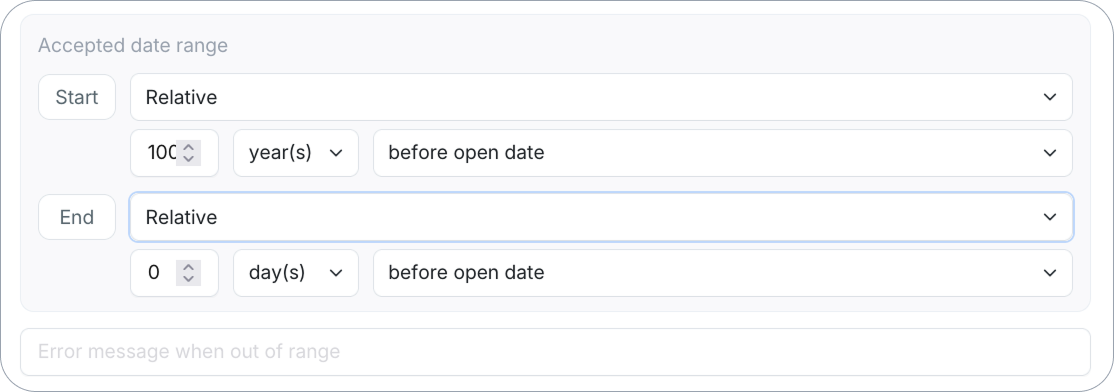
For anything a preset doesn’t cover, set Start and/or End under Accepted date range yourself. Each side has three modes:
-
No limit: No restriction on this end of the range. Use this when only one side of the range matters (e.g., only a minimum date, with no maximum).
-
Fixed date: Enter a specific calendar date. Use this for a range tied to a real-world date that doesn’t move — for example, “applications can’t be submitted before the contest opens on June 1, 2026”.
-
Relative: Set a limit relative to the day the respondent opens the form — useful when the range should always shift with “today,” instead of a date you’d have to update by hand. Enter a number, choose a unit (
day(s),month(s), oryear(s)), and choose before open date or after open date.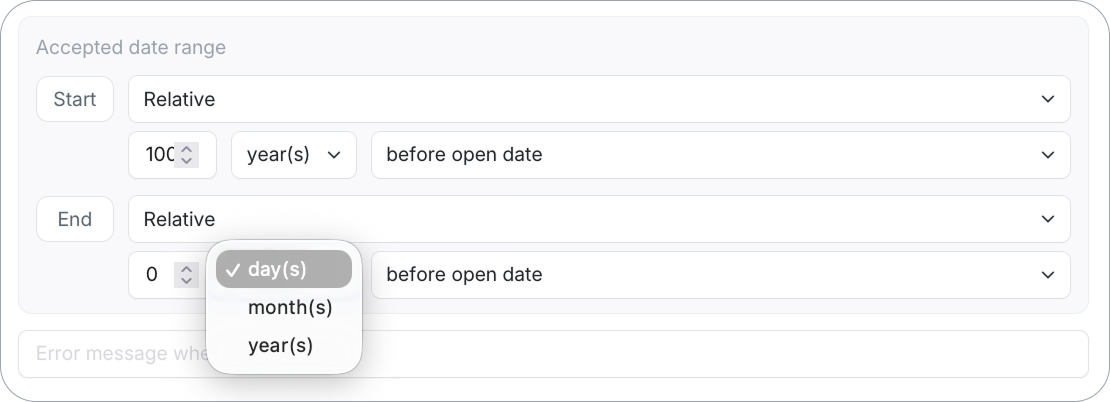
For example, a service booking that needs at least 2 days’ notice would set Start to Relative —
2day(s)after open date.
(Optional) Enter a custom Error message when out of range to tell respondents why their date was rejected (e.g., “Please choose a date at least 2 days from today.”).
Restrict the time of day
If your Date and Time field only makes sense within certain hours — say, a service booking form where appointments can only be scheduled between 9:00 AM and 6:00 PM — set a Time range under Input Validation, separate from the date range above it.
Enter a Minimum and/or Maximum time (or leave either side blank if only one bound matters). This works alongside the date range, not instead of it — so you can require an appointment to be both in the future and within business hours at the same time.
Compare against another field
Some dates only make sense in relation to another field on the same form — the classic example is a booking or itinerary form where the End Date must fall after the Start Date.
Under Cross-field condition, you’re setting up a rule of the shape:
[Field A] — operator — this field’s value — operator — [Field B]
Pick a field on each side — fields are listed by ID and label (e.g., #2 Contact Reference, #9 Client Name) — and choose how each side should relate to this field: <, <=, =, or !=.
A few common patterns:
- End Date must come after Start Date: on the End Date field, set Field A to
#3 Start Date, operator<, and leave the right side blank if you only care about one bound. - A date must fall strictly between two others (e.g., an inspection date that has to land between a lease’s start and end): set Field A to the start-date field with operator
<, and Field B to the end-date field with operator<. This reads as Start Date < this field < End Date. - This date must not equal another field’s date (e.g., a follow-up appointment can’t be the same day as the initial one): use
!=against the field you’re excluding.

You don’t have to fill in both sides — leave one blank if you only need a one-directional comparison.
(Optional) Enter an error message to tell respondents why the comparison failed: the Error Message box next to the row in the web form, Web PDF Form and Master Form builders, or the Field Comparison Error Message box in the PDF Fillable Form builder. This is separate from the Error message when out of range used for the date range above.
The same comparison is offered on other Text Input types too: Short Text, Long Text, Numbers, Currency and Time support <, <=, = and !=, while Email and Link support only = (for example a “confirm email” field that must match another).