Integrate with Notion
Tabs
Connect PlatoForms to Notion via Zapier to automatically send new form submission data into a Notion database. Once set up, every submission creates a new row in your database without any manual effort.
Prerequisites
- A Zapier account
- A Notion account
- A published PlatoForms form with at least one submission (required for Zapier to pull sample data)
Video tutorial
Need a visual walkthrough? See the tutorial below:
Set up your Notion database
Before configuring Zapier, prepare the destination database in Notion.
-
In Notion, open or create the page where you want to store submissions.
-
Create a database on the page. Refer to Notion’s documentation for how to create one.
WarningMake sure to create a proper database, not a plain table. A plain table will not appear in Zapier as a selectable data source.
-
Define columns for each piece of data you want to collect — for example, Name and Shirt Size.
TipUse the same names as your form fields where possible. This makes field mapping in Zapier easier.
Set up the Zap
-
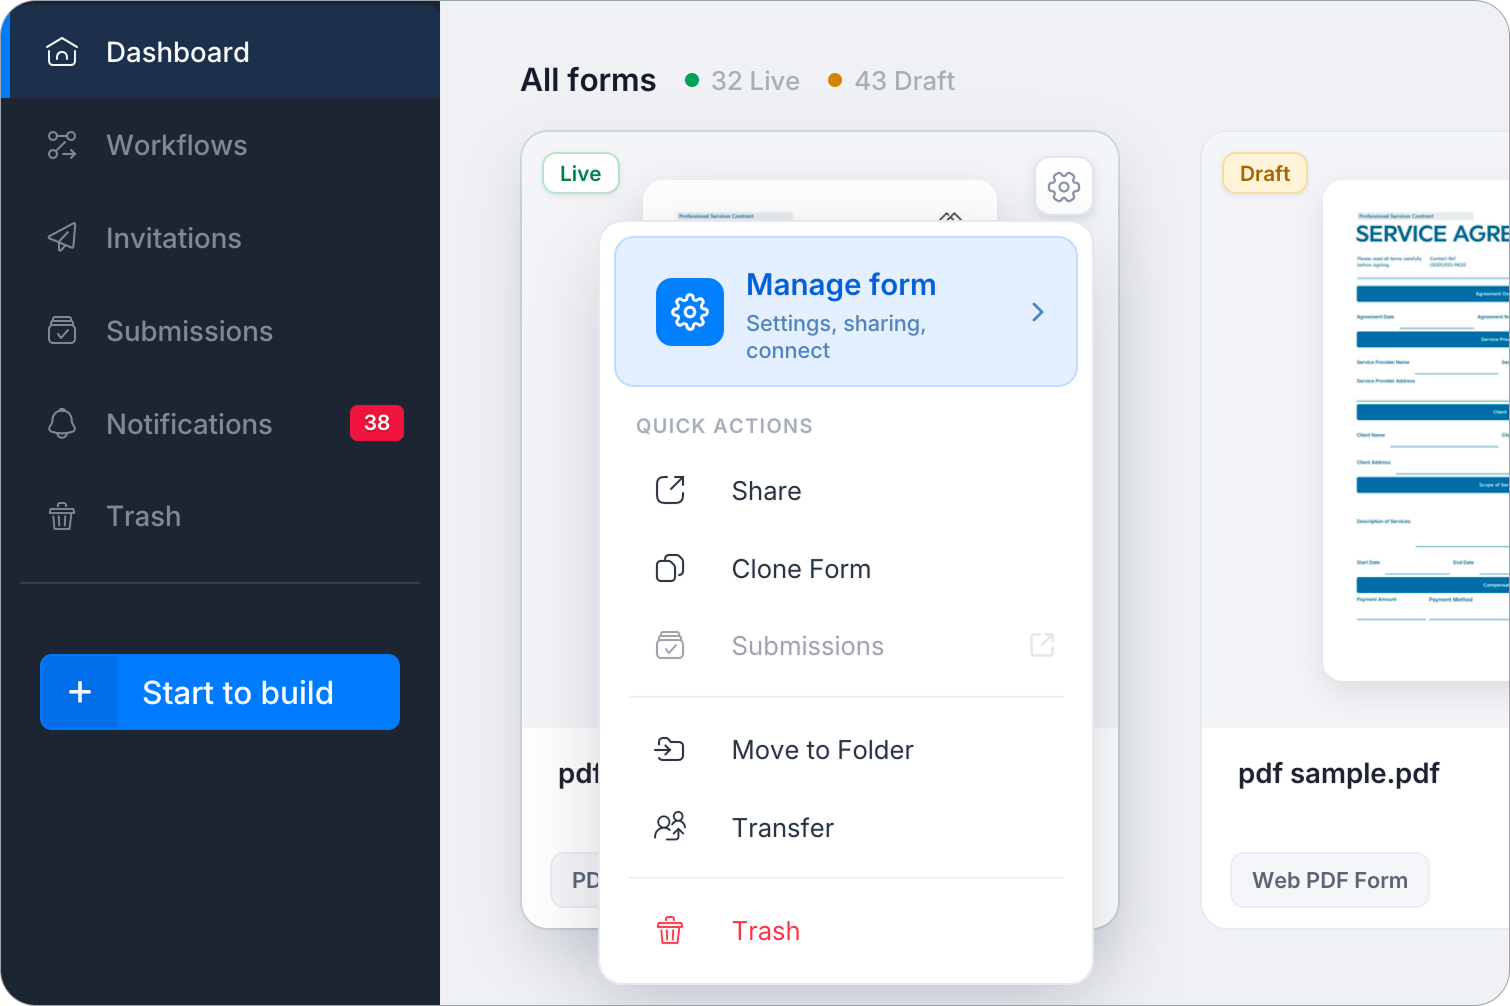
On the Dashboard, hover over the form, click the Settings (gear icon) at the top right, then click Manage Form.
-
In the left sidebar, click Integrations.
-
Scroll down to the Available via Zapier or Make section, find the Notion card, and click Set up via Zapier.
-
On the Zapier page that opens, find the “Create new Notion database items from new PlatoForms submissions” template and click Try it →.
-
Log in to Zapier if prompted, then follow the steps to connect your PlatoForms and Notion accounts. For general Zapier setup steps, see Integrate with Zapier.
Connect your Notion account
In the Notion action step, connect your Notion account and grant Zapier access to your workspace. Follow the on-screen prompts to authorize the connection. For details on Notion’s authorization flow, refer to Notion’s documentation.
If you created the database after initially connecting Zapier to Notion, Zapier will not have access to it automatically. You must grant access manually via Notion’s connection settings. Refer to Notion’s documentation for the exact steps. Without this step, the database will not appear in Zapier and the Zap will fail.
Configure the Notion action
Follow Zapier’s on-screen instructions to select your Notion database and map your form fields to the corresponding database columns. For details, refer to Zapier’s Notion integration documentation.
Once configured, run a test to confirm data appears correctly in your Notion database, then click Publish to activate the Zap.