
Integrate with Square
On this page
About Square Checkout
Square Checkout is one of two ways to collect Square payments in PlatoForms. Set it up entirely from your form’s Integrations page — no field required. After the respondent submits, they’re redirected to a Square-hosted page to pay.
To embed payment inside your form instead, see Square Payment Field. Not sure which to use? See Stripe vs. Square vs. PayPal.
Use only one payment method per form. Don’t combine Square Checkout with an embedded payment field (Square or another provider) on the same form — running both can cause the payment amount, currency, or confirmation status to behave unpredictably.
Square integration requires a premium plan or the free trial. When the paid plan or the trial ends, the connection is switched off, and it comes back on when the team subscribes. Until then, saving Square Checkout settings is refused with “Live payments need a paid plan.” PlatoForms charges no additional transaction fees. Square Checkout supports live payments only: there’s no test/sandbox mode, so any test submission charges a real card. Use a small amount and refund it through your Square Dashboard afterward.
Set up Square Checkout
-
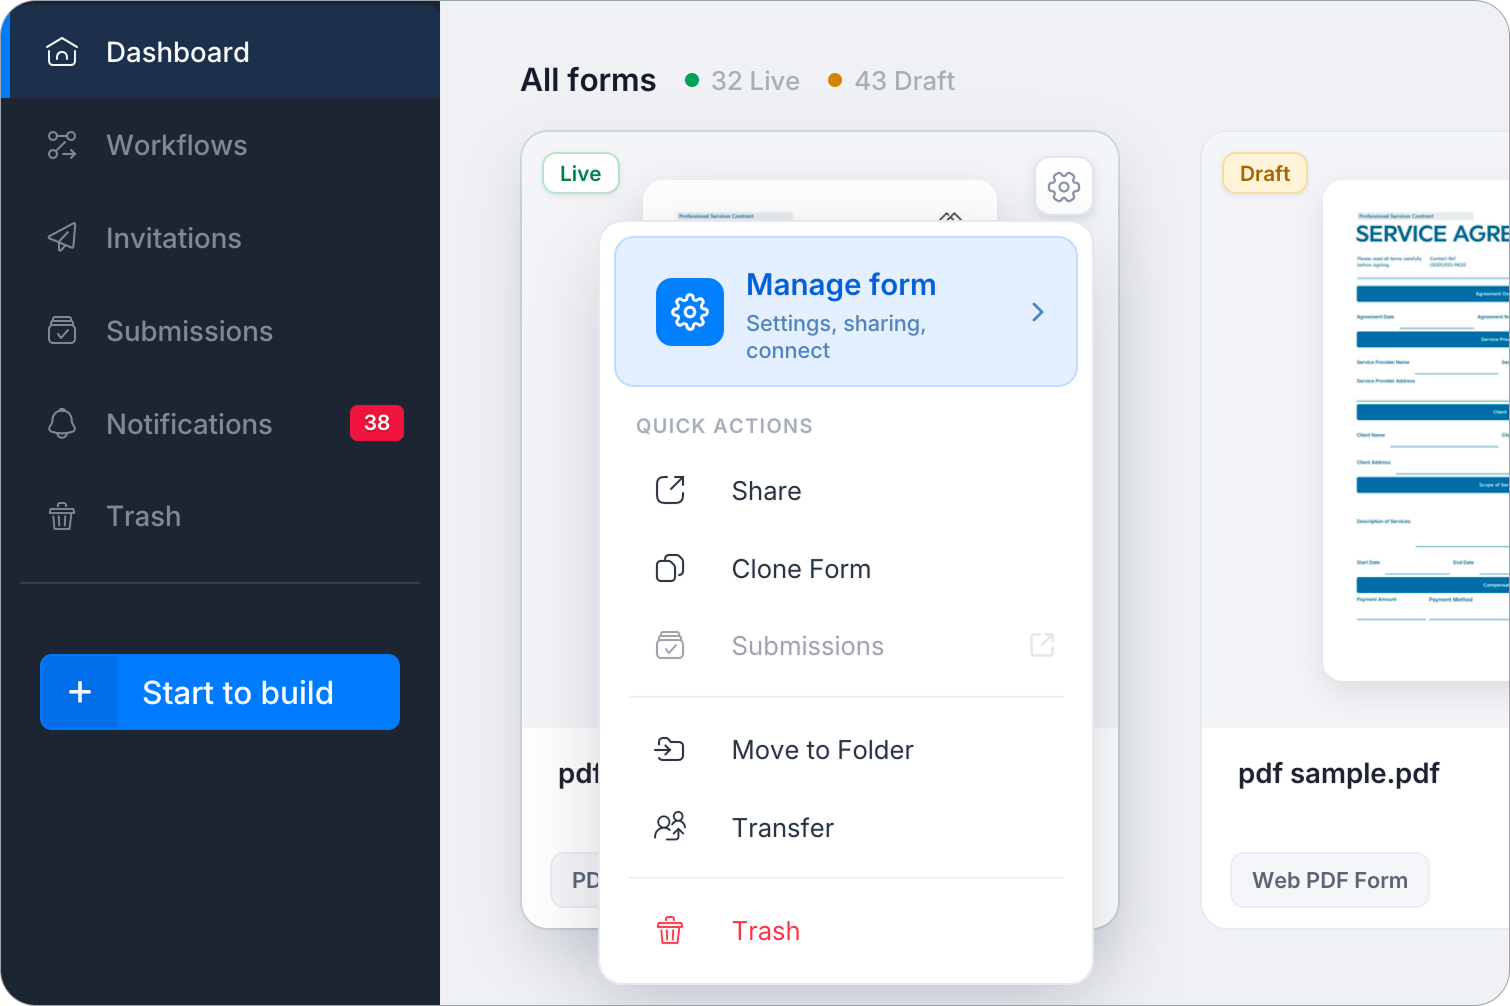
On the Dashboard, hover over the desired form, click the Settings (gear icon) at the top right, then click Manage Form.
-
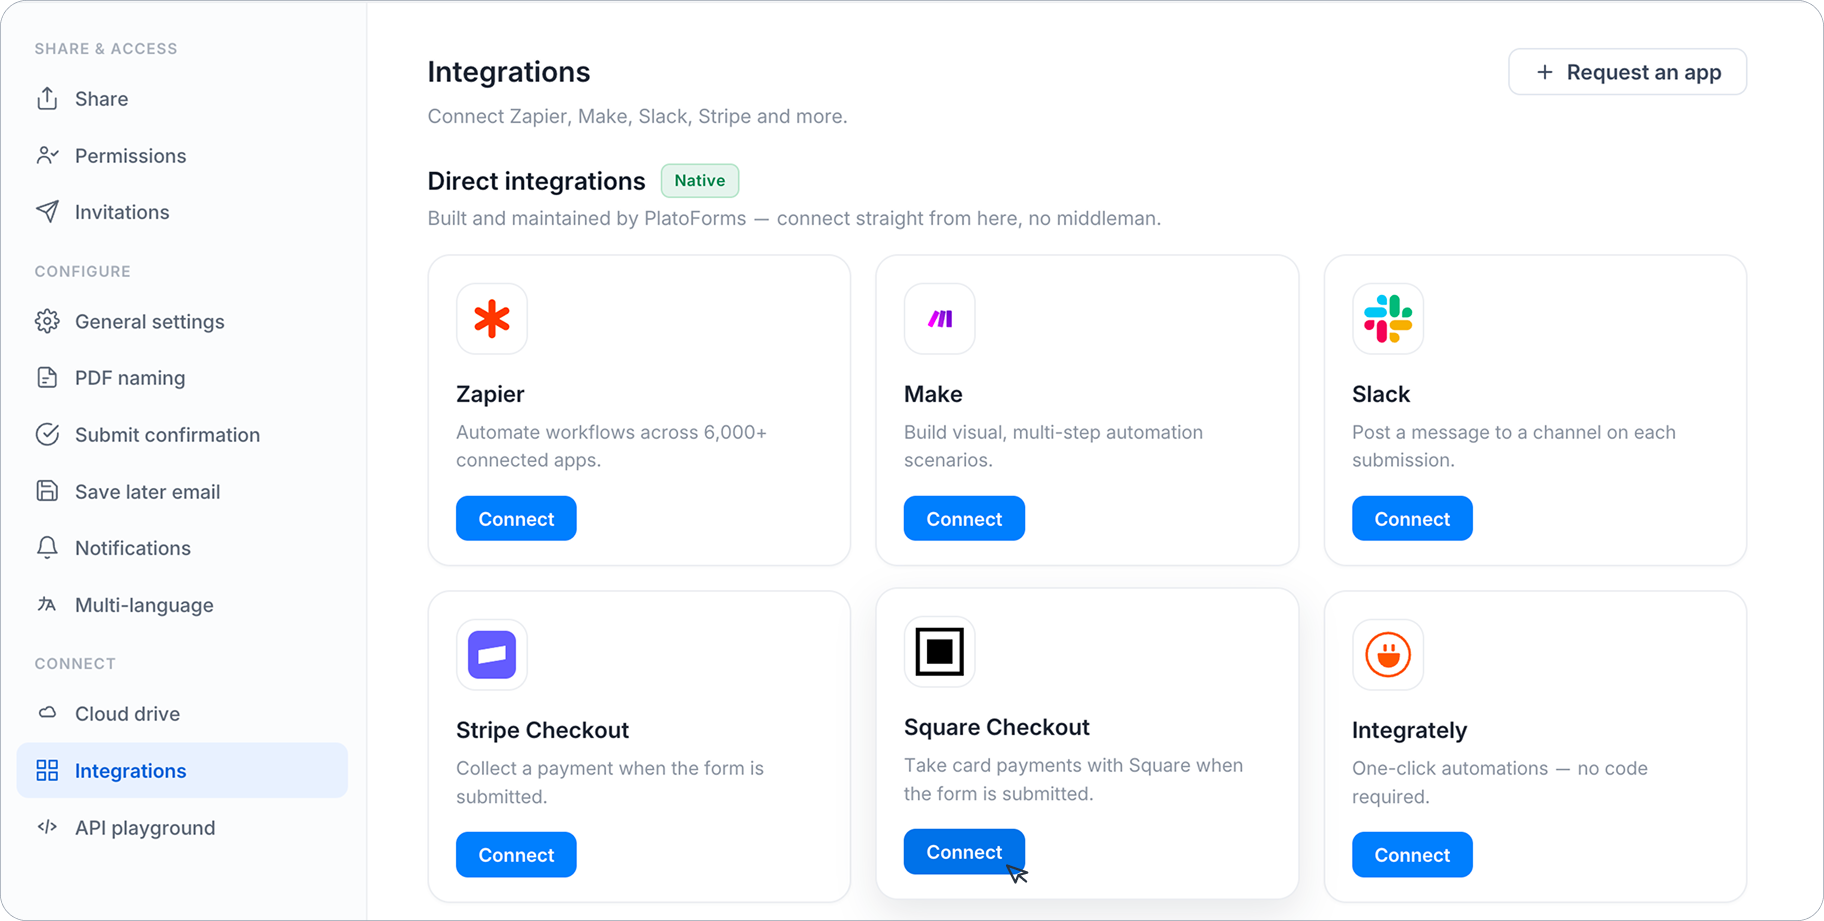
In the left sidebar, click Integrations.
-
Find the Square Checkout card and click Connect.
-
Follow the prompts to authorize your Square account.
Configure Checkout details
Once connected, set:
-
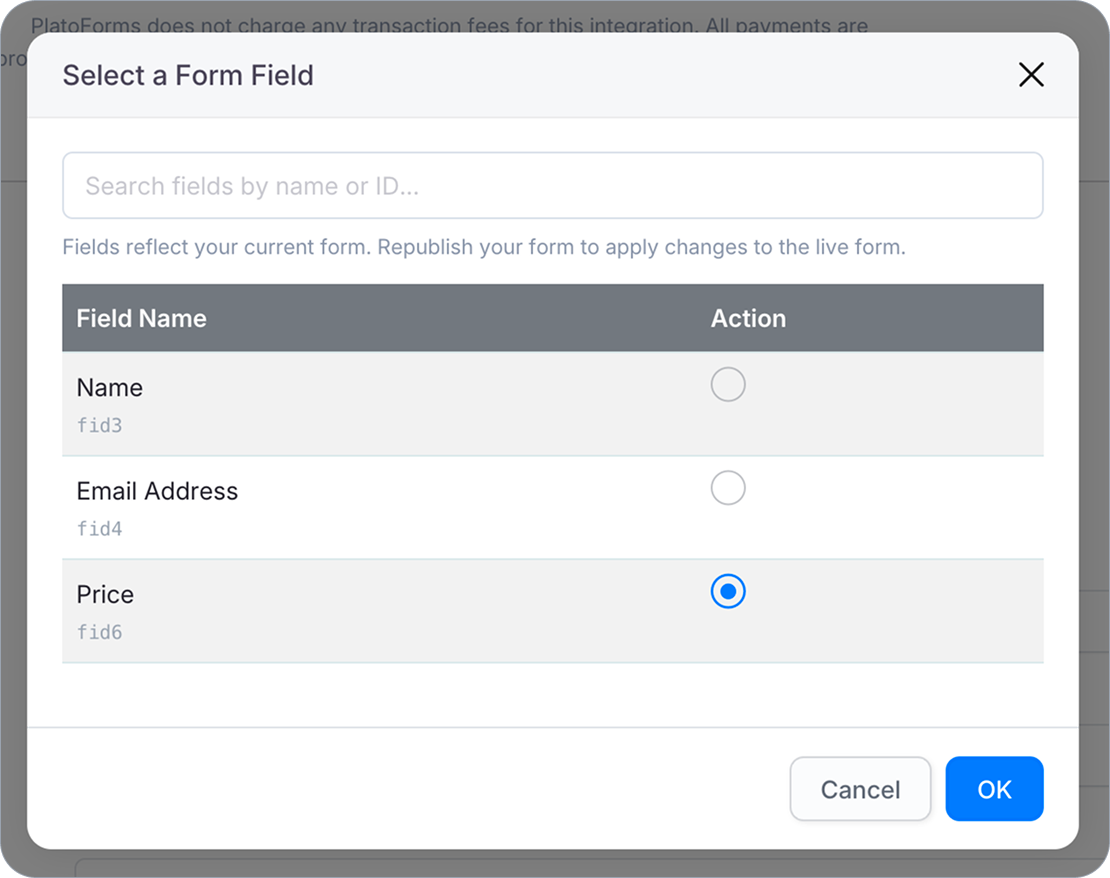
Payment Amount Field — select the form field whose value will be used as the payment amount. Make sure this points to a field that actually holds a number (e.g. a Number field).
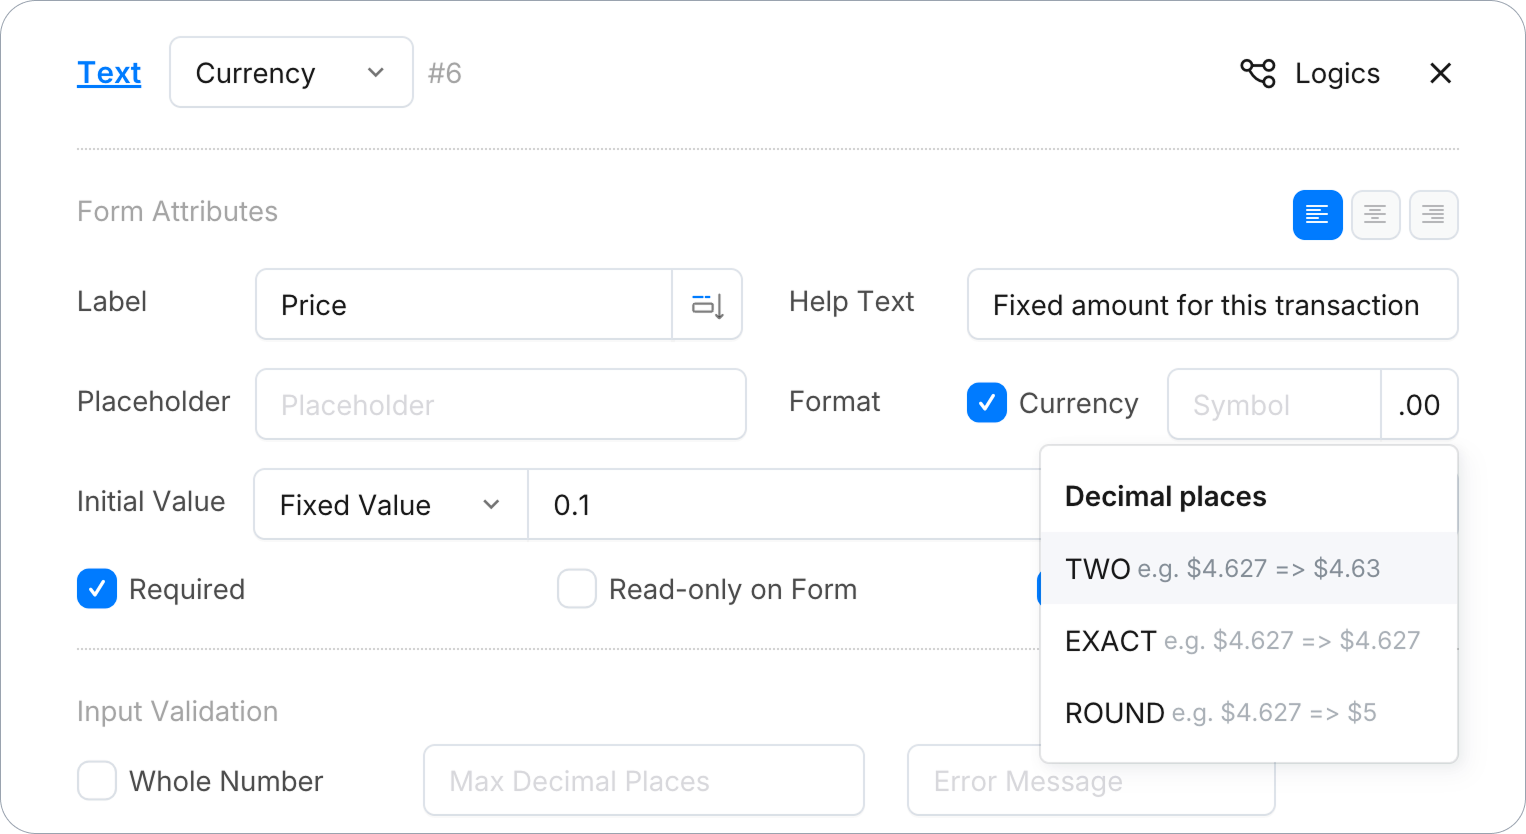
Example: Say you want to charge a fixed $0.10: on the Number field, you’d set Initial Value → Fixed Value → 0.10, turn on Currency format, and set Decimal places to TWO. If your amount is dynamic or needs more decimal places, adjust accordingly — just avoid ROUND, which rounds small amounts down to $0.
-
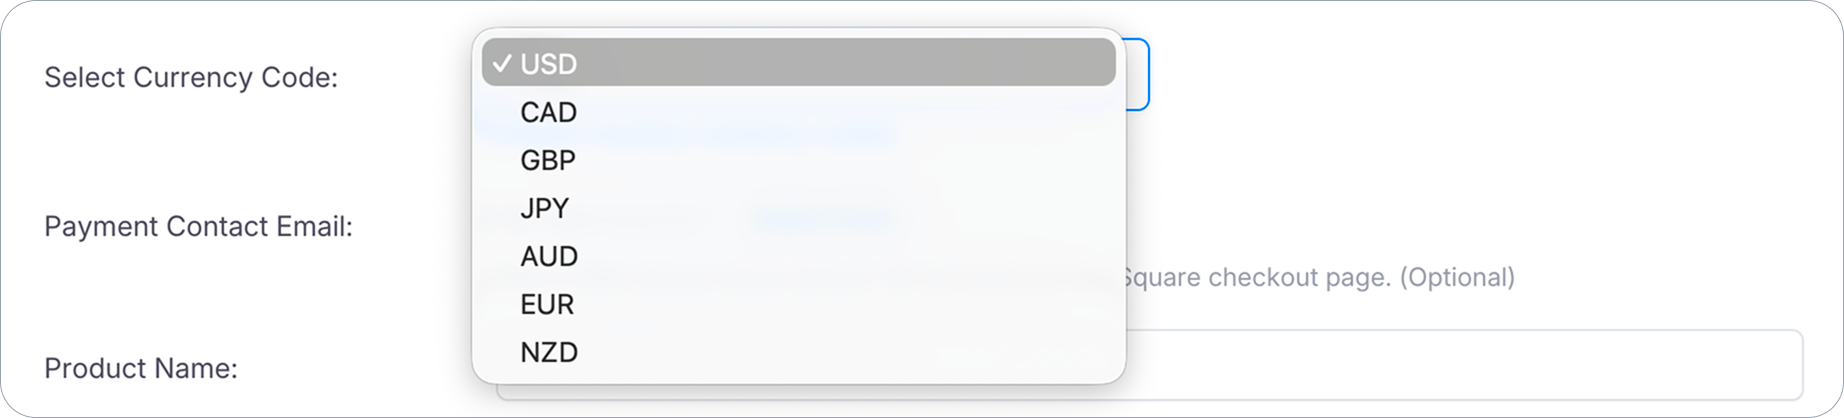
Select Currency Code — must match the settlement currency of your connected Square account. This is a restriction on Square’s side, not something PlatoForms can configure around — Square ties every account to the currency of the country it was registered in, and rejects any payment in a different currency with an error like “This merchant can only process payments in [X] but amount was provided in [Y].” The currencies listed in this dropdown reflect what Square supports globally, not necessarily what your specific account can accept — check your Square Dashboard to confirm which currency your account is set up for.
-
Payment Contact Email (optional) — pre-fills the email field on the Square checkout page.
-
Product Name / Product Description (optional) — shown on the Square checkout page. Leave Product Name empty to use the form name.
-
Square Payment Description — supports the
{{form_name}}and{{tracking_code}}variables.
If you disconnect and reconnect your Square account, double-check Payment Amount Field and Select Currency Code afterward — these can reset to their default state.
After making any changes here, republish your form for the changes to take effect on the live version.
Payment process
-
The respondent fills out the form and submits.
-
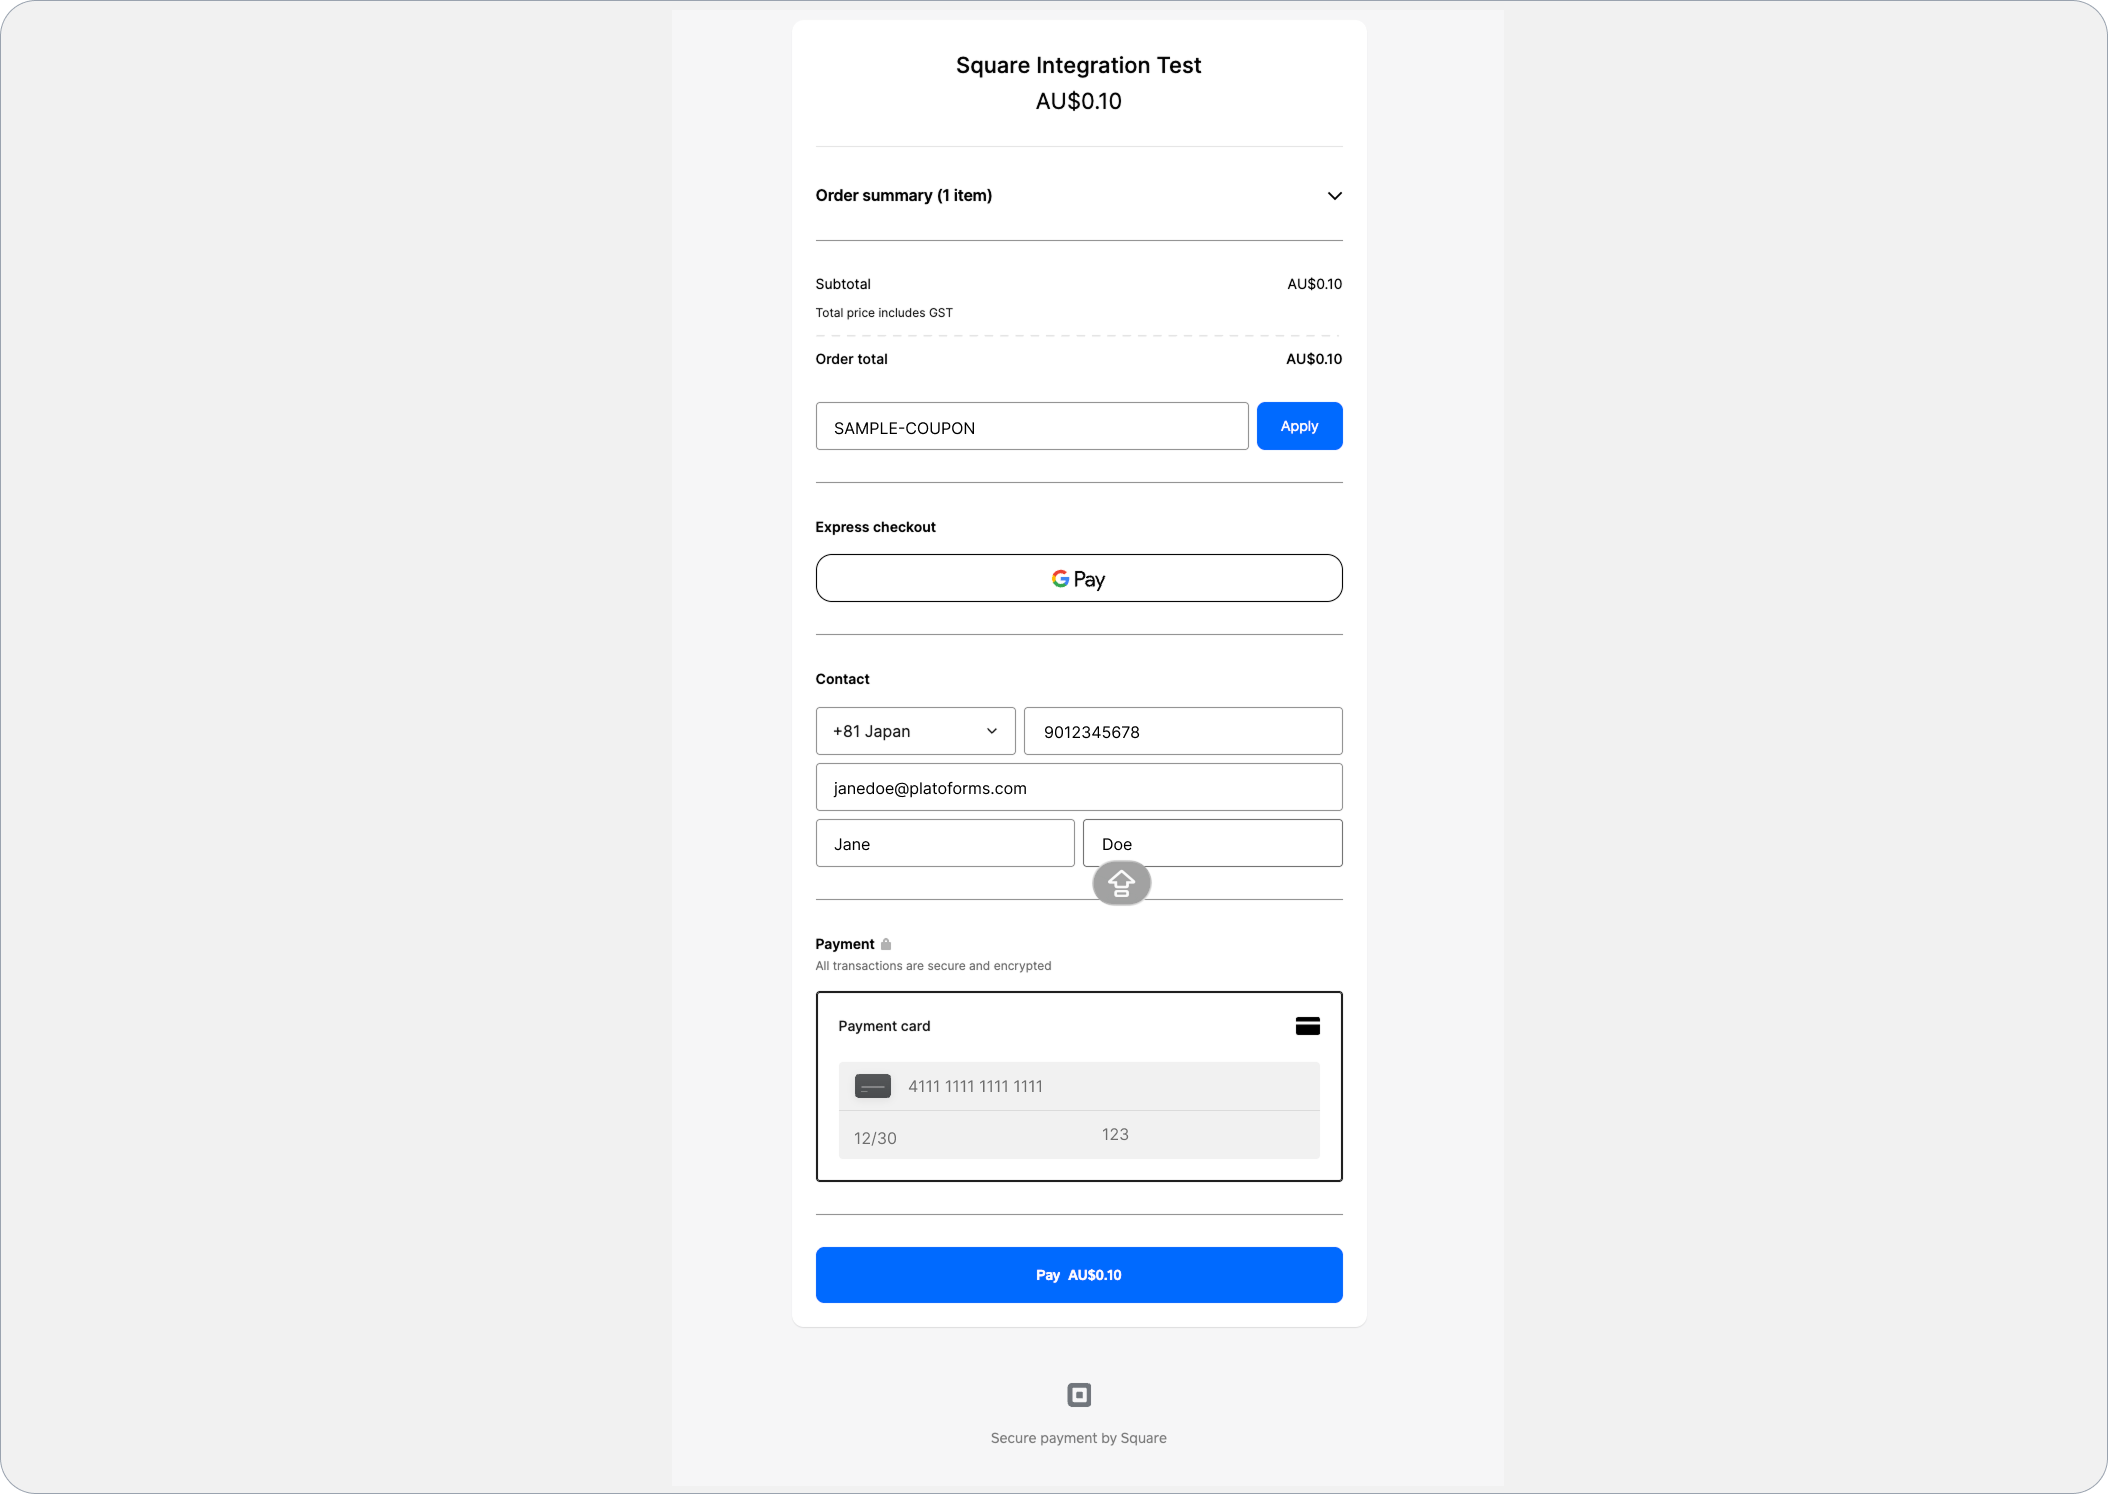
They’re redirected to a Square-hosted checkout page showing the order summary and payment amount.
-
After a successful payment, Square sends a receipt email to the respondent — using the email from Payment Contact Email if it’s set, or whatever email they enter on the Square checkout page otherwise.
The respondent does see PlatoForms’ standard thank-you page after paying, but it’s generic by default — it doesn’t reference the payment or amount. The clearest way to confirm a payment went through is the receipt email Square sends after a successful payment.
Consider customizing this under your form’s Thank-you page settings — either edit the thank-you message to explicitly mention the payment (e.g. “Thanks — your payment has been received”), or set a redirect link to a dedicated payment confirmation page.
Review payments
Log in to your Square Dashboard to see all transactions processed through this integration, including the form name and submission tracking code in the transaction description.
PlatoForms does not charge any transaction fees for this integration. All payments are processed directly through your connected Square account — PlatoForms is not a party to these transactions and is not responsible for payments, refunds, chargebacks, or disputes.
Video tutorial
Need a visual guide to the entire setup? Follow the video below: